The CPU cooler is a crucial component that keeps your processor cool by dissipating the heat generated during operation.
This guide will walk you through the necessary steps to safely remove a CPU cooler from your PC.
Before we begin, its important to note that handling computer hardware requires caution and precision.
check that to follow each step carefully and consult your CPU coolers manufacturer documentation if needed.
Now, lets gather the necessary tools and materials to get started.
This will help make the task easier and prevent any potential damage to your components.
Heres what youll need:
The throw in of screwdriver youll need will depend on the CPU cooler design.
Some coolers use flathead screws, while others use Phillips screws.
Check your coolers documentation or examine the screws on the cooler to determine which screwdriver is required.
This step is optional, but recommended if you plan to reapply thermal paste when reinstalling the cooler.
Lastly, thermal paste is a heat-conductive compound that helps improve heat transfer between the CPU and the cooler.
This step is necessary to ensure your safety and prevent any potential damage to the components.
you’re able to verify this by checking that all lights and fans have stopped running.
Next, it is crucial to unplug your system from the power source.
Removing the side panel provides easy access to the CPU cooler and other components inside the case.
Refer to your system cases documentation if you run into any difficulties during this step.
With the side panel successfully removed, you now have clear access to the internal components of your system.
Its important to note that CPU coolers can vary in design and bang out.
Some coolers may use different mounting mechanisms or have additional features like RGB lighting.
Familiarize yourself with your specific CPU cooler model before proceeding with the removal process.
Take note of the cable routing as you disconnect them to ensure a smoother reconnection process later.
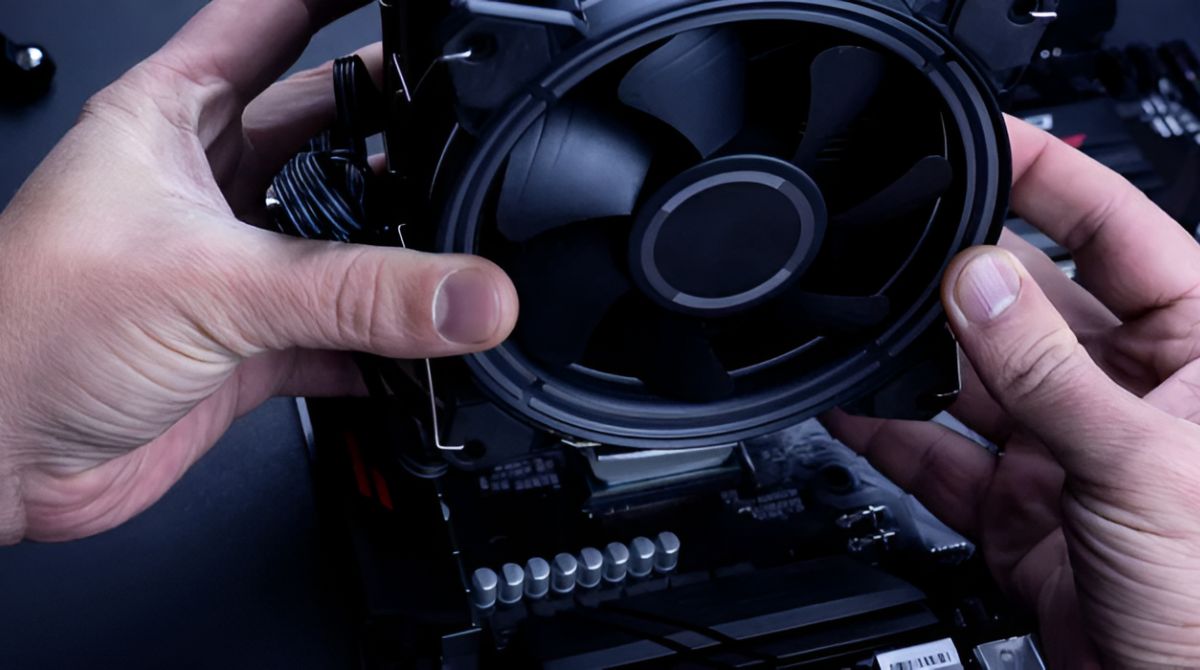
This step will allow you to remove the cooler from the CPU socket.
This step requires gentle handling to avoid any potential damage to the CPU and other components.
Inspect the CPU and the coolers base for any excess thermal paste residue.
Removing the CPU cooler exposes the CPU socket, which is a delicate part of the motherboard.
Take care not to touch or damage the pins on the CPU socket during this process.
With the CPU cooler successfully removed, you have completed an important step.
The next section will address an optional step: cleaning or replacing the thermal paste.
It is especially recommended when upgrading to a new CPU cooler or after a substantial period of use.
Ensure that the CPU cooler is securely attached and that all connections are properly made.
Double-check that there is no excessive wobbling or loose components that may interfere with the coolers performance.
This step involves putting the components back together and ensuring that everything is properly connected and secured.
Now that your machine is reassembled, take a moment to verify that everything is functioning as expected.
You have successfully completed the process of removing and/or installing a CPU cooler in your machine.
Your CPU and system should now be operating optimally with efficient cooling.
In this guide, we covered the step-by-step process of removing a CPU cooler from your PC.
We began by gathering the necessary tools and materials, followed by shutting down and unplugging the computer.
We then moved on to removing the side panel of the computer case and locating the CPU cooler.
With the screws or clips loosened, we carefully removed the CPU cooler from the CPU socket.
We also discussed the optional steps of cleaning or replacing the thermal paste and installing a new CPU cooler.
