Removing the keycaps will provide access to the screws and other components underneath.
Refer to the manufacturers instructions or user manual for guidance on removing specific keycaps.
The top plate covers the switches and other internal components.
After removing the top plate, you will have a clear view of the keyboards internal components.
Ribbon cables are flat, flexible cables that connect various components of the keyboard together.
After disconnecting all the ribbon cables, set the top plate aside in a safe place.
Now, we can move on to the next step: removing the switches from the keyboard.
Removing the switches allows us to access and clean or replace them as needed.
Be cautious not to use excessive force that could damage the switches or the PCB.
just note that by removing the switches, you may void any existing warranty on your keyboard.
If your keyboard is still under warranty, consider contacting the manufacturer for assistance before proceeding further.
After cleaning or replacing the switches, its a good idea to test them before proceeding with reassembly.
Connect the necessary ribbon cables and keycaps and test whether the switches respond properly when pressed.
Remember to exercise caution when working with switches, as they are intricate components and can be delicate.
Handle them with care to prevent any damage during the cleaning or replacement process.
Reassembling the keyboard requires reconnecting the ribbon cables, securing the top plate, and reinstalling the keycaps.
Ensure that all the keycaps are installed correctly and in their original positions.
Double-check for any loose or misaligned keycaps and make any necessary adjustments.
Finally, give your keyboard a thorough cleaning using a soft cloth and isopropyl alcohol.
Once the keyboard is reassembled and cleaned, its time to plug it back in and test its functionality.
look to see if all the keys are responding properly and if the switches are functioning as desired.
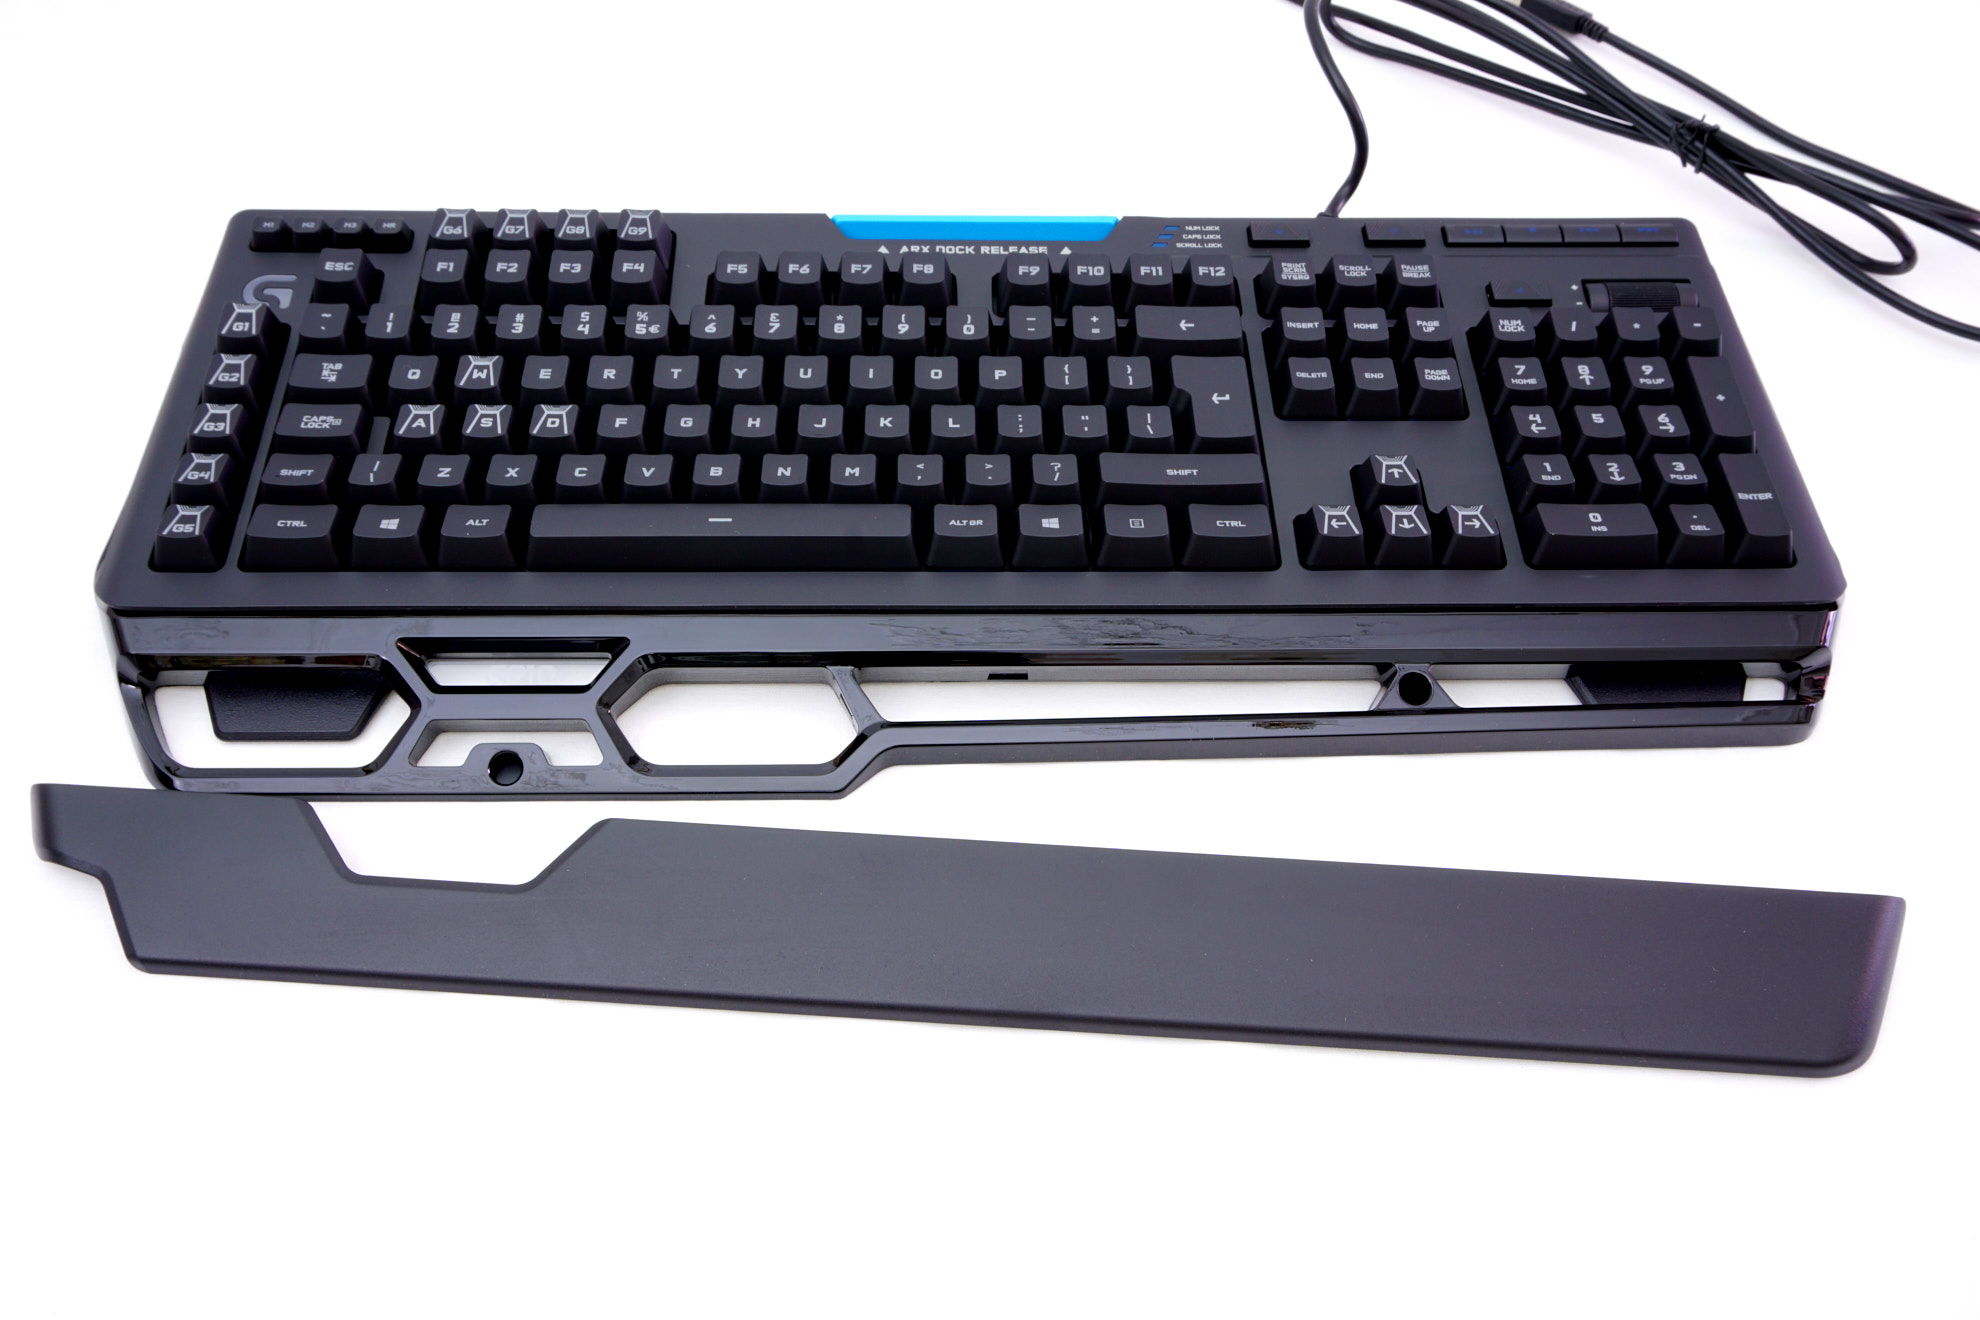
You have successfully disassembled, cleaned or replaced switches, and reassembled your Logitech G910 keyboard.
Your keyboard should now be ready for hours of gaming or productive typing sessions.
Remember to exercise caution throughout the process to avoid causing any damage to the keyboard or its components.
