Introduction
Welcome to this tutorial on how to take apart a Logitech K360 Keyboard.
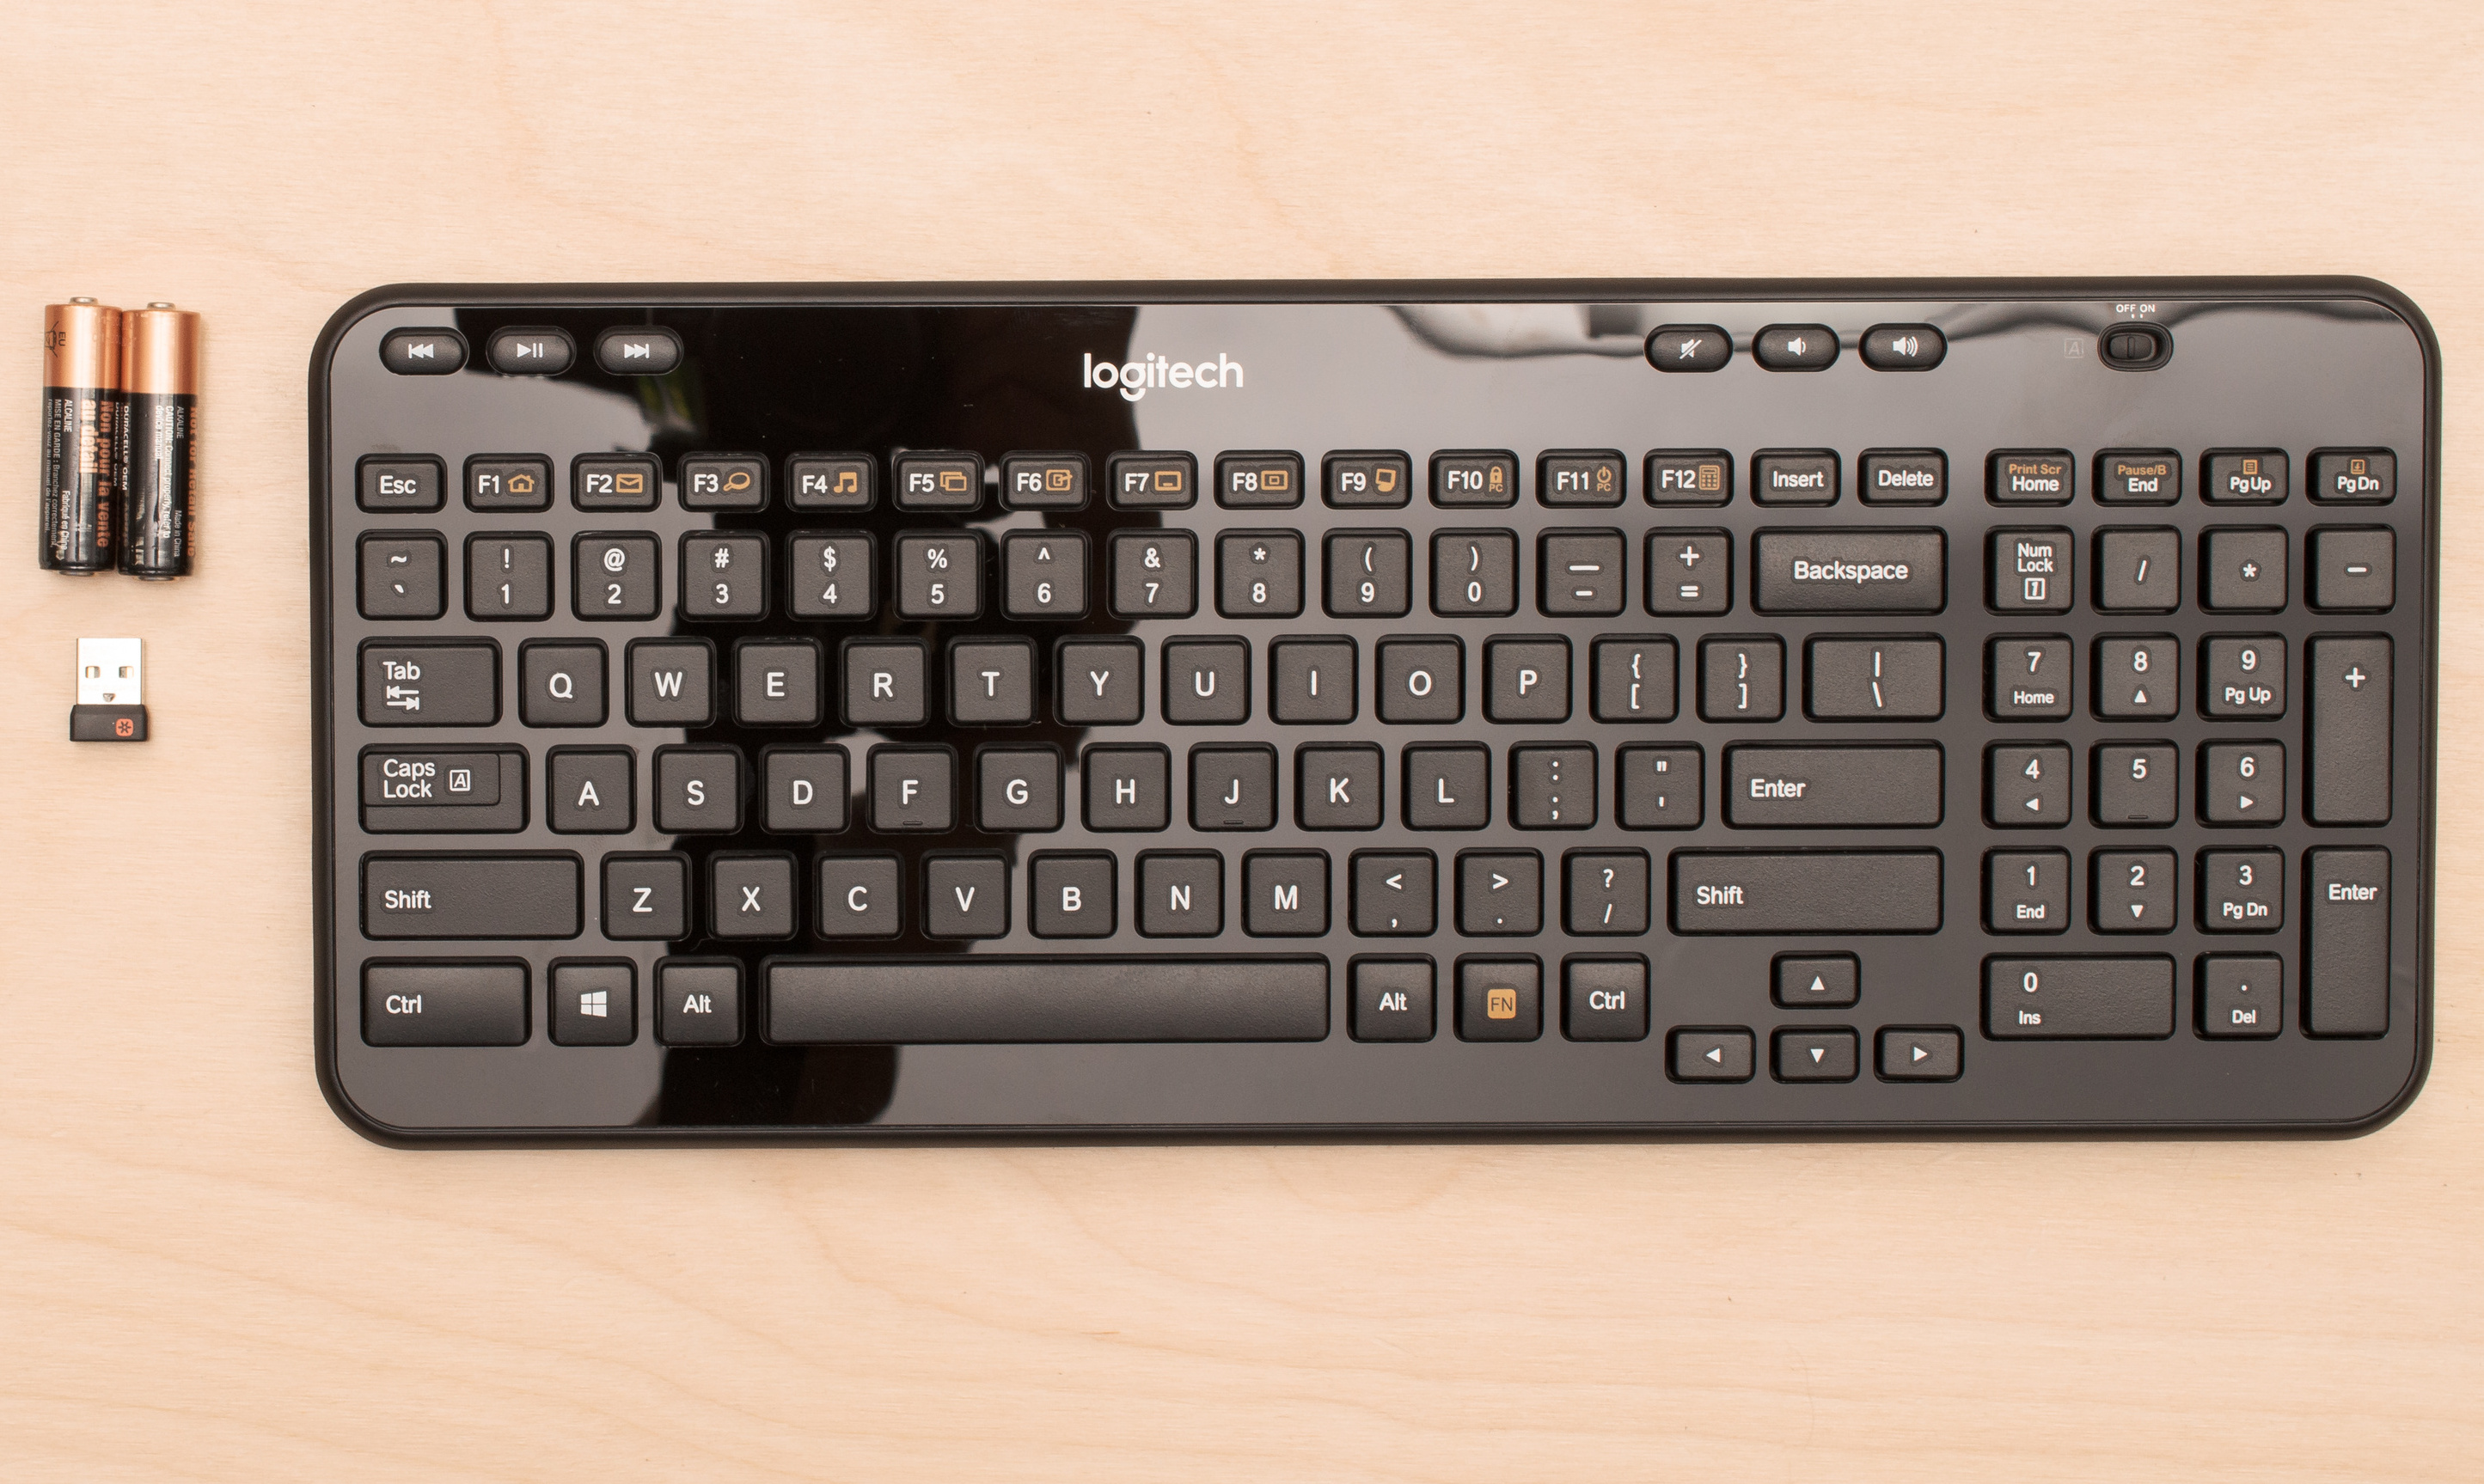
The Logitech K360 Keyboard is a popular wireless keyboard known for its compact size and comfortable typing experience.
However, over time, it might need cleaning or repairs that require disassembling the keyboard.
Knowing how to take apart theLogitech K360Keyboard can be beneficial in such situations.
Also, confirm you have enough time and workspace to perform the disassembly process comfortably.
Lets get started by gathering the necessary tools you will need for this disassembly process.
This will give you access to the screws and allow you to proceed with the further disassembly process.
The battery cover is typically located on the underside of the keyboard and securely holds the batteries in place.
Its essential to handle the battery cover with care to avoid any damage or loss.
Be sure to handle the ribbon cable with care to avoid any damage or tearing.
The circuit board is the central component that houses the keys, electronics, and other vital elements.
Removing the circuit board allows for a more thorough cleaning or repair process.
Ensure you handle the circuit board with caution, as it contains delicate components that can be easily damaged.
Avoid submerging any electronic parts in water or using abrasive cleaners, as they may cause irreversible damage.
Ensure that all keys are working correctly and that everything is securely assembled.
if you catch any issues, double-check your steps and make any necessary adjustments.
You have successfully completed the process of taking apart and reassembling your Logitech K360 Keyboard.
Cleaning these components thoroughly can help improve the keyboards performance and extend its lifespan.
Remember to exercise caution throughout the disassembly and reassembly process to avoid damaging any components.
