Introduction
Streaming video game content has become increasingly popular in recent years.
Platforms like Twitch and YouTube have opened up avenues for gamers to showcase their skills and entertain audiences worldwide.
The quality and latency of the stream may not be as optimal as with a dedicated capture card.
What is a capture card?
Capture cards come in various forms and with different features, but they all serve the same purpose.
Some high-end capture cards also support 4K and HDR video capture, offering superior image quality.
While capture cards offer high-quality and low-latency capture capabilities, they can be quite expensive.
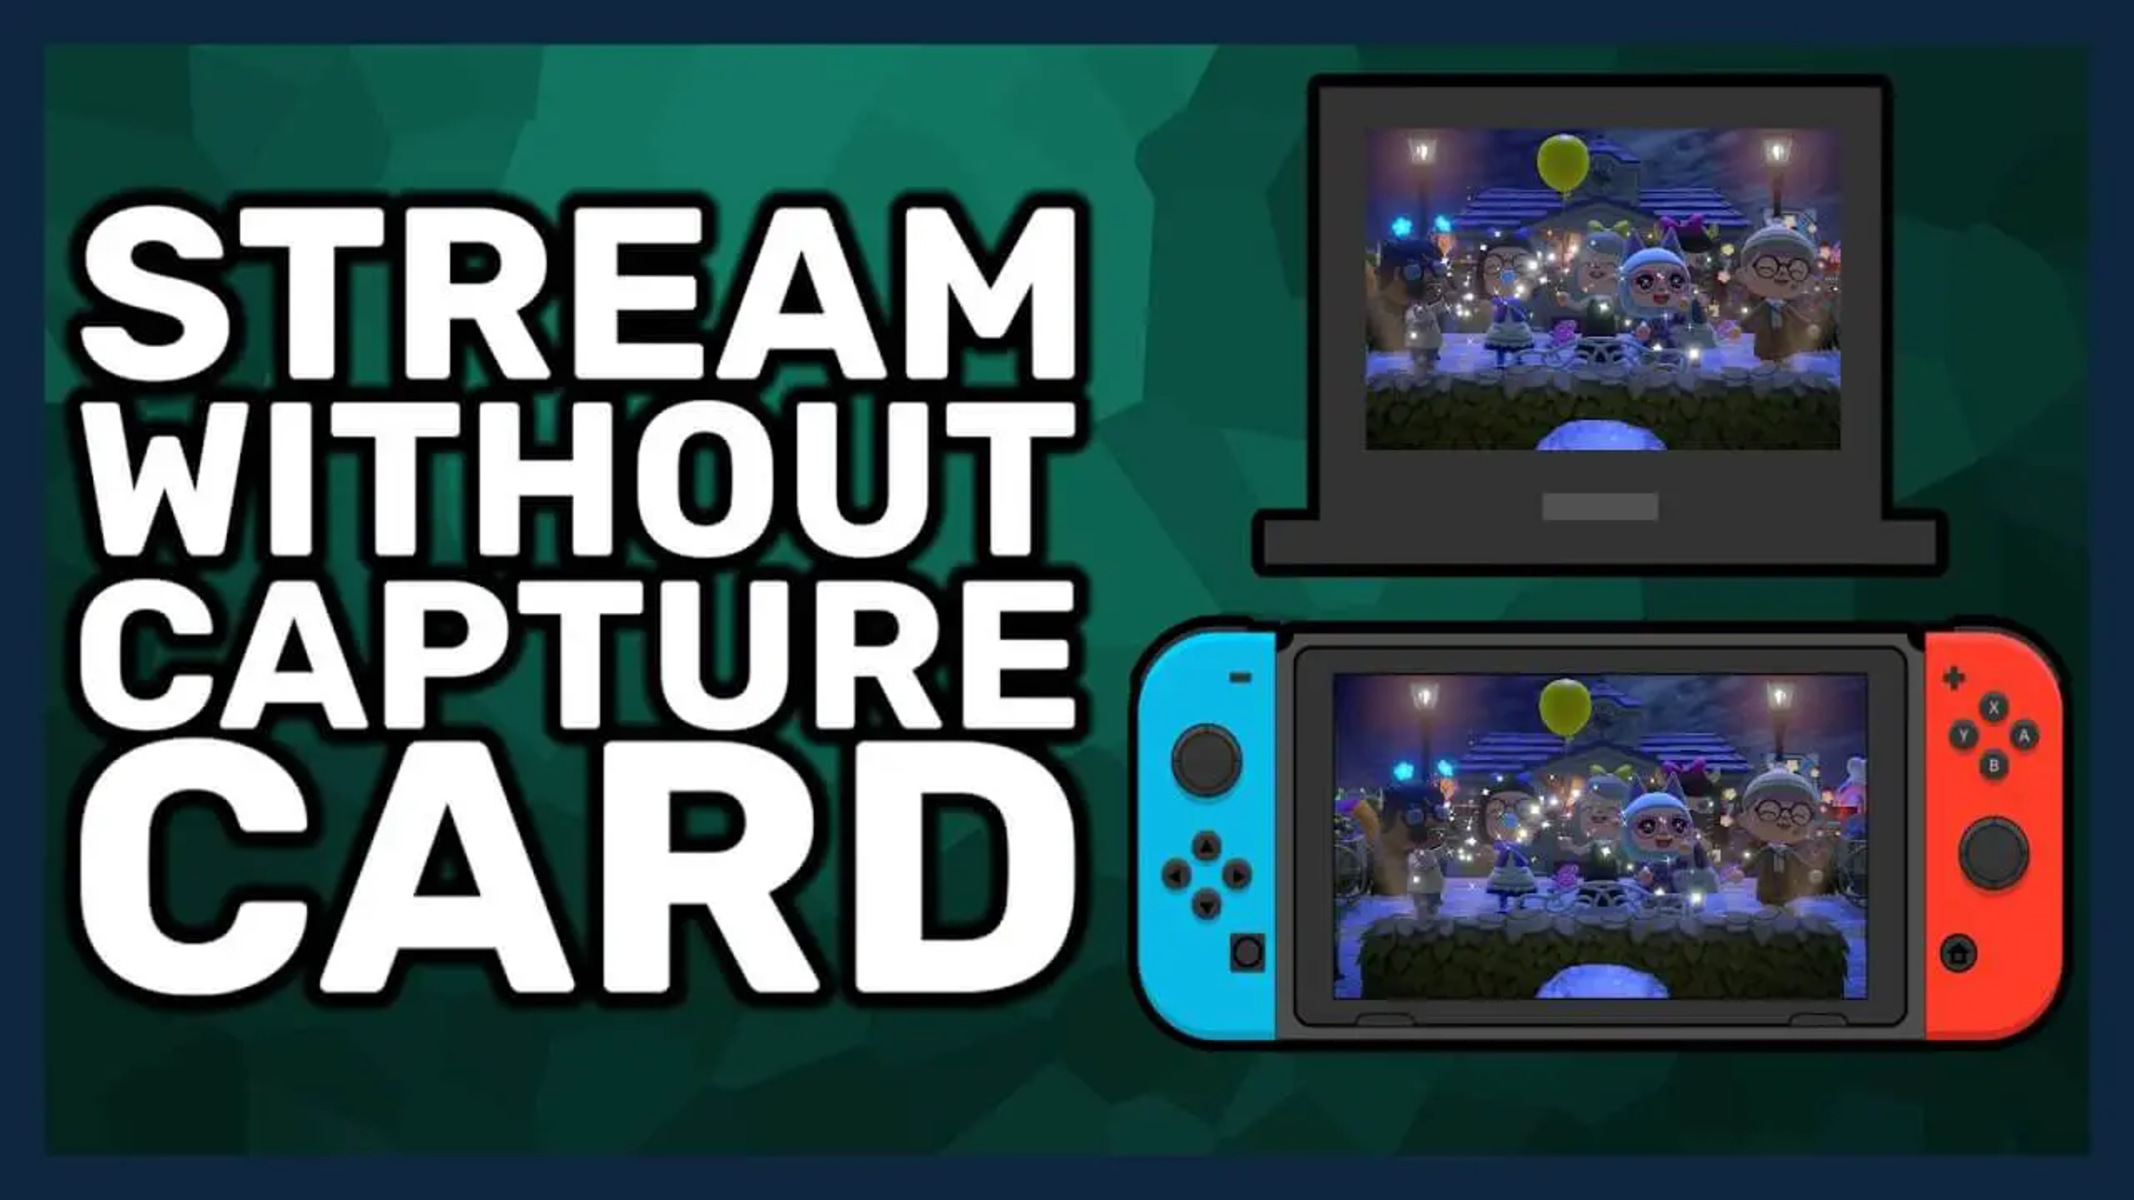
Why stream Switch without a capture card?
Streaming your Nintendo Switch gameplay without a capture card can be a viable option for several reasons.
Lets explore why you might choose this method:
1.
Cost: One of the primary reasons tostream without a capture cardis cost-effectiveness.
Capture cards can be expensive, especially for beginners or those on a tight budget.
Convenience: Not having to deal with additional hardware setups and connections can be incredibly convenient.
Streaming without a capture card eliminates this extra step, making the setup process simpler and more streamlined.
Ensure that your Switch is in good working condition and updated to the latest firmware.
A PC: You will need a PC with decent specifications to handle the streaming process.
HDMI Cable: To connect your Nintendo Switch to your PC, you will need an HDMI cable.
see to it you have a reliable HDMI cable that supports video and audio transmission.
Stable Internet Connection: Streaming gameplay requires a stable and fast internet connection.
double-check you have a reliable internet service provider with sufficient upload bandwidth to ensure a smooth streaming experience.
Popular options include Twitch, YouTube, and Facebook Gaming.
Create an account on your preferred platform and familiarize yourself with the streaming parameters.
Consider investing in a decent microphone and webcam if you plan to engage with your audience during the stream.
Ensure that you have all the necessary equipment and software ready before proceeding with the setup.
This feature allows you to capture the video and audio output from your console directly on your rig.
Heres how it’s possible for you to enable this feature:
1.
This will initiate the Windows Game Bar overlay.
Xbox App: Another option for Windows users is the Xbox app.
ensure you have the Xbox app installed on your PC.
Connect your Nintendo Switch to your PC using an HDMI cable and launch the Xbox app.
From there, go to the Connect tab and select Add a gear.
Choose your Nintendo Switch from the list of available devices.
Connect your Switch to your Mac using an HDMI cable and launch QuickTime Player.
From the top menu, hit File and then select New Movie Recording.
This connection allows the capture software on your PC to receive the gameplay footage from your console.
Heres how it’s possible for you to do it:
1.
Connect the other end of the cable to an available HDMI input port on your PC.
This can be done through your PCs display prefs or the software youre using to capture the gameplay.
It should detect the Nintendo Switchs signal and display the gameplay on yourPC screen.
This ensures that the gameplay footage is displayed correctly on your PC screen and maintains its original quality.
Switch on your console and launch a game.
bring up the capture software on your PC and verify that its receiving the gameplay footage from your Switch.
You should see the game displayed on your PC screen and ready to be streamed or recorded.
Heres how it’s possible for you to set up OBS:
1.
Once installed, launch OBS to begin the configuration process.
choose the + button in the Scenes section to create a new scene.
Give it a name that best represents your Nintendo Switch gameplay.
Select Video Capture rig from the dropdown menu.
In the window that appears, choose the capture rig that corresponds to your Nintendo Switchs HDMI input.
choose the + button in the Sources section and select Audio Input Capture.
Choose the appropriate audio unit that corresponds to your Nintendo Switch audio output.
Customize Your Stream: OBS offers a wide range of customization options to enhance your stream.
you might add overlays, alerts, webcam feeds, and more.
Experiment with these features to personalize your stream and make it visually appealing to your audience.
Audio Mixer: In OBS, tap on the gear icon next to the Mixer section.
In OBS, go to the Audio Mixer and locate the audio source corresponding to your microphone.
Right-press the microphone source and select Properties.
Select Advanced Audio Properties and check the Monitoring box for your Nintendo Switch gameplay source.
This will enable you to listen to the gameplay audio in real-time through your headphones or speakers.
Test and Adjust: Its essential to thoroughly test your audio options before going live.
Make any necessary adjustments to ensure that the sound is balanced and of good quality.
Remember to monitor your audio levels throughout your stream to ensure that they remain consistent.
Adjust them as needed if you notice any audio issues, such as distortion or background noise.
Clear and balanced audio adds to the overall professionalism of your stream and enhances the enjoyability for your audience.
Heres how you’re able to optimize the video options:
1.
Output Resolution: In OBS, go to the configs tab and navigate to the Output section.
Here, you’ve got the option to set the resolution to match your desired output quality.
you should select a resolution that is appropriate for your stream and compatible with your PC and internet connection.
Common resolutions include 720p (1280720) and 1080p (19201080).
Video Bitrate: The video bitrate determines the amount of data used to transmit the video stream.
Higher bitrates result in better video quality but require a faster internet connection.
A bitrate of around 2500-6000 kbps is generally recommended for 720p or 1080p streams.
Encoder: In the Output section, opt for appropriate video encoder.
OBS offers multiple options, including x264 (CPU-based) and NVENC (GPU-based for NVIDIA graphics cards).
The encoder choice depends on the capabilities of your PC.
FPS (Frames Per Second): A higher FPS enhances the smoothness of your stream.
In OBS, go to the Video section of the tweaks and set the FPS to the desired value.
Higher FPS may require more processing power and bandwidth.
Video Filters: OBS allows you to apply filters to your video sources to enhance the visual quality.
Be mindful not to overdo it and maintain a natural and balanced appearance.
Make adjustments as needed to ensure smooth and crisp video output.
Customizing the video parameters in OBS allows you to optimize the visual quality of your Nintendo Switch gameplay stream.
With the video prefs configured, youre almost ready to go live with your Nintendo Switch gameplay.
Step 6: Setting up overlays and alerts
1.
Overlays: Overlays are graphical elements that add visual appeal to your stream.
They can include your logo, social media handles, stream chat, and other relevant information.
Overlays provide additional information and branding, while alerts keep you and your audience engaged throughout the stream.
Heres how you’re free to start streaming and share your gameplay with your audience:
1.
Preview Stream: Before going live, take a moment to preview your stream within OBS.
Use this opportunity to make any final adjustments or fine-tuning before broadcasting to your audience.
This will help attract potential viewers who are interested in watching Nintendo Switch gameplay.
Consider including relevant hashtags or keywords to optimize the discoverability of your stream.
Start Streaming: In OBS, press Start Streaming to begin broadcasting your Nintendo Switch gameplay.
OBS will start sending your stream to the streaming platform you have configured, such as Twitch or YouTube.
Monitor the OBS interface to ensure that there are no dropped frames or performance issues during the stream.
Engage with Your Audience: While streaming, dont forget to interact with your audience.
Engaging with your viewers helps create a sense of community and keeps them coming back for more.
Make adjustments as necessary to ensure the stream quality remains consistent.
Monitor your internet connection stability, audio levels, and video quality to provide the best stream possible.
Inform them of your next stream schedule, if applicable.
In OBS, hit Stop Streaming to end the broadcast.
Take a moment to review your stream afterward and consider any improvements or modifications for future streams.
In this article, we discussed the step-by-step process of streaming your Nintendo Switch gameplay without a capture card.
Throughout the steps, we highlighted the importance of testing and monitoring your stream to ensure optimal performance.
Embrace the creativity, interact with your audience, and have fun showcasing your gaming skills with the world!
