Introduction
Welcome to an informative guide on how to sound dampen a PC case.
Sound dampening aims to minimize these noises, providing a more peaceful and enjoyable computing experience.
Aside from the obvious benefit of a quieter PC, sound dampening also has other advantages.
Before diving into the process of sound dampening your PC case, its important to assess your current situation.
Improved Focus and Productivity:Excessive noise can be distracting and disrupt your focus.
This improved focus can lead to increased productivity and better overall performance.
Enhanced Gaming Experience:When playing video games, audio plays a crucial role in creating an immersive experience.
Improved Audio Recording:If youre a content creator or work with audio recording, sound dampening is vital.
Background noise from your PC case can impact the quality of your recordings.
Minimized Disruption:Noise can be disruptive not only to yourself but also to those around you.
With proper sound dampening, you could protect your investment and ensure the longevity of your PC.
Here are some steps to help you assess your PC case:
1.
Listen for Noise:Start by powering on your gear and carefully listen for any noticeable noises.
Pay close attention to fans, hard drives, power supplies, and other components.
Take note of the specific areas that generate the most significant noise.
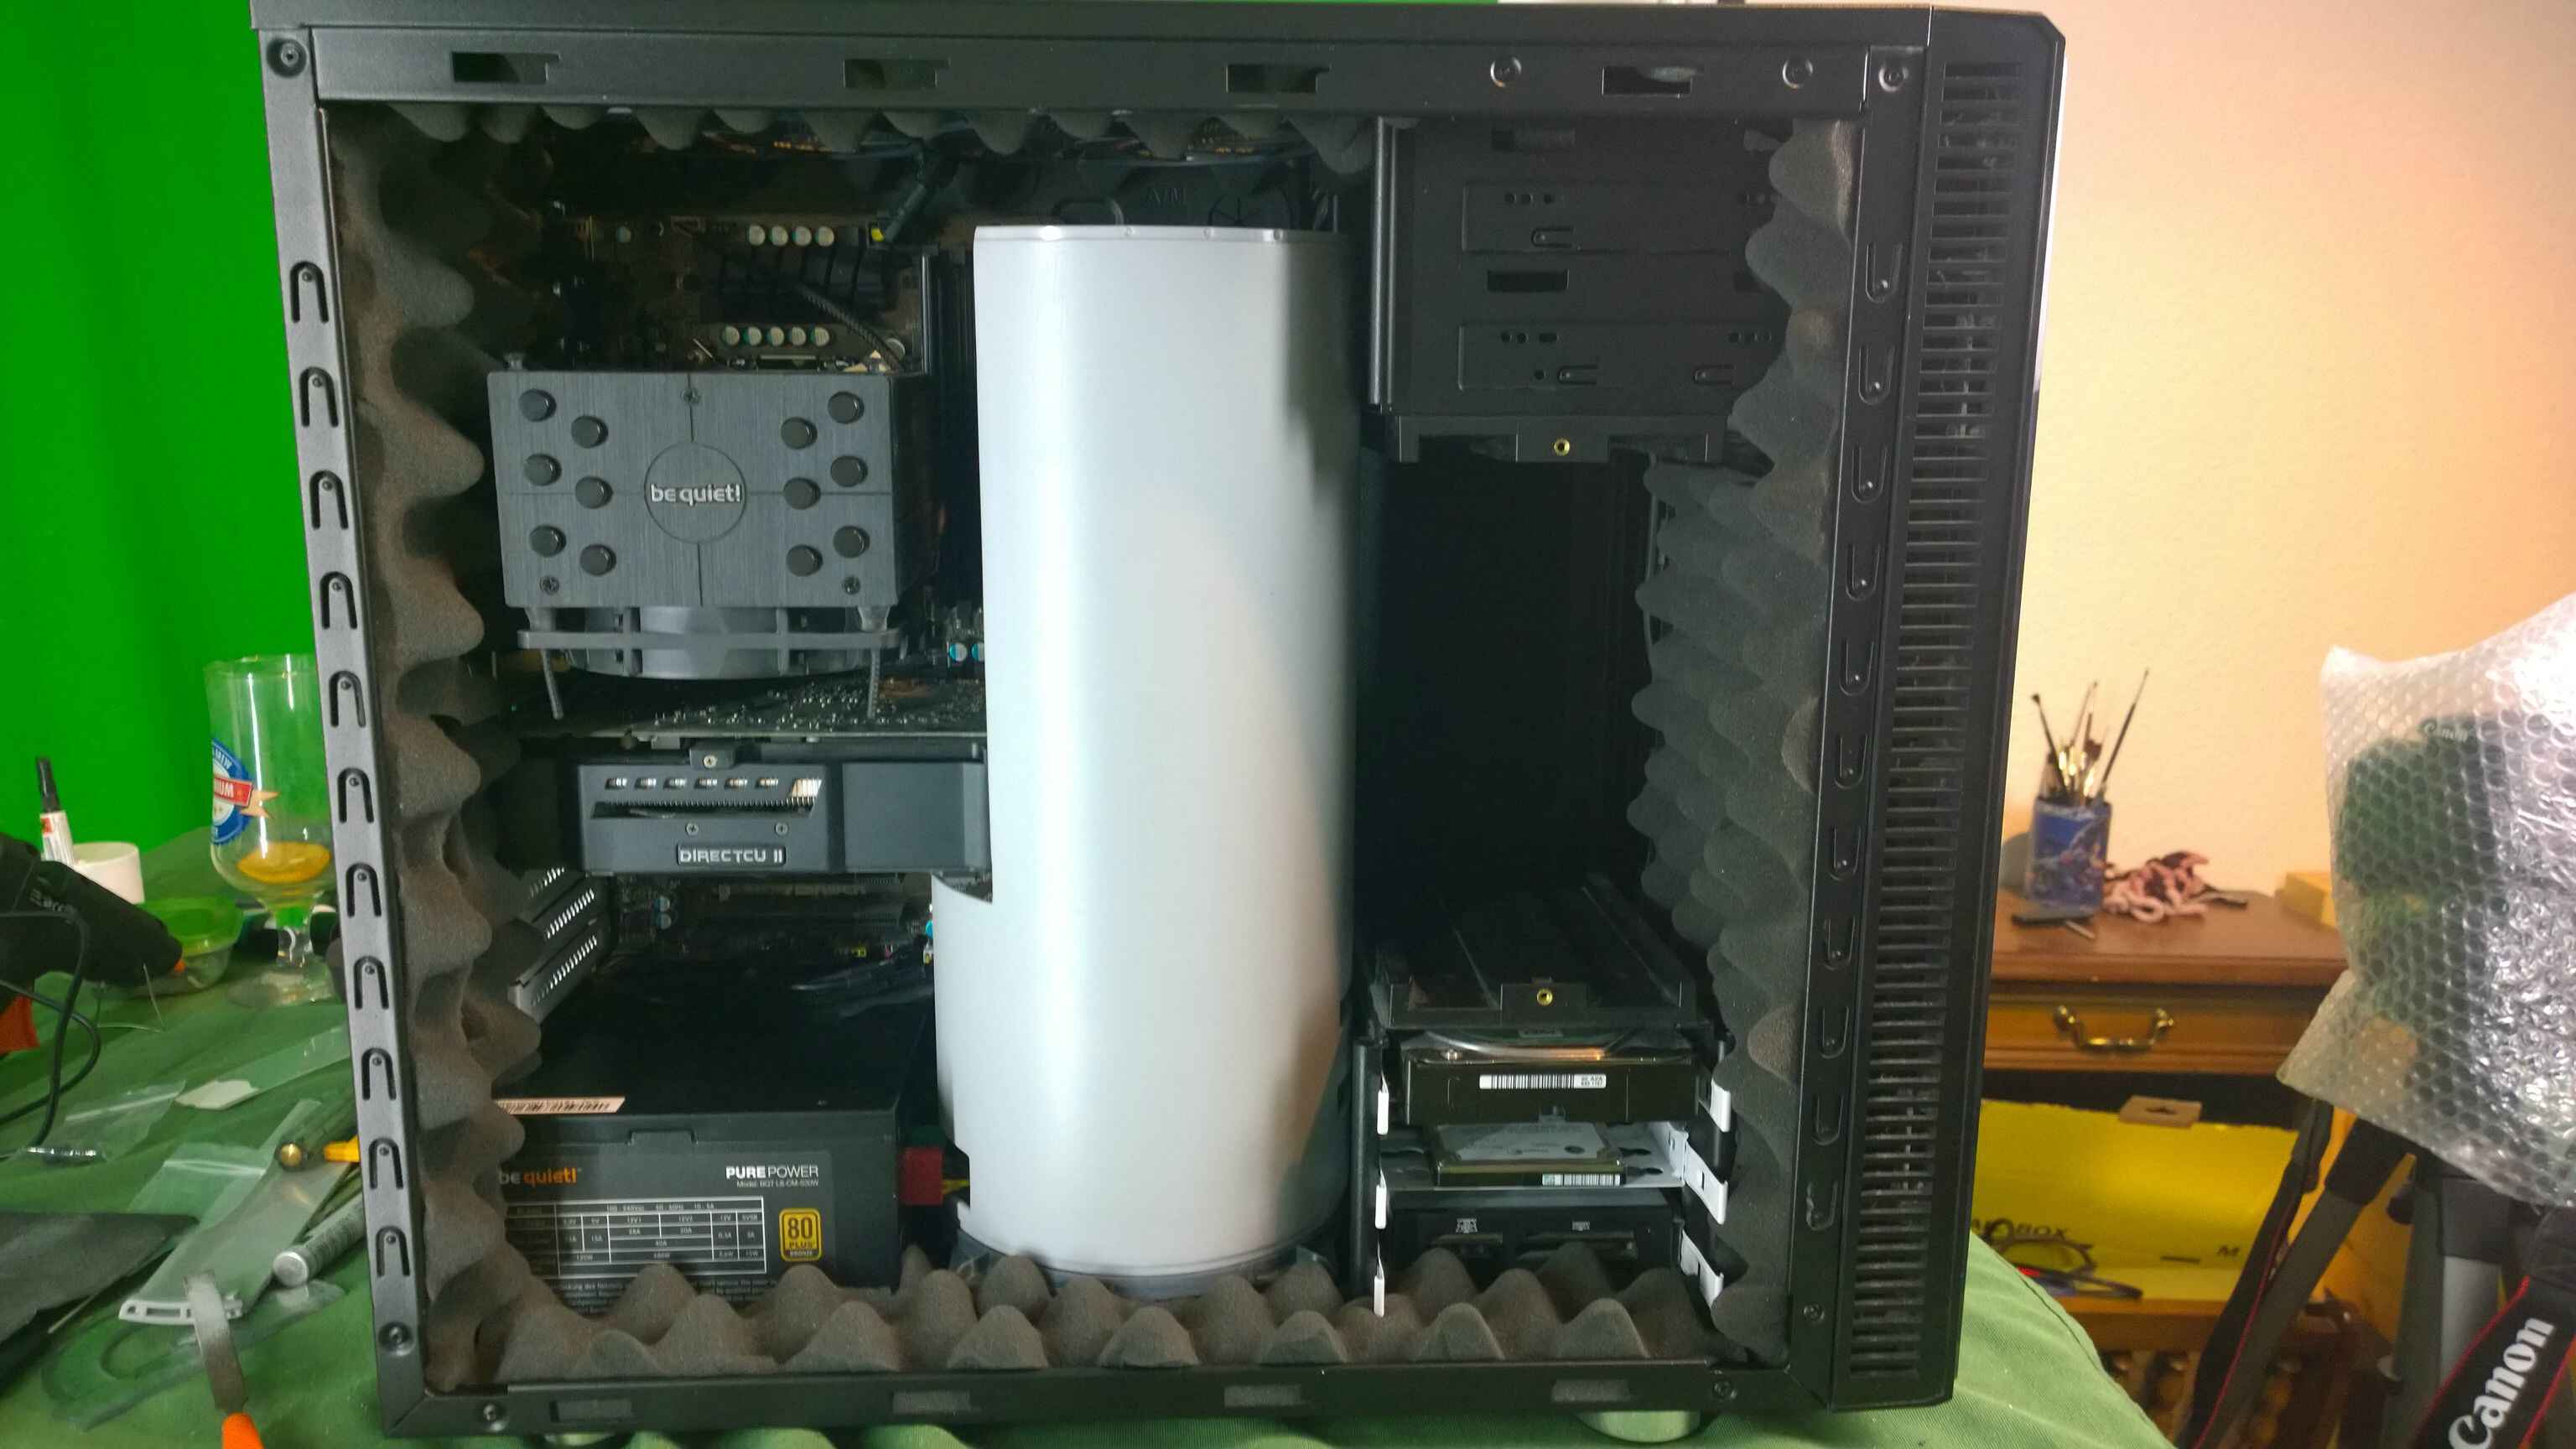
Inspect the Case Interior:Open up your PC caseand examine the interior.
Check for any signs of excessive vibrations or rattling.
Examine Airflow and Cooling System:Assess the airflow within your PC case and the positioning of cooling fans.
Improperly placed or malfunctioning fans can generate additional noise.
Ensure that your case has adequate cooling to prevent overheating and potential noise issues.
Examine the front, top, side panels, and rear of the case.
These small gaps can contribute to noise leakage and should be addressed during the sound dampening process.
Take Measurements:Measure the dimensions of your PC case, both internally and externally.
Research Sound Dampening Solutions:Explore different sound dampening materials and techniques available in the market.
Read reviews and consider the specific needs of your PC case.
Choose materials that are effective, easy to install, and compatible with your case.
Here are some essential materials you will need:
1.
Acoustic Foam:Acoustic foam is a popular choice for sound dampening due to its excellent noise-absorbing properties.
It helps reduce vibrations and echoes inside the PC case, effectively minimizing noise.
Acoustic foam panels are typically self-adhesive, making them easy to install.
Sound Dampening Mats:Sound dampening mats or pads are designed to absorb noise and vibrations.
These mats are made of materials with sound-absorbing properties, such as rubber or foam.
They can be placed on the interior surfaces of the PC case to reduce noise generated by components.
These dampeners help isolate and absorb vibrations, resulting in reduced noise levels.
Silicone dampeners are particularly effective for minimizing hard drive noise.
Anti-Vibration Mounts:Anti-vibration mounts are specially designed brackets or mounts that isolate components from the PC case.
Clogged fans can create additional noise due to increased friction and strain.
Installing dust filters can help keep your components clean and minimize noise resulting from restricted airflow.
see to it you have a variety of sizes to fit different screw types commonly found in computer cases.
Safety Equipment:When working with electronics, its essential to prioritize safety.
These are the primary materials you will need for effectively dampening the sound in your PC case.
This will provide access to the interior and allow for easy utility of sound dampening materials.
Step 3: Apply Acoustic Foam
Begin by applying acoustic foam to the interior surfaces of the PC case.
The foam will help absorb vibrations and minimize noise reflections.
Cut the mats to fit the specific areas where noise is generated and adhere them securely.
Focus on covering areas near fans, hard drives, and other noisy components.
Ensure a tight fit to maximize the dampening effect.
Replace the standard screws with dampeners by inserting them between the component and the screw holes.
This will help dampen vibrations and reduce noise.
Use foam tape or similar materials to seal these gaps and openings.
Pay close attention to areas around panels, vents, and where cables enter or exit the case.
This will help contain and minimize noise leakage.
Ensure that all screws are properly tightened but be cautious not to overtighten and damage the case or components.
Consider additional foam padding or using anti-vibration mounts for specific components.
Continually assess and fine-tune the sound dampening to achieve the desired level of quietness.
This allows you easy access to the interior of the case for applying sound dampening materials.
This will ensure your safety and prevent any electrical accidents.
Step 2: Identify the Side Panels
Take a look at your PC case and identify the side panels.
Most cases have two side panels one on the left and one on the right.
These panels are typically held in place by screws or latches.
check that you have the appropriate tool handy before moving on to the next steps.
Typically, there will be several screws along the edges of the panel.
Loosen and then remove these screws, being careful not to drop them inside the case.
Some cases may have latches or clips that need to be released before sliding or swinging initiate the panel.
This will prevent them from getting lost and make it easier to locate them when reassembling the case.
Remember to exercise care and caution to avoid any damage to the case or its components.
Applying Acoustic Foam
Acoustic foam is a key component in sound dampening your PC case.
Its excellent noise-absorbing properties help reduce vibrations and minimize noise reflections.
Use a utility knife or scissors to ensure clean and precise cuts.
This will reveal the sticky side that will be attached to the interior surfaces of the case.
Be careful not to touch the adhesive side with your fingers to maintain its effectiveness.
Press the foam firmly against the surface to ensure a secure and effective bond.
Cut the foam accordingly to fit these specific locations, ensuring maximum coverage.
Ensure consistent coverage throughout the case to achieve optimal sound dampening results.
The foams noise-absorbing properties will help make your computing experience quieter and more enjoyable.
Use a utility knife or scissors to achieve accurate cuts.
verify not to touch the adhesive surface to maintain its stickiness.
Start with the side panels, placing the material on areas that typically generate noise or vibrations.
Press the material firmly against the surface, smoothing out any wrinkles or air bubbles as you go.
Use a roller or the back of a spoon to ensure even adhesion.
Customize the size and shape of the material to fit each specific location, ensuring comprehensive coverage.
Aim for consistent coverage throughout the case for optimal noise reduction.
Step 3: Choose the Right Sealing Material
Select an appropriate material to seal the gaps and vents.
Options include foam tape, rubber grommets, or silicone sealant.
For foam tape or rubber grommets, cut them to the appropriate lengths to cover the gaps completely.
Apply the sealing material firmly and evenly, ensuring secure adhesion.
If you seal off ventilation openings entirely, your components may overheat.
Additionally, place your hand near the sealed gaps and vents to feel for air leakage.
Over time, the adhesive may weaken or the material may deteriorate, compromising the effectiveness of the seal.
This additional step enhances the overall sound dampening effects and contributes to a quieter computing environment.
Organize them in a safe and easily accessible area to prevent any loss or confusion.
Remove any remaining dust or debris from the panels using a soft cloth or compressed air.
This will ensure a clean surface for reattachment.
Step 3: Check Cable Connections
Before reassembling, double-check all cable connections inside the PC case.
Ensure that all power cables, data cables, and fan connections are properly connected.
This will prevent any issues or malfunctions when you power on your PC again.
Start with the top screws or latches to ensure proper alignment, then move to the sides and bottom.
Listen for any abnormal noises or vibrations that could indicate an issue with the reassembly.
Monitor the temperature of your components to ensure they are running within an appropriate range.
Ensure that the sound dampening materials are properly in place and have not shifted during the reassembly process.
Step 2: Listen for Noise Reduction
Take a moment to listen for any noticeable reduction in noise levels.
Pay attention to the overall sound quality and whether the noise is less pronounced.
Step 3: Monitor Component Temperatures
While listening for noise reduction, monitor the temperatures of your PC components.
Ensure that the sound dampening modifications have not negatively affected the cooling efficiency of your PC.
Watch for any abnormal temperature spikes, as this could indicate a potential issue with airflow or heat dissipation.
Assess whether there is a noticeable reduction in noise during these intense activities.
This will help determine if the modifications have positively affected your recording setup.
Ask if they perceive a difference in the noise levels after the modifications.
Their input can provide additional perspectives and help validate the effectiveness of your efforts.
Consider adding additional foam or materials to specific areas where noise is still evident.
Monitor Component Temperatures:Throughout the sound dampening process, closely monitor the temperatures of your PC components.
Ensure that the modifications have not caused excessive heat buildup.
Consider adjusting fan speeds or upgrading cooling solutions if necessary.
Regular Maintenance:Dust can accumulate over time and negatively impact the performance of your PC components.
Regularly clean your PC case and components to ensure maximum airflow and minimize noise because of dust buildup.
Use compressed air or an antistatic brush to remove dust from fan blades and heatsinks.
Consider Fan Replacements:In addition to sound dampening modifications, consider upgrading your fans to quieter alternatives.
Position your PC Case:The placement of your PC case can affect noise levels.
Avoid placing your PC directly on the floor or in a tight space where noise has limited escape routes.
Optimum positioning can help minimize noise reflection and provide better airflow.
This can maintain necessary cooling while reducing noise levels during idle or low-demand situations.
Use acoustic panels, rugs, or curtains to absorb sound and reduce external noise intrusion.
Conduct Regular Sound Checks:Over time, components or case modifications might require adjustment.
Conduct periodic sound checks to ensure that noise levels remain under control.
Address any emerging noise issues promptly to maintain a quiet PC environment.
Enjoy a quieter workspace, enhanced focus, and a more enjoyable computing experience overall.
