Introduction
Welcome to the world of smart home technology!
Gone are the days of manually turning on and off your devices.
In this guide, we will take you through the step-by-step process of setting up your TP-Link Smart Plug.
Well cover everything from unpacking the gear to configuring it with your Wi-Fi internet.
Well also explore the advanced features and customizations that can enhance your smart home experience.
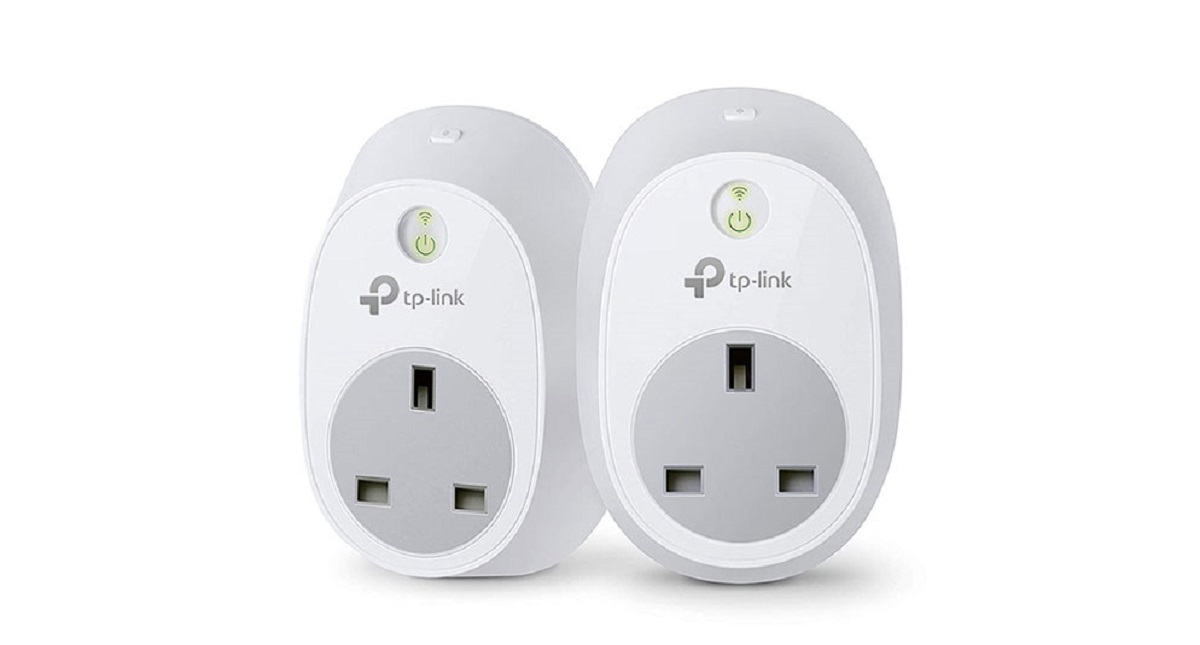
Designed with sleek aesthetics and built with premium materials, this smart plug blends effortlessly into any home decor.
Its compact size allows for easy placement without obstructing nearby outlets.
Its intuitive and user-friendly interface ensures a smooth and hassle-free setup experience.
Lets get started:
1.
Unbox the TP-Link Smart Plug: Carefully remove the smart plug from its packaging.
Take a moment to appreciate its sleek design and sturdy build quality.
Remove any protective plastic coverings or packaging materials.
Inspect the Plug: Examine the smart plug for any physical damage or deformities.
Check the power prongs for bending or signs of wear.
Ensure that there are no loose parts or rattling sounds when you shake the gear.
If you notice any issues, refrain from proceeding with the setup and contact TP-Link customer support.
This typically includes an instruction manual, warranty information, and a power cord.
Ensure all accessories are present and in good condition.
- Review the Instruction Manual: Take a moment to skim through the instruction manual provided.
Familiarize yourself with the different components and connectors on the smart plug.
The manual will also provide valuable information on safety precautions and any additional setup requirements.
Youll need this information to connect the smart plug to your home data pipe.
By following these steps, youve successfully unpacked and inspected your TP-Link Smart Plug.
Its crucial to ensure that everything is in working order before proceeding with the setup process.
This app serves as the central hub for managing all your TP-Link smart devices.
The app is free to download and doesnt require any additional purchases.
Wait for the Installation: The installation process may take a few moments depending on your internet speed.
Ensure you have a stable internet connection to minimize any interruptions.
Tap on it to launch the software.
Youve successfully downloaded and installed the Kasa App on your smartphone.
With the app now installed, youre one step closer to setting up your TP-Link Smart Plug.
In the next step, well guide you through connecting and configuring the smart plug.
Step 3: Connecting and Configuring the Smart Plug
1.
Launch the Kasa App: pop fire up Kasa App on your smartphone.
If you havent logged in already, put in your Kasa account credentials to proceed.
This icon represents adding a new rig.
The app will guide you through the setup process specific to the smart plug.
The LED indicator on the plug should start blinking to indicate its ready for setup.
Press the Wi-Fi/Reset button: Locate the Wi-Fi/Reset button on the smart plug itself.
Press and hold this button for around 5 seconds until the LED indicator starts flashing quickly.
This indicates that the smart plug is in its setup mode.
Tap on this connection to connect to it.
The app should automatically detect the smart plug and prompt you to slide in your Wi-Fi internet information.
Double-check the credentials to ensure accuracy.
Be patient while the connection is established, as it may take a minute or two.
You now have full control over your TP-Link Smart Plug through the Kasa App.
Youve now successfully connected and configured your TP-Link Smart Plug!
In the next step, well guide you through connecting the smart plug to your Wi-Fi web connection.
Tap on the detected gear to proceed with the setup.
Select Wi-Fi internet: You will be prompted to select your home Wi-Fi internet from the available list.
Choose your web connection and enter the password when prompted.
Double-check the credentials to avoid any errors.
This will ensure a stable and strong connection.
Be patient and avoid interrupting the setup process.
This indicates that the setup process is complete, and the smart plug is now connected to your connection.
Your TP-Link Smart Plug is now connected to your Wi-Fi web link.
This means you could control the plugged-in machine using the Kasa App from anywhere with an internet connection.
In the next step, well explore how to test and control your smart plugs functionality.
Step 5: Testing and Controlling the Smart Plug
2.
The app will display the current status of the plug, whether its turned on or off.
This action will control the power supply to the equipment connected to the smart plug.
Use Scheduling Feature: The Kasa App allows you to schedule power on/off times for your smart plug.
Experiment with the scheduling feature to automate your devices and create personalized routines.
pop crack open the Kasa App and try controlling the smart plug remotely.
Explore Additional Features: The Kasa App provides additional features and customization options.
Take some time to explore the apps controls and options to make the most out of your smart plug.
Youve successfully tested and controlled your TP-Link Smart Plug!
Enjoy the convenience of managing your devices with just a few taps on your smartphone.
In the next step, well delve into the advanced features and customizations available for your smart plug.
Here are some options to consider:
1.
This feature helps promote energy efficiency and provides insights into your electricity usage.
By randomly turning your plugged-in devices on and off, the smart plug can help deter potential intruders.
Scheduling: Take advantage of the scheduling feature to automate your devices based on your routines.
This allows you to control your devices using voice commands, providing a hands-free and convenient experience.
IFTTT allows you to create custom automation rules and connect your smart plug with other smart devices or services.
This feature is particularly useful for managing devices in the same area or performing actions on a larger scale.
Firmware Updates: Periodically check for firmware updates for your smart plug through the Kasa App.
Firmware updates bring new features, performance improvements, and security enhancements to your unit.
Keeping your smart plug up to date ensures you have the latest functionalities and protection.
Explore them at your own pace and adapt them to your specific needs and preferences.
Well done on completing the setup process and exploring the advanced features of your TP-Link Smart Plug!
Conclusion
Congratulations on successfully setting up your TP-Link Smart Plug!
You have now embarked on a journey towards a more connected and convenient home.
The apps interface is user-friendly, allowing even beginners to navigate seamlessly and access all the functionalities effortlessly.
IncorporatingTP-Link Smart Plugsinto your home not only adds convenience but also promotes energy efficiency and enhances home security.
Embrace the convenience, control, and energy-saving capabilities that this unit brings to your everyday life.
Have fun exploring and customizing your smart home experience with your TP-Link Smart Plug!
