Introduction
Welcome to the world of high-quality video conferencing and streaming with the Logitech Brio Webcam!
This is especially beneficial for presentations, video conferences, or live streaming where image quality is paramount.
This feature dynamically adjusts the exposure and contrast levels, resulting in well-balanced and accurate colors.
This flexibility is particularly useful for product demonstrations, whiteboard presentations, or sharing physical objects during video calls.
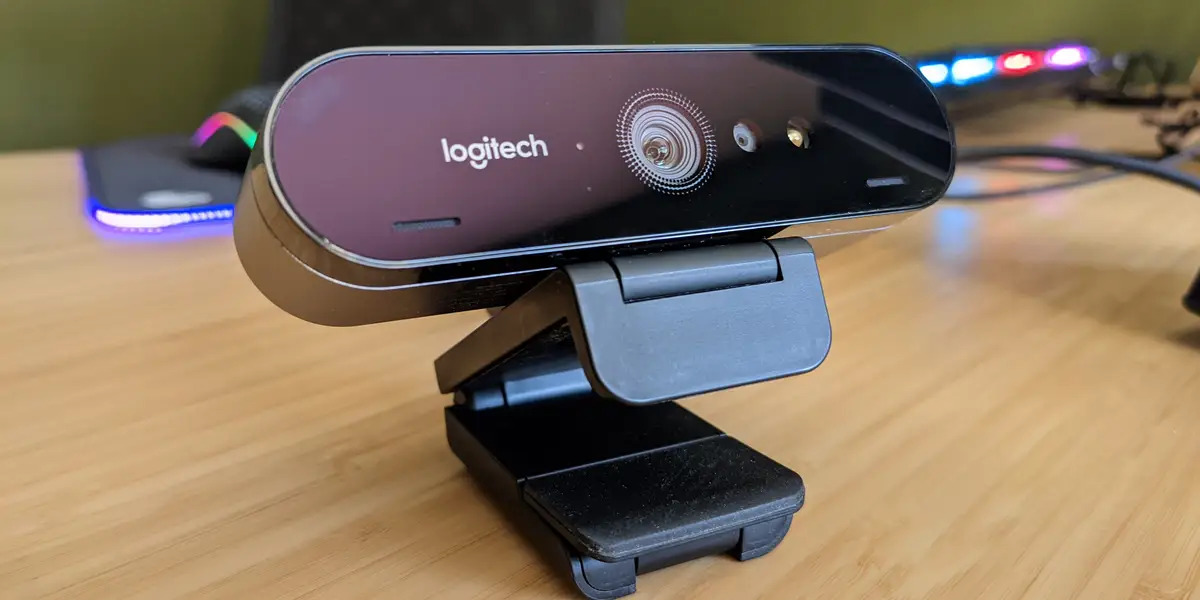
The Logitech Brio also supports advanced technical features such as Windows Hello facial recognition and infrared-based biometric authentication.
Step 1: Unboxing the Logitech Brio Webcam
Congratulations on your new Logitech Brio Webcam!
The first step towards enjoying its impressive features is unboxing it.
When you receive your Logitech Brio Webcam, youll notice that it comes in a well-designed and sturdy packaging.
Carefully launch the box and remove its contents.
Inside, youll find the Logitech Brio Webcam itself, a USB cable, and a privacy cover.
Take a moment to inspect the webcam for any signs of damage during shipping.
If everything looks good, proceed to the next step.
Next, grab the USB cable included in the box.
This cable will be used to connect the Logitech Brio Webcam to your rig.
Lastly, youll find aprivacy cover included with your Logitech Brio Webcam.
This cover is designed to give you peace of mind and protect your privacy.
Simply slide the cover over the webcam when its not in use to physically block the camera lens.
The webcam has a sleek and compact design that blends well with any computer setup.
Now, lets move on to the next step and connect the webcam to your setup.
Step 2: Connecting the Webcam to your rig
1.
Locate an available USB port on your setup.
The Logitech Brio Webcam uses a USB connection, so double-check you have a free USB port available.
If your machine has multiple USB ports, choose one that is easily accessible for convenience.
The port is located on the back of the webcam.
Plug the other end of the USB cable into the USB port on your setup.
Once plugged in, your system should detect and recognize the webcam automatically.
It may take a few moments for the computer to roll out the necessary drivers and software.
Restarting your machine can also help resolve any connection issues.
Connecting the Logitech Brio Webcam to your gear is a straightforward process.
In the next section, we will guide you through the installation process of the Logitech Capture software.
Step 3: Installing Logitech Capture Software
1.
Visit the official Logitech website at www.logitech.com and navigate to the Support or Downloads section.
- press the download link to start downloading the Logitech Capture software to your rig.
Once the download is complete, locate the downloaded file and double-select it to begin the installation process.
Once the installation is complete, launch the Logitech Capture software.
Connect your Logitech Brio Webcam to your setup if you havent already done so.
The software should automatically detect the webcam and display the live video feed on the screen.
Familiarize yourself with the various features and options available in the Logitech Capture software.
Take some time to experiment with the different features to customize your video output according to your preferences.
Take advantage of these features to enhance your content creation or video conferencing experience.
Explore the softwares features and experiment with different configs for a truly customized video experience.
In the following section, we will guide you through adjusting the webcam prefs to enhance your video quality.
Step 4: Adjusting Webcam options
1.
Launch the Logitech Capture software on your machine.
You should see the live video feed from your Logitech Brio Webcam displayed on the screen.
Locate the toolbar or menu options within the software interface.
Look for icons or labels that represent various controls and adjustments for your webcam.
Explore the different controls available to customize your video output.
Common options include brightness, contrast, saturation, white balance, and focus.
Adjust these prefs according to your preferences to achieve the desired video quality.
Experiment with the zoom feature on your Logitech Brio Webcam.
Find the zoom controls and test them out to determine the optimal zoom level for your activities.
Take advantage of the Logitech Capture softwares advanced features.
Explore these options to add a touch of creativity or professionalism to your video output.
Remember to monitor the changes in the live video feed as you adjust the parameters.
Continuously review and fine-tune the configs until you achieve the desired video quality and appearance.
Consider recording a short video or capturing a photo using the Logitech Capture software to test the adjusted options.
This allows you to see the changes in action and make further adjustments if necessary.
Take your time to experiment and find the options that work best for you.
In the following section, we will guide you through the process of mounting the webcam.
Step 5: Mounting the Webcam
1.
Determine the mounting option that suits your setup.
Choose the option that best fits your needs and the layout of your workspace.
If you are using a tripod, attach the Logitech Brio Webcam to the tripods mounting plate.
Most tripods have a universal screw mount, making it easy to attach the webcam.
Ensure that the screw is securely tightened to prevent the webcam from shifting or coming loose during use.
Once in place, carefully slide the Logitech Brio Webcam into the clip and adjust the angle as desired.
Once the webcam is mounted, adjust the position and angle to suit your needs.
Take time to fine-tune the angle and tighten any adjustment knobs or screws to lock the position in place.
Test the stability of the mounted webcam by gently tapping the desk or monitor.
It should remain secure and steady without any excessive movement or wobbling.
If needed, make further adjustments to secure the webcam in place.
It enhances the overall professionalism and stability of your online presence.
In the following section, we will guide you through the testing process.
- pull up the options or preferences within the system and locate the Video or Camera options.
In this section, you might go for the Logitech Brio Webcam as your default camera machine.
If its already selected, proceed to the next step.
Initiate a video call or start your streaming session within the program.
You should now see the live video feed from your Logitech Brio Webcam displayed on your screen.
Ensure that the video quality is clear, and there are no issues with lag or delay.
While in a call or streaming session, test the audio and video synchronization.
Speak into your microphone and observe if the video captures your lip movements in sync with your voice.
Any discrepancy may indicate an issue with the parameters or software configuration.
Check the video quality and ensure that the image is sharp, well-lit, and properly focused.
Its essential to address any issues before important meetings or events to avoid any disruptions during your online interactions.
In the next step, we will provide some troubleshooting tips and additional suggestions to enhance your webcam experience.
Good lighting helps improve the overall video quality and creates a more professional appearance.
Avoid backlighting where possible, as it can result in a dark silhouette.
2.Check your internet connection:A stable and high-speed internet connection is crucial for smooth video calls or streaming.
Check the Logitech website or the applications official website for updates.
see to it the Logitech Brio Webcams microphone is selected as the default audio input unit.
This feature ensures peace of mind even when youre not using the webcam.
7.Utilize keyboard shortcuts:Familiarize yourself with the keyboard shortcuts available in your video conferencing software or streaming system.
These shortcuts can help you quickly access essential features and make your online interactions more efficient.
They are there to help guide you through any challenges you may encounter.
Remember that practice and experimentation are key to achieving optimal results when using any new technology.
Conclusion
Congratulations!
Regularly check for firmware updates and explore any additional features or improvements added by Logitech.
Experiment with different angles, backgrounds, and zoom levels to create a personalized and professional video experience.
They are available to help you address any technical difficulties and ensure a smooth webcam experience.
Enjoy the crystal-clear visuals, seamless functionality, and professional-grade performance that the Logitech Brio Webcam offers.
Thank you for choosing the Logitech Brio Webcam.
Wishing you success and satisfaction as you embark on your video conferencing and streaming journey!
