Introduction
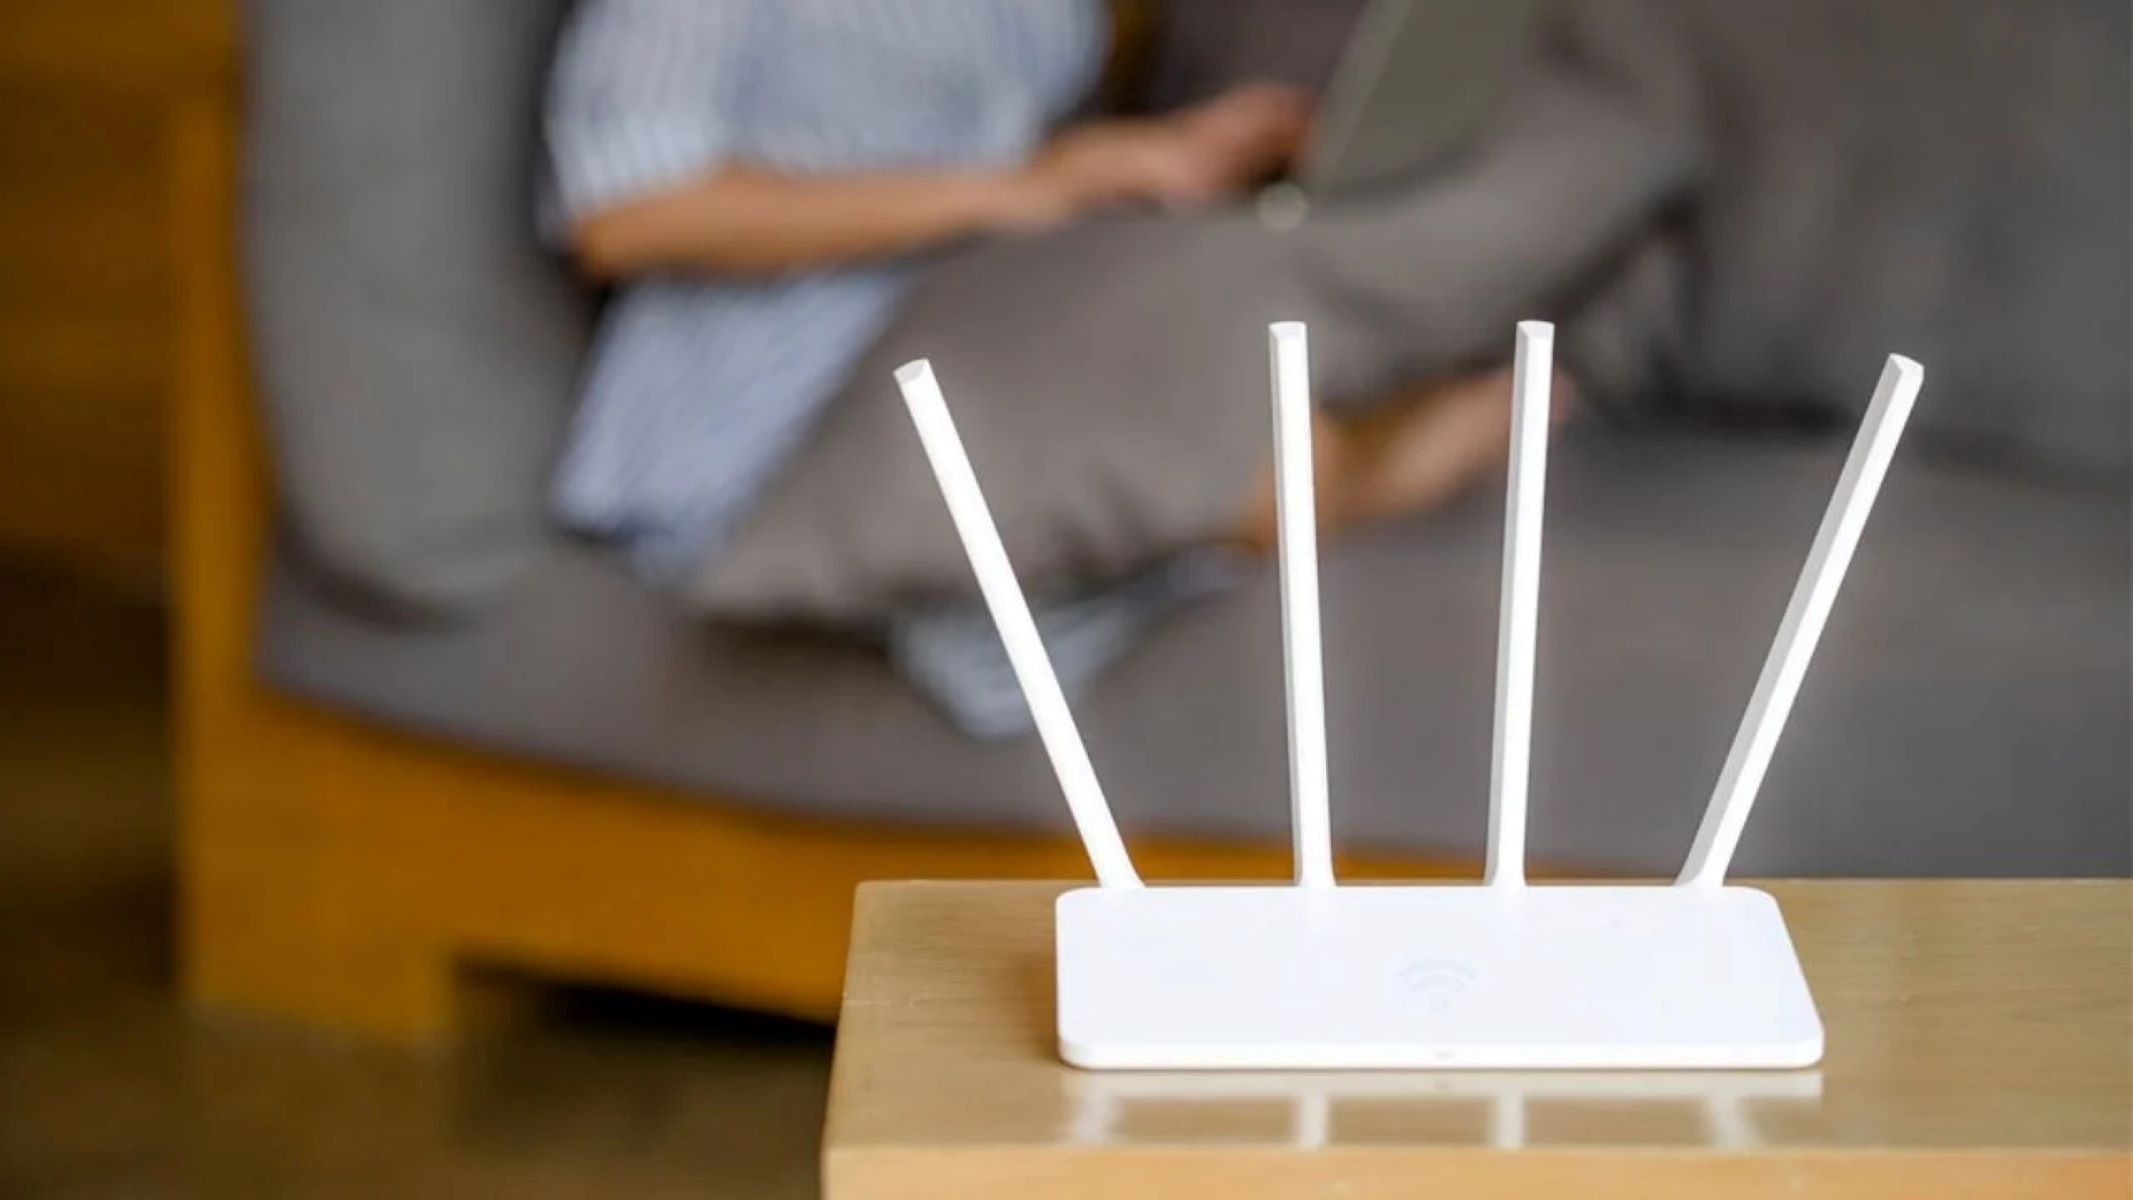
Welcome to the world of wireless connectivity!
In this step-by-step guide, we will walk you through the process of setting up yourwireless router.
Before we dive into the technical details, its important to understand the basics.
This freedom allows you to enter the web from anywhere within the range of your router.
So, lets dive in and get your wireless router up and running!
Having everything prepared beforehand will make the setup process smoother and more efficient.
Remember, its essential to choose a wireless router that fits your specific needs.
Research different models and read reviews to make an informed decision.
Here are some factors to consider when finding the perfect spot:
1.
Avoid corners or areas with thick walls, as they can impede the wireless signal.
This helps to minimize obstructions and improve signal propagation.
These can disrupt the Wi-Fi signal and result in slower speeds or dropped connections.
These objects can absorb or block the Wi-Fi signal, leading to weaker coverage.
Keep it cool: Ensure that your router is placed in a well-ventilated area with good airflow.
Routers generate heat, and excessive heat can affect their performance and lifespan.
Once youve identified the ideal location, connect your router to the modem using an Ethernet cable.
In the next step, well power up yourrouter and modemto get your wireless internet up and running.
Step 3: Connect the router to the modem
1.
This allows for a clean and stable connection.
Locate the WAN port: On the back of your router, locate the WAN or Internet port.
It is usually labeled and has a different color than the other ports.
This port is used to connect your router to the modem.
Then, take the other end of the cable and insert it into the Ethernet port on your modem.
Wait for a few minutes for the modem to establish an internet connection.
Plug the power adapter into the router and connect it to a power outlet.
The router will start booting up and establishing a connection with the modem.
You may notice lights on the router indicating successful connectivity.
Once the connection is established, youre ready to move on to the next step.
In step 4, we will power up the router and modem to ensure they are working correctly together.
Step 4: Power up the router and modem
1.
Verify the power connections: ensure that both the router and modem are securely plugged into a power outlet.
Check the power cords and adapters to ensure they are properly connected.
Turn on the modem: Begin by turning on your modem.
Locate the power button or switch on the unit and press it to power it on.
Wait for the modem to go through its startup process, which can take a few minutes.
Locate the power button on the router and press it to turn it on.
Allow the router a few minutes to boot up and establish a connection with the modem.
Check the router lights: As the router powers up, observe the lights on the front panel.
Refer to your routers manual to interpret the meaning of each light.
Ensure proper connectivity: Once both the router and modem are powered on, check for proper connectivity.
If everything is working properly, congratulations!
You have successfully powered up your router and modem.
In the next step, we will learn how to access your routers web interface to configure its tweaks.
Step 5: Access your routers web interface
1.
Common router IP addresses include 192.168.0.1, 192.168.1.1, or 192.168.2.1.
Its always advisable to change the default login credentials for improved security.
Its important to familiarize yourself with the different sections and prefs within the web interface.
Take your time to explore the options and make any necessary adjustments to suit your preferences and requirements.
Remember to save any changes you make before exiting the web interface.
Step 6: Configure the routers parameters
1.
Choose a unique and easily recognizable name for your Wi-Fi internet.
Avoid using personal information or sensitive data in the online grid name for security reasons.
Set a strong Wi-Fi password: Protect your data pipe from unauthorized access by setting a strong password.
Use a combination of uppercase and lowercase letters, numbers, and special characters.
Aim for a password that is at least 8-12 characters long.
Remember to save the password in a secure location for future reference.
This offers strong security and encryption for your data.
Avoid using outdated encryption methods like WEP (Wired Equivalent Privacy), as they are less secure.
Adjust channel options: By default, routers are set to automatically go for the Wi-Fi channels.
Use the web interface to experiment and find the optimal channel for your internet.
This allows visitors to connect to the internet without gaining access to your main data pipe.
Open a web online window and enter the routers IP address in the address bar.
put in your login credentials when prompted to jump into the web interface.
Locate the Wi-Fi tweaks: Within the web interface, navigate to the Wi-Fi tweaks section.
This is the name that will appear when devices search for available networks.
Avoid using personal information or sensitive data in the connection name for security reasons.
Set the Wi-Fi password: Set a strong and secure password for your data pipe.
Use a combination of uppercase and lowercase letters, numbers, and special characters.
Aim for a password that is at least 8-12 characters long.
Enable web link encryption: To safeguard your Wi-Fi web link, enable web link encryption.
Choose the encryption method you previously configured, such as WPA2-PSK, and enter the corresponding passphrase or password.
These can include bandwidth allocation, parental controls, Quality of Service (QoS) tweaks, and more.
Explore these options if you require advanced configurations.
This will ensure that your configured Wi-Fi web link is active and ready for use.
Once the changes are saved, your Wi-Fi online grid is now set up and ready to connect devices.
Step 8: Secure your wireless internet
1.
Create a strong and unique combination that is not easily guessable.
This encryption protocol provides a strong barrier against unauthorized users attempting to gain access to your connection.
Change the connection password regularly: Regularly change your Wi-Fi connection password to maintain security.
This ensures that only authorized devices can access your Wi-Fi online grid.
Disable remote management: Remote management allows access to your routers controls from outside your connection.
Disable this feature to prevent unauthorized access to your routers configuration.
Enable firewall and online grid protection features: Routers often have built-in firewall and online grid protection features.
Enable these to add an extra layer of security to your web connection, protecting against malicious attacks.
Firmware updates often include security enhancements and bug fixes that can help protect your connection.
Step 9: Connect your devices to the new Wi-Fi web link
1.
Locate the Wi-Fi parameters: On your unit, navigate to the Wi-Fi parameters.
Scan for available networks: Your gadget will automatically scan for available Wi-Fi networks.
Wait for a few moments until your internet appears on the list of available networks.
verify to choose the correct web link name that you set up in the previous steps.
Enter the exact password that you set during the configuration process.
It may take a few seconds for the connection to be established.
Confirm the connection: Once connected, your equipment should display a notification or icon indicating a successful connection.
You should now be able to get into the internet and other internet resources using your Wi-Fi connection.
Ensure that the correct data pipe name and password are entered for each gadget.
Remember that some devices may have slightly different steps or terminologies for connecting to Wi-Fi networks.
Consult the devices user manual or do a quick internet search for specific instructions if needed.
In the final step, well discuss how to test your wireless connection to ensure everything is working properly.
Step 10: Test your wireless connection
1.
Visit a website: Enter a website address in the browsers address bar, such as www.google.com.
This will test whether your rig can successfully dive into the internet.
Check for connectivity: Wait for the website to load.
If it loads without any issues or errors, it indicates that you have a working wireless connection.
Ensure that each gear can get into the internet and load web pages or other online content.
This will help ensure that your wireless connection can handle these activities without interruptions or buffering issues.
You have successfully set up and tested your wireless connection.
Enjoy the convenience and freedom of wireless internet access across all your devices.
By periodically reviewing and updating your routers tweaks, you might further optimize your networks performance and security.
They can provide specific instructions based on your routers make and model.
So, take the plunge and set up your wireless router today.
