Introduction
Are you an avid gamer who wants to share your gaming experiences with the world?
Or perhaps you’re a content creator looking to enhance the audio quality of your recordings?
Take a moment to inspect each item and ensure that all components are in good condition.
Once youve examined the contents, its time to connect the X12 headset to your PC.
Begin by locating the audio input and output ports on your box.
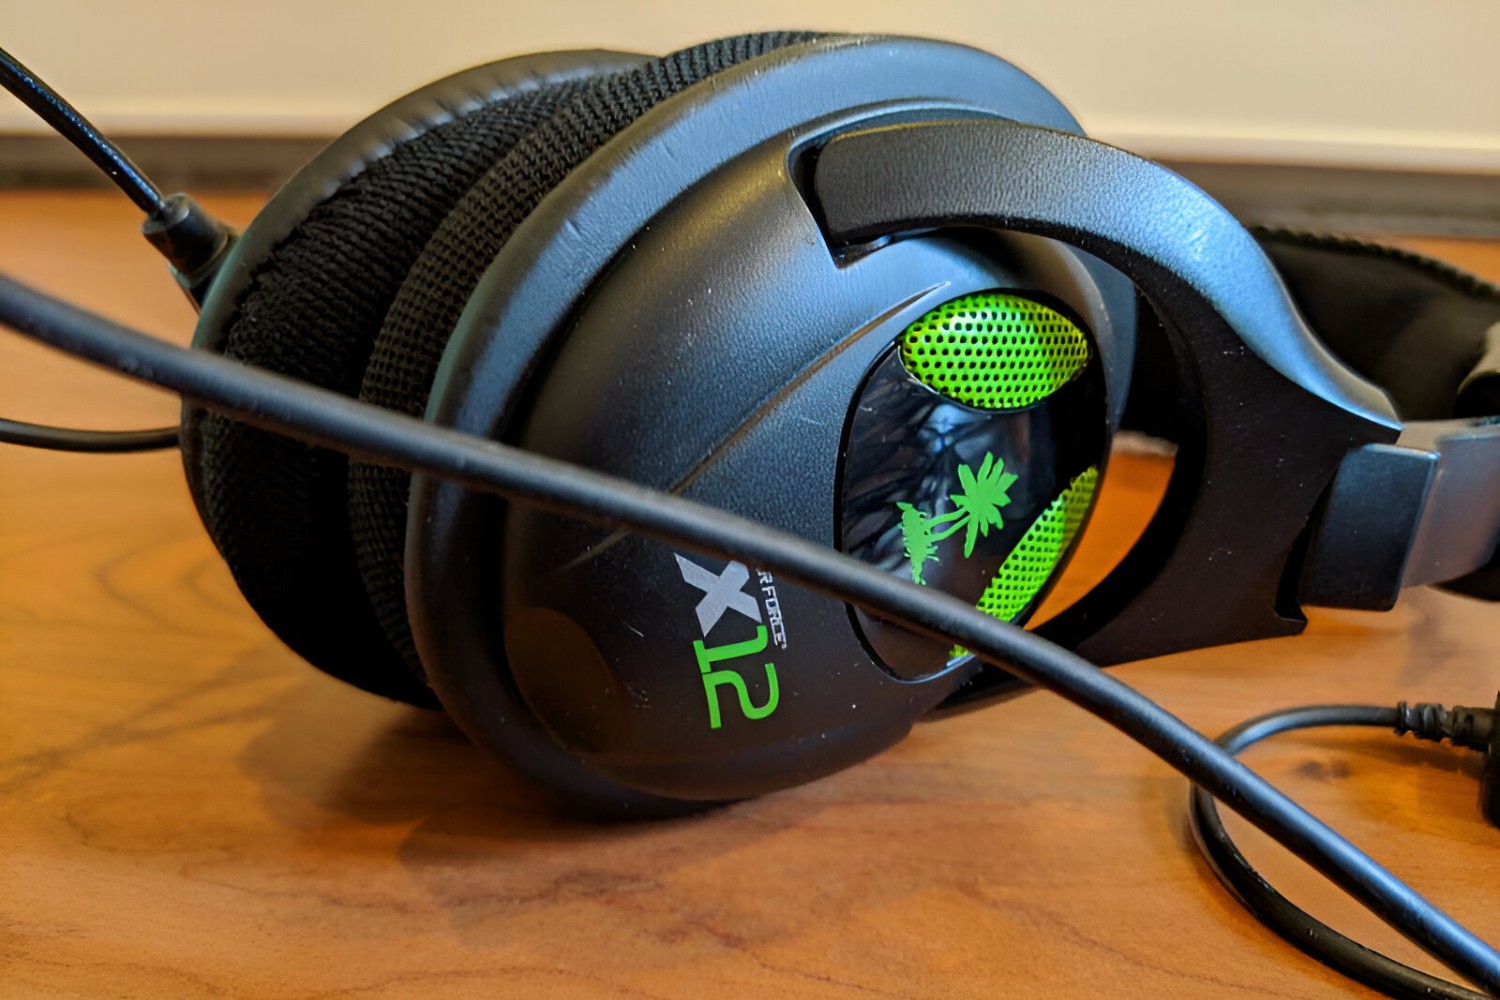
The X12 headset utilizes a standard 3.5mm headphone jack for audio output and a USB connector for power.
Next, connect the USB connector to an available USB port on your rig.
This USB connection provides power to the headset and enables the functionality of the audio control unit.
Once youve downloaded the software package, proceed to install it on your rig by following the provided instructions.
After the software installation is complete, launch the app and familiarize yourself with the available features and prefs.
During the software setup process, you may be prompted to update the firmware of the X12 headset.
Begin by accessing the audio options on your PC.
Navigate to the audio tweaks and locate the playback devices section.
Here, you should see the X12 headset listed as an available playback gear.
Set the X12 headset as the default playback rig to channel the audio output through the headset.
After configuring the playback controls, navigate to the recording devices section in the audio controls.
Here, you should see the X12 headset listed as an available recording machine.
Additionally, explore any advanced audio controls provided by the software program that accompanies the X12 headset.
Begin by launching your preferred recording software or system on your PC.
This allows the microphone on the X12 headset to capture the audio input for your recordings.
During the test recording, pay attention to the playback of the recorded audio through the X12 headset.
