Setting the RAM to the appropriate speed can greatly enhance system responsiveness and ensure smooth multitasking.
In this guide, we will take you through the process of adjusting theRAM speedin the Gigabyte BIOS.
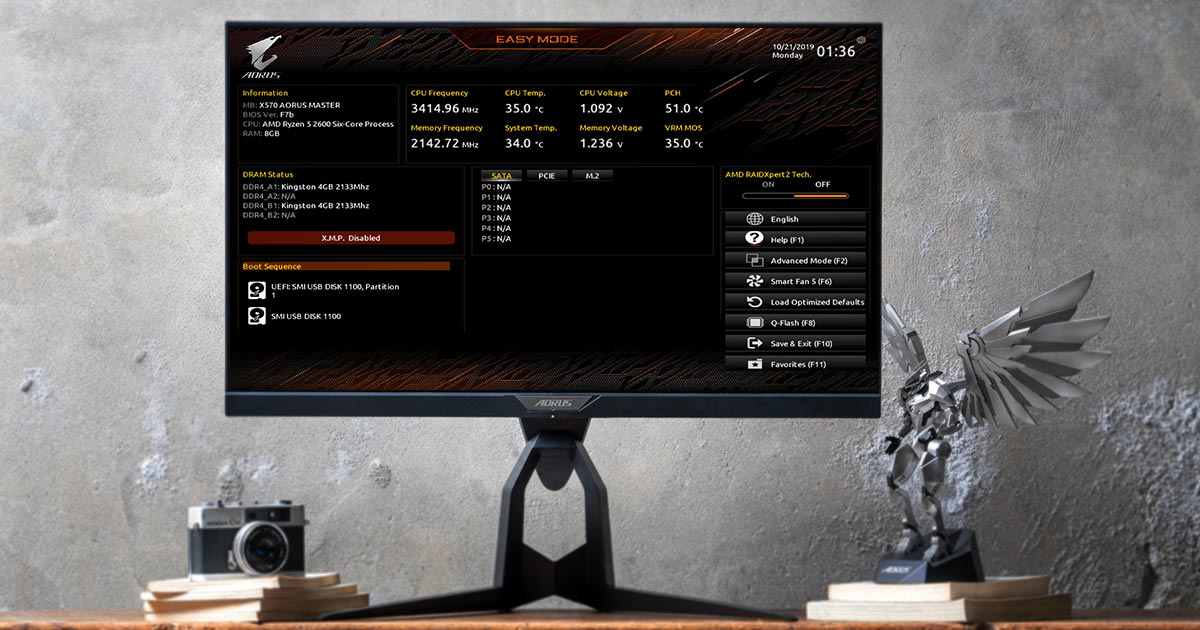
Once you successfully reach the BIOS menu, you will be greeted with a user-friendly interface.
From here, you’ve got the option to navigate through the different controls using your keyboard.
These options allow you to make adjustments to the RAM speed and other related parameters.
(Motherboard Intelligent Tweaker) tab or a similar name.
Use the arrow keys on your keyboard to highlight the M.I.T.
tab and press Enter to enter the sub-menu.
sub-menu, you will see a list of different options related to memory parameters.
Look for an option such as Advanced Memory parameters, DRAM Configuration, or something similar.
Again, the specific wording may vary based on your Gigabyte motherboard model.
Once you locate the advanced memory options, press Enter to jump into the sub-menu.
Here, you will find a range of options that allow you to modify the RAM speed and timings.
Remember to take note of the default parameters or make a backup before making any changes.
In the advanced memory controls sub-menu, look for an option that allows you to change the RAM speed.
It may be labeled as Memory Frequency, DRAM Frequency, or something similar.
opt for option and press Enter.
Choose the desired RAM speed based on the compatibility of your motherboard and RAM modules.
Refer to the specifications of your RAM modules to determine their maximum supported speed.
This will prompt the BIOS to apply the new RAM speed and start your gear.
Remember, finding the optimal RAM speed may require some trial and error.
Its advisable to test the stability of your system after each adjustment by running stress tests or benchmarking software.
This ensures that the modified configs are implemented and applied to your system.
when you obtain selected this option, press Enter.
Choose the appropriate option to save the modifications made to the RAM speed and exit the BIOS menu.
Upon selecting the save and exit option, the BIOS will prompt you to confirm the changes.
Ensure that you have reviewed and verified all the modified tweaks before proceeding with the save and exit process.
After confirming the changes, the BIOS will save the updated configuration and reboot your machine.
The new RAM speed parameters will be applied, and your system will use the adjusted frequency moving forward.
Once your box finishes rebooting, its a good idea to check whether the changes were successfully applied.
Enjoy the improved performance and responsiveness of your system!
In this guide, we explored the step-by-step process of adjusting the RAM speed in the Gigabyte BIOS.
Keep in mind that the optimal RAM speed may vary depending on your specific motherboard and RAM modules.
Experimentation may be necessary to find the best balance between performance and stability.
