When it comes to playing graphically-intensive games or working with resource-demanding applications, having sufficientdedicated video RAMbecomes paramount.
Fortunately, most modern computers allow users to adjust the amount of dedicatedvideo RAMallocated to their graphics system.
By optimizing this setting, you’re free to enhance your computers graphics capabilities and maximize its performance.
These types of software often require significant amounts of VRAM to render and manipulate complex visual elements effectively.
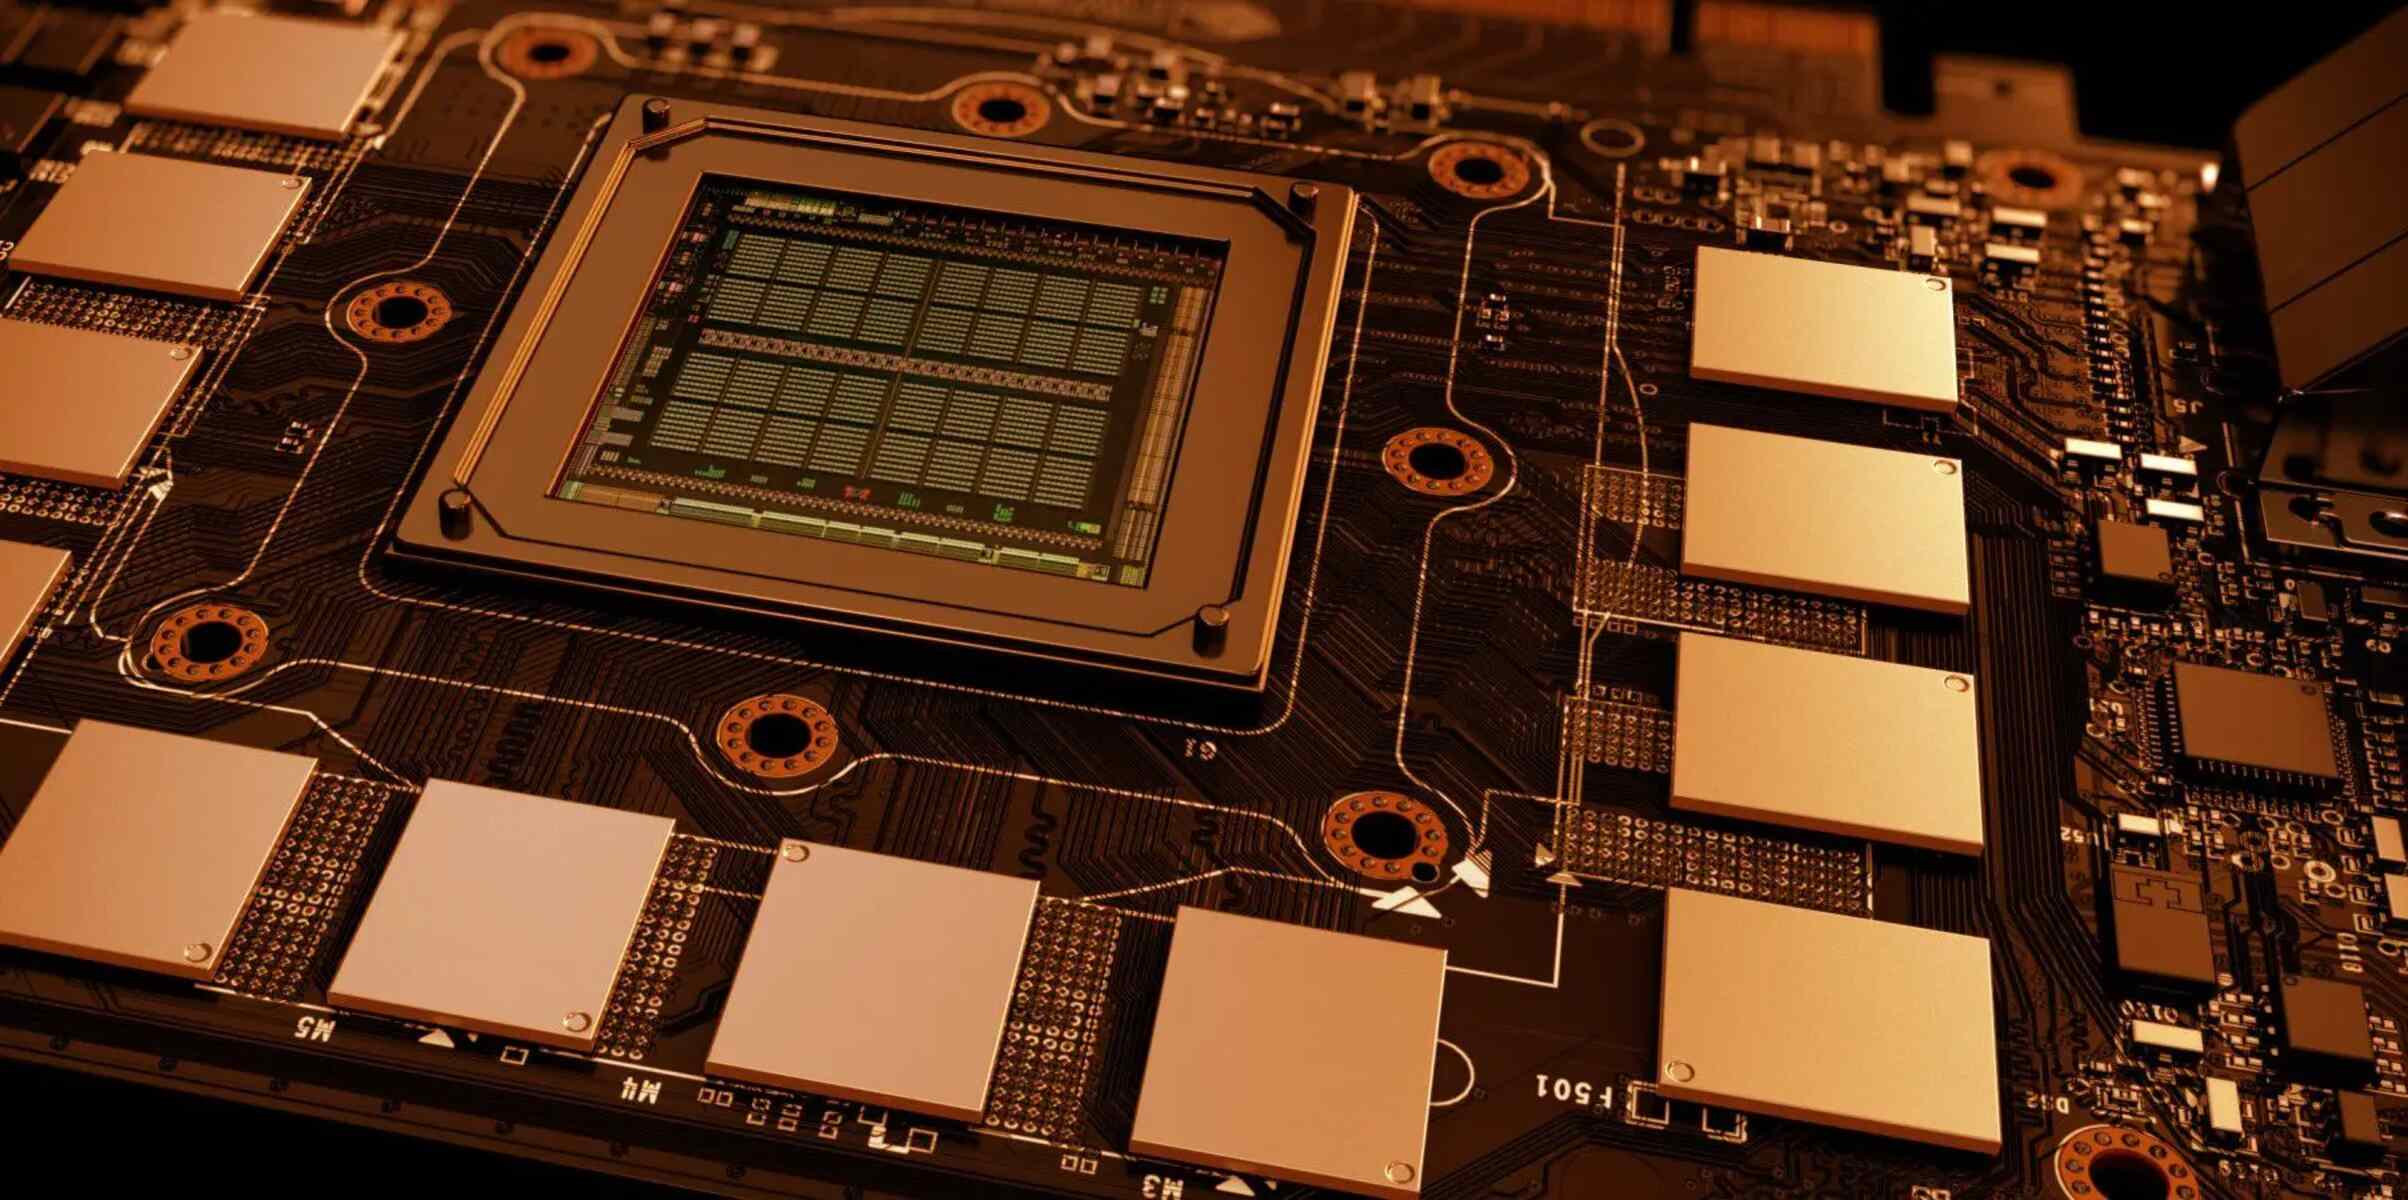
What is Dedicated Video RAM?
The amount of dedicated video RAM varies depending on the graphics hardware used in the computer.
Entry-level or integrated graphics systems typically have a lower amount of VRAM, usually ranging from 1GB to 2GB.
This separation allows for better performance and prevents conflicts between graphics processing and other tasks.
In summary, dedicated video RAM is a specialized memory buffer that stores and processes graphical data exclusively.
It provides faster access to graphical elements and enhances overall graphics performance on a computer.
Why Set Dedicated Video RAM?
Maximized Gaming Experience:Many modern games have increasingly advanced graphics and demand more VRAM to run smoothly.
This can result in a more immersive and enjoyable gaming experience without performance bottlenecks or visual artifacts.
Each display requires its own portion of VRAM to render the graphics independently.
Future-Proofing:As technology advances, so do the graphical demands of applications and games.
By setting higher dedicated video RAM allocation now, you future-proof your system to some extent.
Here are a few methods to check the current video RAM:
1.
Press Win + R to pop fire up Run dialog box, pop in msinfo32, and hit Enter.
In the System Information window, navigate to Components and expand the Display category.
Here, you will find the information about your graphics card, including the allocated video RAM.
Right-hit the desktop and select Graphics options from the context menu.
Under the Display tab, you will find the information regarding the allocated video RAM.
Within these control panels, you’re free to find information about the dedicated video RAM allocation.
punch the Apple menu, select About This Mac, and punch the System Report button.
These tools often provide easy-to-understand reports with comprehensive hardware information.
fire up the equipment manager on Windows by pressing Win + X and selecting equipment Manager.
Expand the Display Adapters category, and you will find the name of your graphics card.
Game developers usually list the recommended hardware specifications, including the amount of video RAM needed for optimal performance.
Ensure that your system meets or exceeds these requirements to avoid performance issues.
Look for information related to the recommended video RAM allocation and system specifications for smooth operation.
Take this into account when determining the maximum video RAM allocation for your system.
Here are the steps to allocate more video RAM:
1.
Navigate to the Advanced or Performance prefs and look for an option related to video memory or shared memory.
Here, it’s possible for you to adjust the allocated video RAM by selecting a higher value.
Keep in mind that not all BIOS/UEFI versions have this option, especially on laptops or pre-built systems.
Right-hit the desktop and select Graphics options from the context menu.
cycle your setup for the changes to take effect.
- macOS configs:On macOS, adjusting the allocated video RAM requires a different approach.
Unfortunately, macOS does not provide a built-in method to allocate video RAM.
This frees up the available video RAM for the active applications and improves performance.
However, be cautious when using third-party software and ensure that they come from reputable sources.
Instead, it reserves a larger portion of system memory for graphics operations.
You should notice improved graphics performance and smoother operation, especially when running graphics-intensive games or applications.
During startup, look for the key specified to dive into the BIOS options.
Keep pressing the designated key until the BIOS or UEFI menu appears.
Look for a section related to Advanced or Performance options.
The GPU configs may be located under these categories.
The exact wording may vary depending on your BIOS/UEFI version.
Look for terms like Graphics Configuration, Graphics prefs, Integrated Graphics, or Video Adapter Control.
The options might include predetermined values or a slider to adjust the amount.
Select a higher value to allocate more video RAM.
Be aware that not all BIOS/UEFI versions provide the option to adjust video RAM.
Save and Exit:After adjusting the video RAM allocation, save the changes and exit the BIOS/UEFI controls.
Look for an option like Save Changes and Exit or Exit and Save Changes.
your machine will restart, and the new video RAM allocation will take effect.
Keep in mind that not all systems allow users to adjust the dedicated video RAM in the BIOS/UEFI tweaks.
Some laptops or pre-built systems may have limited options in the BIOS.
This can lead to improved graphics performance and smoother operation during gaming or graphics-intensive applications.
Heres how you’ve got the option to do it:
1.
Right-hit the Desktop:Begin by right-clicking on the desktop to kick off the context menu.
Select Graphics tweaks:From the context menu, select Graphics tweaks.
This will bring up the Graphics tweaks window.
Choose Graphics Performance Preference:In the Graphics configs window, press the Graphics performance preference link.
Select High Performance:The Graphics Performance Preference menu will appear.
Choose the High performance option.
By selecting the High performance option, Windows will allocate more dedicated video RAM to the system.
It is important to be mindful of the overall system memory capacity when allocating more video RAM.
Therefore, consider the limitations and requirements of your specific system before making adjustments.
This will set the video RAM allocation back to the default prefs.
Adjusting the dedicated video RAM in Windows configs offers a user-friendly method to optimize your computers graphics performance.
However, there are still ways to optimize the video RAM usage for better performance.
Heres what you might do:
1.
Close Unnecessary Applications:Start by closing any unnecessary applications running in the background.
This frees up system resources, including video RAM, for the active applications.
This allows more video RAM to be available for the active app, resulting in better performance.
This option is typically available on MacBook Pro models equipped with both integrated and discrete graphics cards.
This can help improve graphics performance, especially in applications that require more video RAM.
Here are some helpful suggestions:
1.
This results in smoother video playback and faster rendering.
Ensure that hardware acceleration is enabled in your video player or editing software prefs.
Adjust Display parameters:Optimizing display parameters can also improve video performance.
Reduce the resolution of your display if you are experiencing lag or stuttering during video playback.
Clear Temporary Files and Cache:Temporary files and cached data can accumulate over time, hogging system resources.
Regularly clearing out these files helps maintain optimal performance.
Use disk cleanup tools or manually delete temporary files and clear cache folders.
Increasing the size of the virtual memory can help improve overall system performance, including video playback.
However, keep in mind that virtual memory is not a direct substitute for dedicated video RAM.
Optimize Video Codecs and Formats:Some video codecs or formats may be more resource-intensive than others.
Experiment with each suggestion to find the best combination for your specific hardware and software configuration.
Additionally, adjusting the video RAM allocation in the BIOS/UEFI tweaks provides another method on some systems.
Alongside adjusting the dedicated video RAM, there are other tips for optimizing video performance.
