Introduction
Sending an email from your phone has become an essential part of our daily communication.
Whether you use an iPhone or an Android unit, the process is relatively straightforward.
So, lets dive right in and get started!
This could be the default email app provided by your phones manufacturer or a third-party app that you prefer.
Tap on Add Account or Set up a new account option.
This may vary slightly depending on the email app you are using.
- slide in your email address and password in the designated fields.
ensure you double-check the information to avoid any errors.
Tap Next or Sign In to proceed.
The app will automatically take a stab at connect to theemail serverand verify your account details.
Review the permissions and tap Allow or Accept to grant the necessary access.
Customize these parameters according to your preferences.
Finally, tap Finish or Done to complete the setup process.
Setting up your email account on your phone is a one-time process.
It is usually represented by a pencil or a + icon.
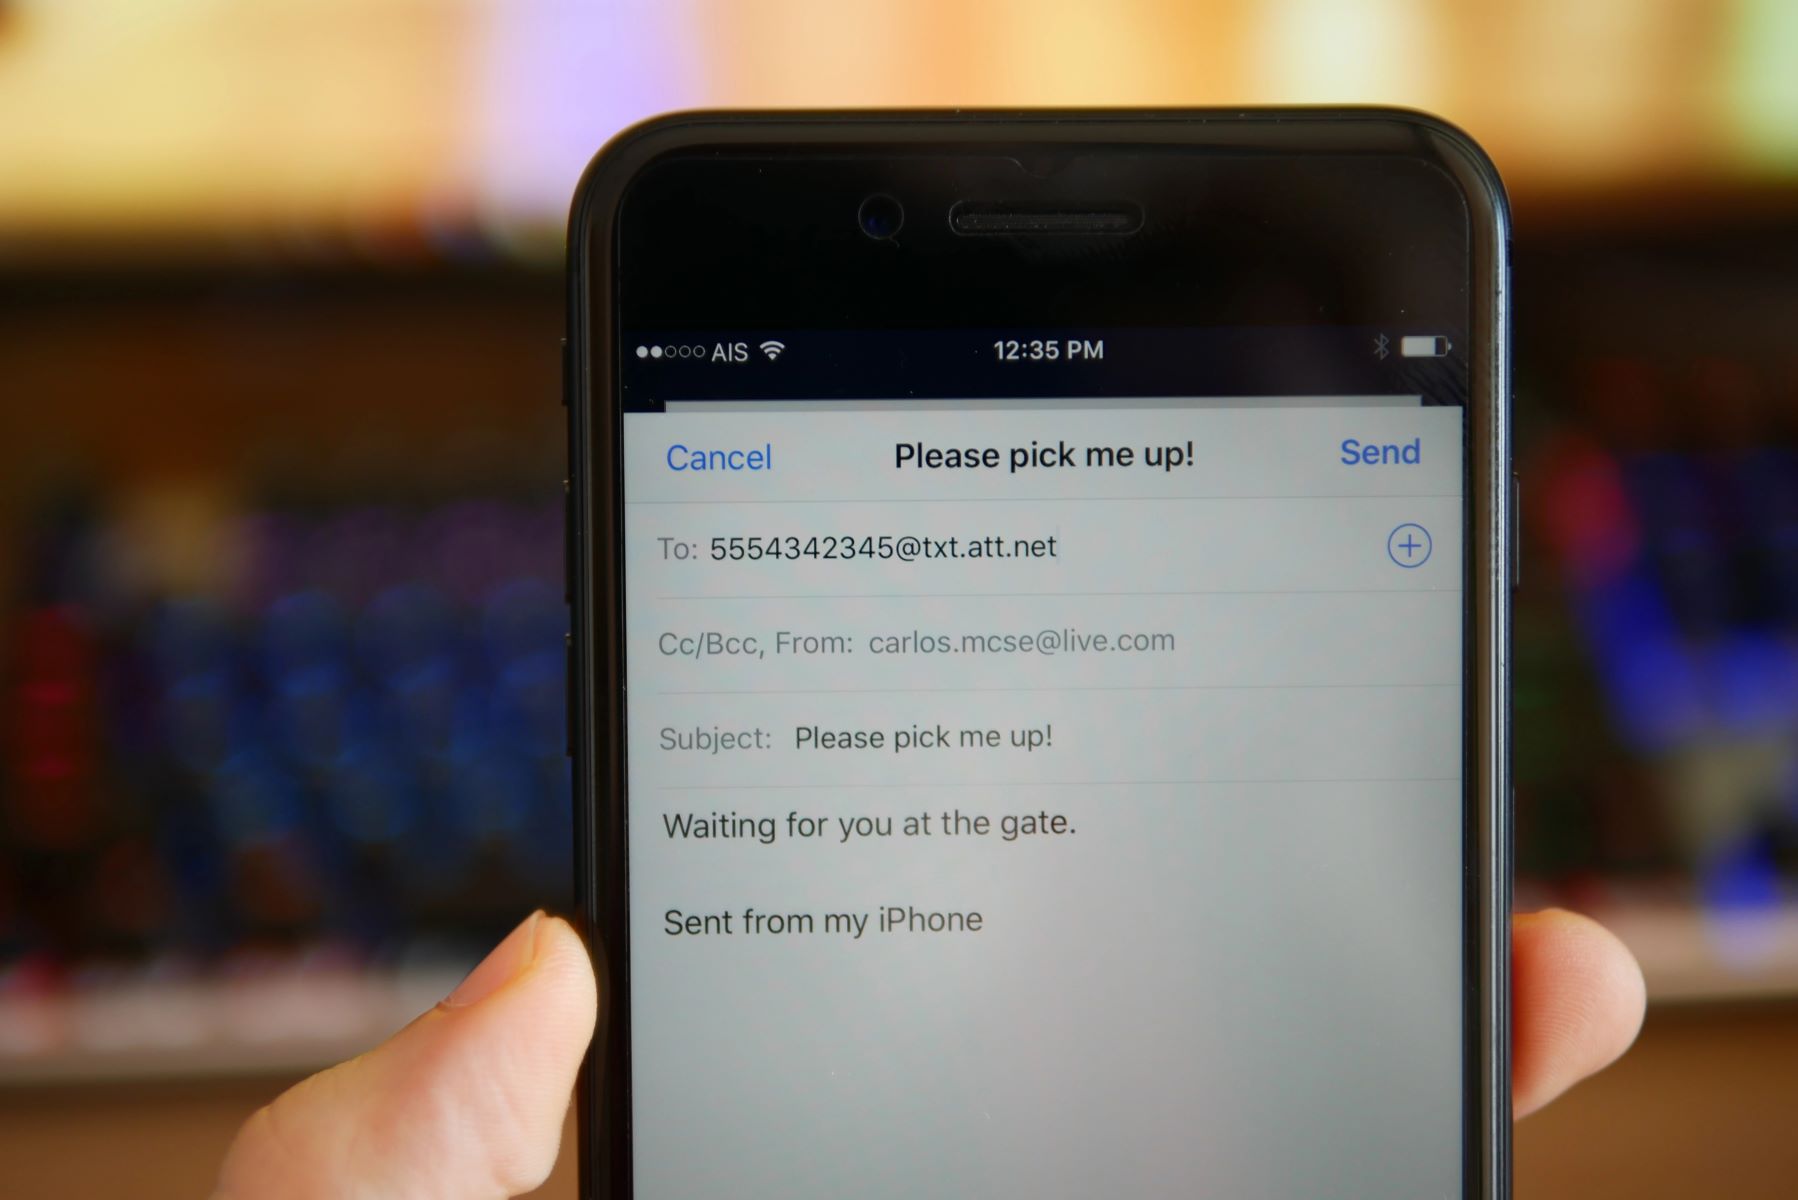
Start by entering the recipients email address in the To field.
The CC field stands for carbon copy and the BCC field stands for blind carbon copy.
Next, move on to the Subject field and enter a concise yet descriptive subject line for your email.
With the recipient and subject line in place, its time to write the content of your email.
Tap on the main body of the email to bring up the on-screen keyboard and start typing.
Use the formatting options on the email toolbar to format your text as needed.
This allows you to come back to it later without losing any progress.
- when you obtain finished writing your email, review it for any errors or typos.
Composing a new email on your phone allows you to conveniently communicate with others while on the go.
Heres how you might add recipients to your email:
1.
Start by composing a new email using the steps mentioned in the previous section.
In the To field, enter the email address of the primary recipient.
The CC field stands for carbon copy and the BCC field stands for blind carbon copy.
Separate multiple email addresses with commas.
Remember that recipients added in the BCC field will not be visible to other recipients.
After adding all the recipients, review the email to ensure that the addresses are entered correctly.
Double-check for any errors or typos in the email addresses.
Adding recipients correctly is crucial to ensure effective communication via email.
By following these steps, you might easily include the necessary recipients in your emails.
Now, lets move on to the next step: setting the subject line and email content.
Heres how you’ve got the option to craft them appropriately:
1.
After adding recipients to your email, move on to the subject line field.
Write a concise and descriptive subject that accurately summarizes the content of your email.
A well-crafted subject line helps recipients understand the purpose of your email at a glance.
Avoid leaving the subject line blank or using generic subjects like Hi or Hello.
After setting the subject line, proceed with the email content.
Clearly state the purpose of the email in the opening paragraph.
Organize the content of your email into paragraphs, using proper spacing and indentation.
This helps improve readability and makes it easier for recipients to skim through the email if needed.
Be clear and concise in your writing.
Use simple and straightforward language to convey your message effectively.
Avoid excessive jargon or technical terms that may confuse the recipients.
When elaborating on your main points or providing details, consider using bullet points or numbering.
This helps break down information into digestible chunks and promotes better understanding.
Use paragraphs to separate different topics or ideas.
This makes it easier for recipients to follow the flow of your email and locate specific information if needed.
Before sending the email, review the content for any grammatical or spelling errors.
Use the built-in spell-check feature of your email app to help you with this.
Now, lets move on to the next step: attaching files to your email.
Step 5: Attaching files
1.
Navigate to the location where the file is saved.
Tap on the file you want to attach.
The file will then be added to the email as an attachment.
If the file size exceeds the limit, consider compressing or resizing it to reduce the size.
You might say something like, c’mon find attached the meeting agenda and presentation slides…
This helps provide clarity and ensures that the recipients know what to expect.
This will remove the file from the email.
Attaching files to your email enhances your communication by allowing you to share relevant information or documents.
Now that you have successfully attached files, lets move on to the next step: adding additional options.
Here are some additional options you might consider:
1.
This notifies the recipients that the email requires their immediate attention.
Read receipt: Some email apps offer the option to request a read receipt.
When enabled, you will receive a notification when the recipient opens your email.
This can be useful for keeping track of important messages.
This can help reduce the overall email size and ensure that the files are easily accessible.
Encryption ensures that your email content and attachments are secure and can only be accessed by the intended recipients.
This allows recipients to easily identify who the email is from and provides a professional touch to your communication.
Reply options: Some email apps offer the ability to set default reply options.
Auto-saving drafts: Many email apps have an auto-save feature that automatically saves your email drafts periodically.
Take advantage of these additional options to tailor your email to your specific needs and preferences.
They can help streamline your communication and provide a more personalized touch.
Now, lets move on to the final step: sending the email.
Step 7: Sending the email
1.
Double-check the email content, subject line, and any attached files to ensure accuracy and completeness.
Review for any grammatical or spelling errors that may have been missed during the composition process.
You may receive a confirmation message or a visual indication that the email has been sent successfully.
This allows you to refer back to the email if needed or keep track of your outgoing messages.
Sending emails on the go allows for quick communication and helps you stay connected no matter where you are.
Congratulations on successfully sending your email!
Craft your email content with clarity, using proper formatting and organization techniques to facilitate readability.
Attach relevant files to enhance your communication and reduce the need for additional emails or follow-up conversations.
These options allow you to customize your email experience and ensure effective communication with your recipients.
Keep in mind that web link connectivity and recipient email servers may affect delivery times.
Monitor your sent folder or any corresponding notifications for confirmation of successful email transmission.
