Introduction
Welcome to the world of Mac!
Fortunately, macOS provides a streamlined way to access and manage these external storage devices.
So, lets get started and learn how to see SD card on your Mac!
Heres how you’re able to check the SD card connection:
1.
Begin by locating the SD card slot on your Mac.
Typically, it is located on the side of the laptop or on the rear of a desktop computer.
Ensure that the SD card is inserted properly and not loose.
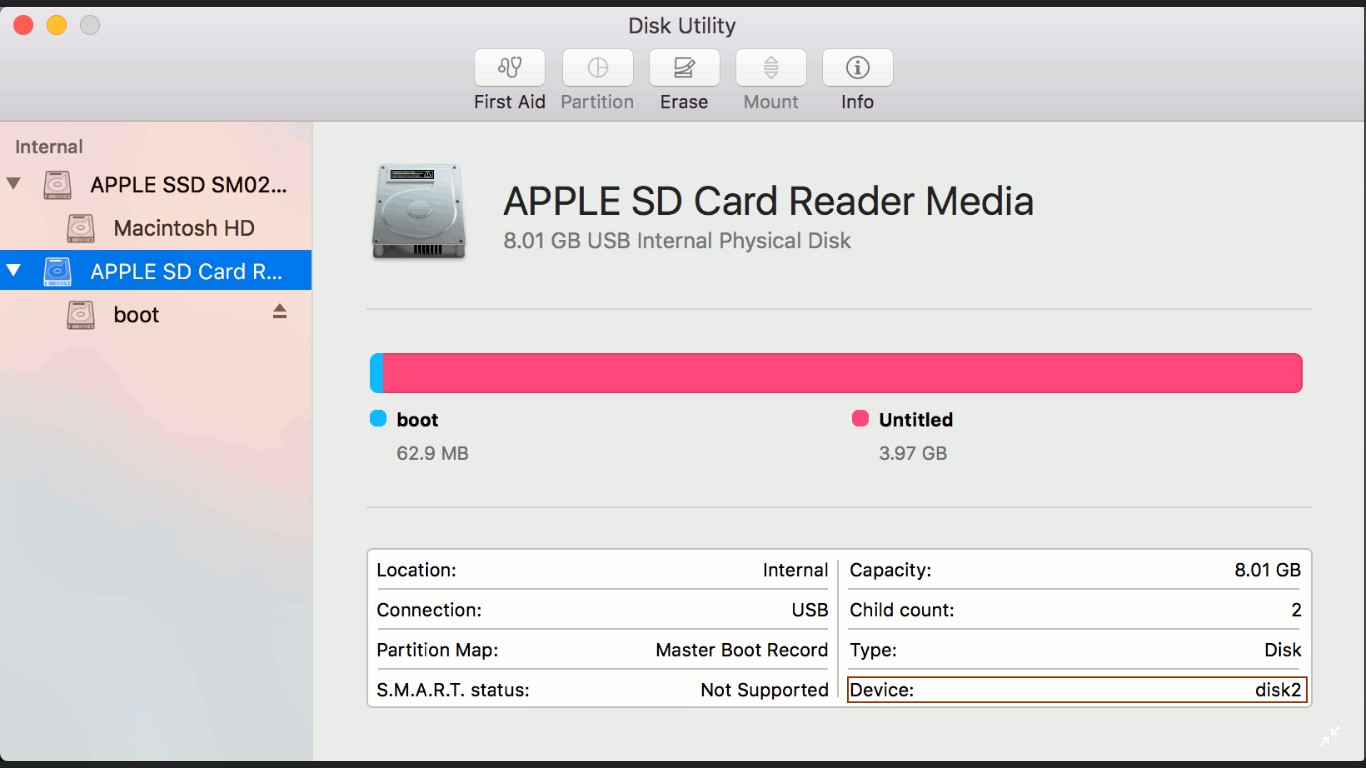
The SD card should appear as a new volume on your desktop or in the Finder sidebar.
Its also a good idea to verify if the SD card is functioning properly.
Try using it in another gadget or computer to rule out any issues with the card itself.
You may need to visit the manufacturers website to download and install any required drivers.
Mounting the SD card makes it accessible for viewing and copying files.
Heres how it’s possible for you to do it:
1.
If youre using a built-in SD card slot, the SD card should automatically mount on your Mac.
Youll see the SD card icon appear on your desktop or in the Finder sidebar.
grab the icon to launch the SD card.
The SD card should appear on your desktop or in the Finder sidebar.
press the icon to get into the SD card.
Upon mounting the SD card, you will see the contents of the card displayed in a Finder window.
Youll be able to see all the files and folders stored on the SD card.
Double-hit a folder to open it, or hit a file to view its contents.
This will create a shortcut for easy and convenient access.
Remember, when the SD card is mounted, it is considered a part of your Macs filesystem.
In the Finder window, youll see the SD card listed in the sidebar under the Devices section.
tap on the SD card to display its contents in the main window.
You now know how to view the contents of your SD card on your Mac.
Next, lets learn how to copy files from the SD card onto your Mac.
- pick the file or folder that you want to copy from the SD card.
you’re free to select multiple items by holding down the Command key while clicking on each item.
Alternatively, you’re able to use the keyboard shortcut Command + C.
4.
Navigate to the location on your Macs internal storage where you want to copy the files.
This can be a specific folder or directly onto the desktop.
Right-click in the destination folder and choose Paste from the context menu.
Alternatively, you’re able to use the keyboard shortcut Command + V.
6.
The files and folders will be copied from the SD card to the chosen location on your Mac.
Depending on the size and number of files, the copying process may take a few moments.
Ejecting the SD card ensures that all data is written and saved, preventing data loss or corruption.
Heres how to properly eject the SD card:
1.
Locate the SD card icon on your desktop or in the Finder sidebar.
Right-hit the SD card icon and select Eject from the context menu.
Wait for a moment as your Mac unmounts the SD card.
You will see the SD card icon disappear from the desktop or Finder sidebar.
Troubleshooting Common Issues
Working with SD cards on your Mac may sometimes come with a few challenges.
Here are some common issues you might encounter when using SD cards and how to troubleshoot them:
1.
Try using a different SD card or USB port to see if it improves the transfer speed.
Additionally, closing unnecessary applications and freeing up disk space on your Mac can also help.
Running a disk repair or using data recovery software might help recover the corrupted files.
However, its important to have a backup of your SD cards data to prevent any permanent loss.
Check for a physical write protection switch on the SD card and ensure it is in the correct position.
Now that weve covered common troubleshooting issues, lets summarize what weve learned in this guide.
Remember to ensure a proper connection and mount the SD card before accessing its contents.
Safely ejecting the SD card is crucial to prevent data loss or corruption.
Enjoy exploring and managing your files with ease!
