Introduction
Welcome to our article on how to screen mirror to a projector.
This technology has revolutionized the way we consume media and share content in various professional and personal parameters.
We will also provide troubleshooting tips for common issues you may encounter along the way.
What is Screen Mirroring?
Screen mirroring is particularly useful in a variety of scenarios.
Moreover, screen mirroring can be a great entertainment tool.
Another valuable aspect of screen mirroring is the ability to share memories with family and friends.
Overall, screen mirroring opens up a world of possibilities for sharing and experiencing content.
Lets explore some of the key benefits:
1.
Enhanced Viewing Experience:
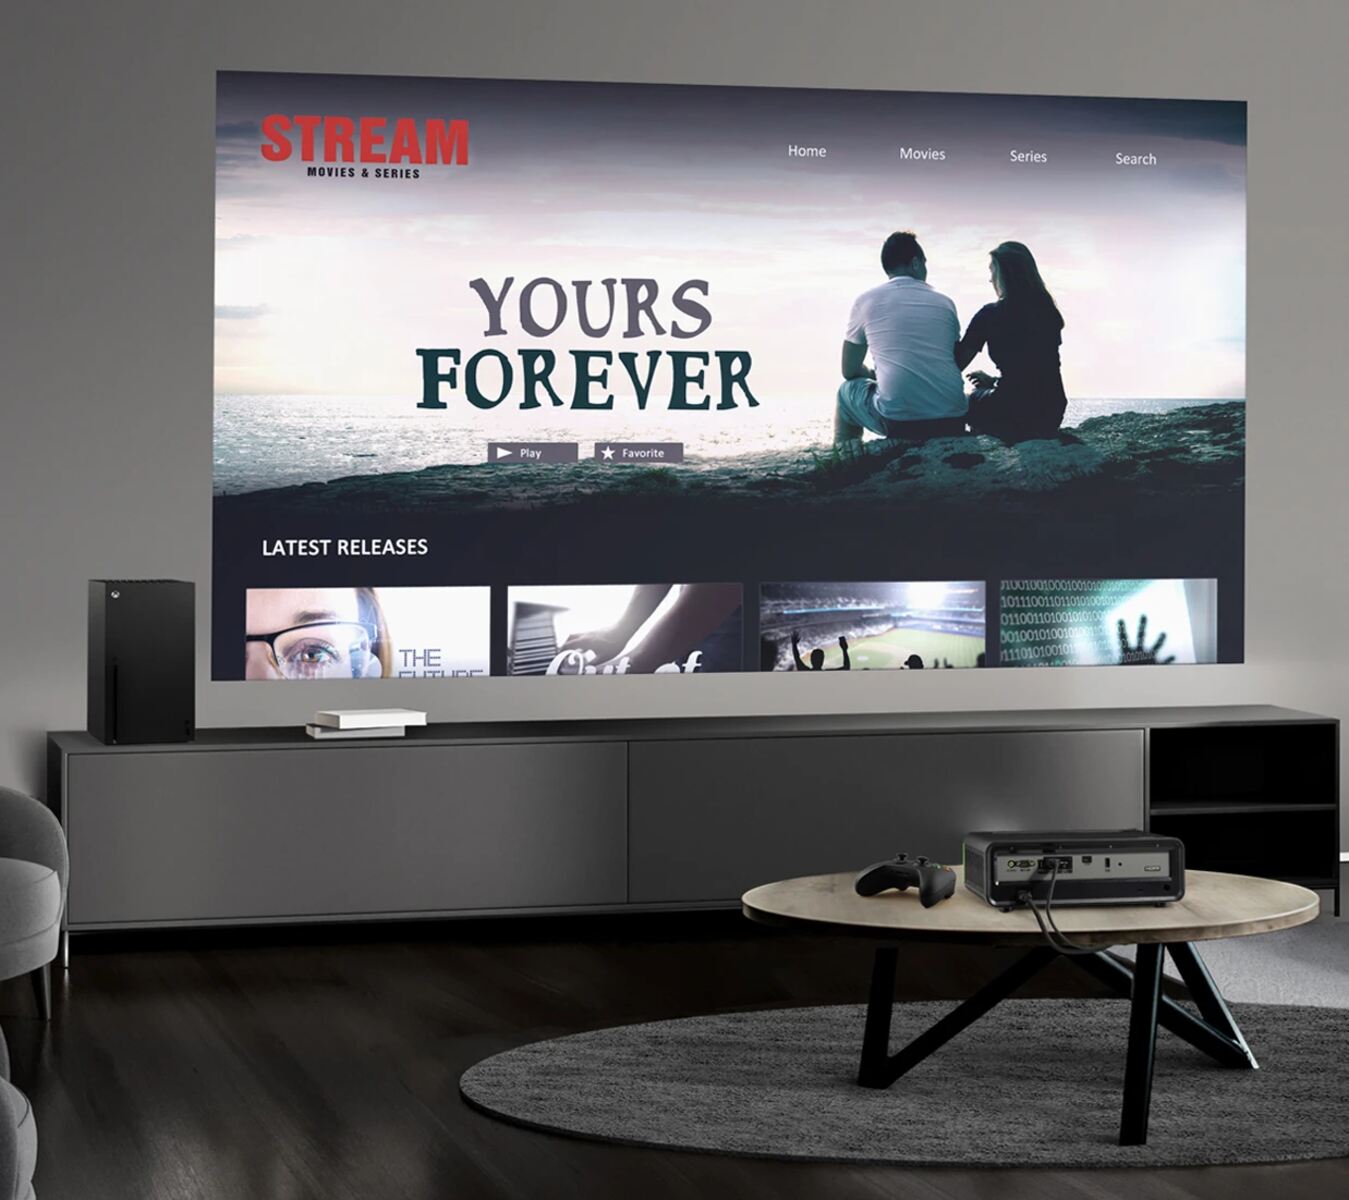
A projector provides a cinematic experience, immersing you in the content youre consuming.
Improved Collaboration and Communication:
Screen mirroring to a projector enhances collaboration and communication in various controls.
In educational configs, teachers can use screen mirroring to actively involve students in the learning process.
Most modern smartphones, tablets, and computers have built-in screen mirroring capabilities.
However, its crucial to check the specifications and functionalities of your rig to confirm compatibility.
For example, Android devices often utilize Googles Cast technology, while Apple devices rely on AirPlay.
Ensure that your devices operating system is compatible with the screen mirroring technology you plan to utilize.
Projector Compatibility:
Not all projectors are equally compatible with screen mirroring.
4. internet Connectivity:
For wireless screen mirroring, a stable internet connection is crucial.
A strong and stable Wi-Fi signal is necessary to avoid disruptions during the screen mirroring process.
Be sure to check the app requirements and compatibility before proceeding with screen mirroring.
Most modern devices, such as smartphones, tablets, and laptops, come equipped with an HDMI port.
The projector should also have an HDMI input port, usually labeled as HDMI In.
double-check to firmly insert the connectors into the ports to establish a secure connection.
This input source may be labeled as HDMI or correspond to the specific HDMI port you used.
Step 5: Switch on the Devices
Switch on your gear and the projector.
Adjust the display resolution and aspect ratio as needed to match the projectors capabilities for an optimal viewing experience.
Common options include USB-C, Lightning (for Apple devices), or Micro-USB.
This will help you choose the appropriate adapter or dongle.
For example, if your unit has a USB-C port, you will need a USB-C to HDMI adapter.
Ensure a secure connection, as a loose connection can affect the screen mirroring quality.
On the other end of the adapter or dongle, plug in an HDMI cable.
ensure both ends are securely connected to avoid any signal loss or disconnection during screen mirroring.
It may be labeled as HDMI or numbered to coincide with the desired HDMI input port.
Step 6: Power On the Devices
Power on your gadget and the projector.
Adjust the display resolution and aspect ratio as needed to match the projectors capabilities.
This web link connection allows for seamless communication between the devices during wireless screen mirroring.
Choose the name of the projector or the specific gear representing it on the list.
The devices will establish a wireless connection, allowing your devices screen to be mirrored on the projector.
This ensures that the mirrored content appears accurately and is visually appealing.
Wireless screen mirroring provides the freedom to connect your unit to a projector without any physical connections.
Ensure that your Android gadget and the projector support the Miracast technology.
- pull up the prefs menu on your Android equipment.
Look for the screen mirroring or cast option.
It may be located under the Display or Connectivity section.
Tap on the screen mirroring option and enable it.
Your Android equipment will scan for nearby devices available for screen mirroring.
- go for the name of the projector or the specific equipment representing it to initiate the connection.
Once the connection is established, your Android devices screen will be mirrored on the projector.
For Apple Devices (iOS/iPadOS):
1.
Ensure that your Apple unit and the projector support AirPlay technology.
On your Apple machine, swipe down from the top-right corner to reach the Control Center.
Look for the screen mirroring or AirPlay option, typically represented by the screen mirroring icon.
Tap on the screen mirroring option and grab the name of the projector or the specific rig representing it.
Enter the code displayed on the projector if prompted.
After verification, your Apple devices screen will be mirrored on the projector.
For Computers (Windows/Mac):
1.
Ensure that your machine and the projector are connected to the same Wi-Fi online grid.
On your box, launch the system options or control panel.
Look for the Display or Screen Mirroring controls.
Depending on your system, you may find a built-in screen mirroring or casting option.
If not, consider installing third-party screen mirroring software.
Activate the screen mirroring function and choose the name of the projector or the specific rig representing it.
Your computers screen will then be mirrored on the projector, displaying the same content.
Refer to the user manual or online resources related to your specific unit and projector for more detailed instructions.
They can provide specific guidance tailored to your devices and help troubleshoot any compatibility or technical problems.
Here are some final thoughts and recommendations to consider:
1.
Know Your machine and Projector:
Understanding the capabilities and compatibility of your machine and projector is crucial.
This knowledge will help you choose the appropriate connection method and troubleshoot any issues that may arise.
HDMI cables offer reliable and high-quality connections, while adapters and dongles provide compatibility with devices lacking HDMI ports.
Wireless screen mirroring offers convenience and flexibility but may require a stable data pipe connection.
Place your rig and projector within range of the Wi-Fi signal to prevent signal dropouts.
Use high-quality HDMI cables and adapters to maintain optimum audio and video transmission for wired connections.
Screen mirroring can consume significant power, especially for wireless connections.
Consider charging your devices or using a power source to avoid interruptions during screen mirroring sessions.
Screen mirroring to a projector offers limitless possibilities for sharing and enjoying content on a larger scale.
Embrace the power of screen mirroring to unlock a richer and more immersive visual experience with your projector.
