In this article, we will walk you through the steps to save photos from Google Photos.
Simply tap on the app icon to launch it.
see to it you are signed in to your Google Account.
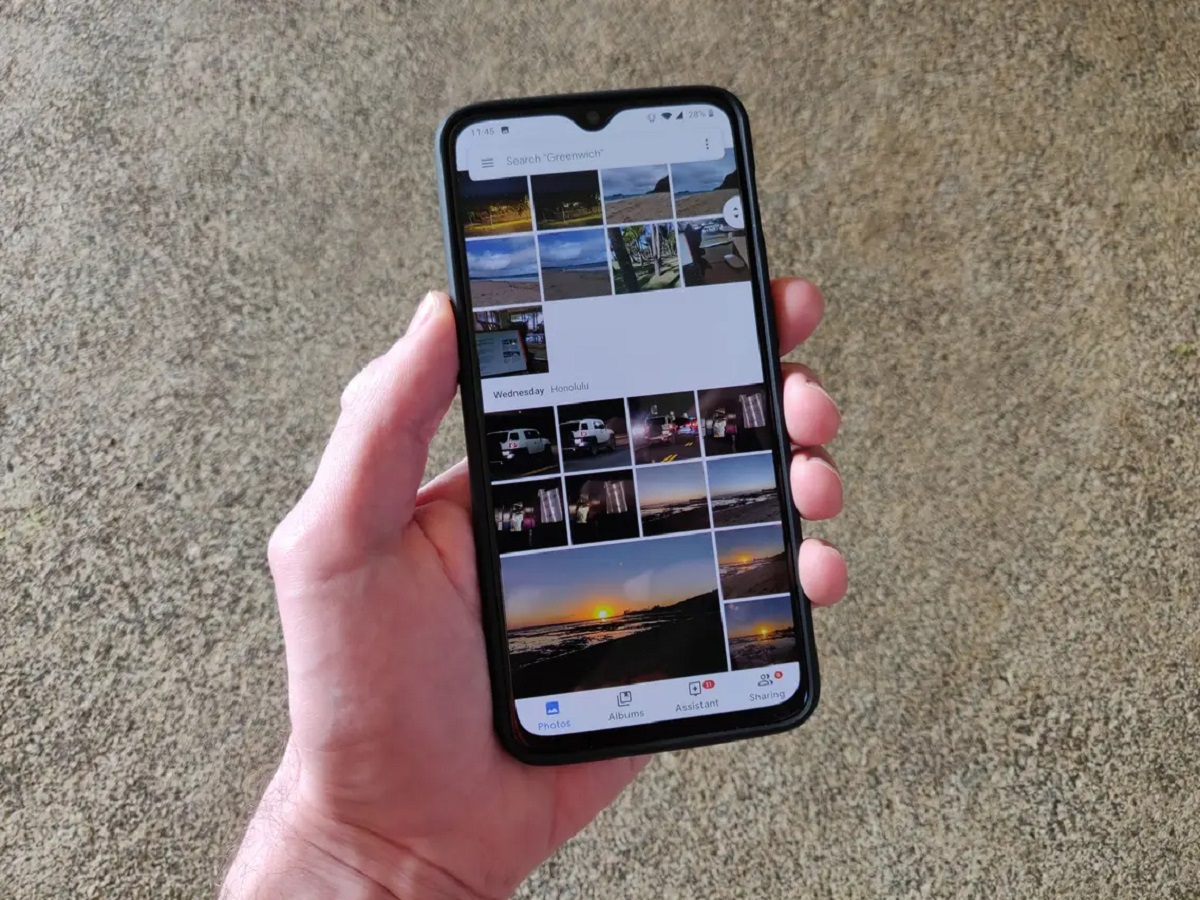
The homepage displays your recent photos, albums, and other relevant features.
On the web version, press the photo to view it in a larger size.
Google Photos also offers a convenient way to select photos using the Assistant feature.
Remember that you’ve got the option to select multiple photos from different albums or folders at once.
This flexibility allows you to gather photos from different sources and save them in a single batch.
From the sharing options that appear, select Save to machine or Save to gallery.
The photos will then be downloaded and saved to your devices local storage.
On the web version, punch the three-dot menu icon located at the top-right corner of the screen.
From the dropdown menu, select Download.
This will initiate the download process for the selected photos.
Keep in mind that the download speed may vary depending on the number and size of the photos.
Google Photos will automatically create a zip file containing the downloaded photos.
Once thedownload is complete, the zip file willbe saved in your devices default download location.
it’s possible for you to browse through your devices file system and pick the desired location.
By selecting a specific download location, you might organize the downloaded photos according to your preference.
Remember to select a location that has sufficient storage capacity to accommodate the downloaded photos.
The final step is to check the downloaded photos to ensure they have been successfully saved.
Use your devices built-in gallery app or a file manager app to locate the folder.
fire up the folder to view the downloaded photos.
Swipe through the photos to ensure they have been downloaded correctly and are viewable on your gear.
On the web version, bring up the file explorer or file manager app on your rig.
Navigate to the folder or directory where you saved the downloaded photos.
Look for the zip file that was downloaded from Google Photos.
Extract the zip file to get into the individual photos.
While checking the downloaded photos, pay attention to any errors or discrepancies.
double-check all the selected photos are present and that they have not been corrupted during the download process.
if you bump into any issues, try re-downloading the photos or contacting Google support for further assistance.
You have successfully saved and verified the downloaded photos from Google Photos.
In this article, weve walked you through the step-by-step process of saving photos from Google Photos.
Remember to choose the appropriate download location that suits your organizational needs and has sufficient storage capacity.
So, go ahead and save those precious photos from Google Photos!
Take the necessary steps to secure your memories and enjoy seamless access to your photo collection whenever you want.
