Overclocking a graphics card involves increasing its clock speeds to achieve higher frame rates and smoother gameplay.
Before we dive into the overclocking process, its important to understand the key concepts and considerations involved.
Its worth noting that overclocking voids the warranty of your graphics card, so proceed at your own risk.
However, if done correctly, it can provide a noticeable performance boost, especially in graphically demanding games.
Typically, graphics cards come with predefined clock speeds set by the manufacturer to ensure stability and compatibility.
However, these parameters are often conservative to account for different system configurations and ensure broad compatibility.
Overclocking allows you to push your graphics card to its limits and extract more performance out of it.
When overclocking, its crucial to increase these clock speeds gradually and carefully.
Rapidly increasing the clocks can lead to instability and crashes.
Its always recommended to make small adjustments and test for stability before moving on to higher clock speeds.
Overclocking can be a trial-and-error process, as different graphics cards may react differently to overclocking attempts.
As such, thorough testing is necessary to ensure stability and compatibility.
The first consideration is the power supply unit (PSU) in your system.
Overclocking puts additional strain on the GPU, which requires more power.
Ensure that yourPSU has enough wattage to accommodate the increased power consumption.
Its recommended to have a PSU with a higher wattage rating than the minimum requirement of your graphics card.
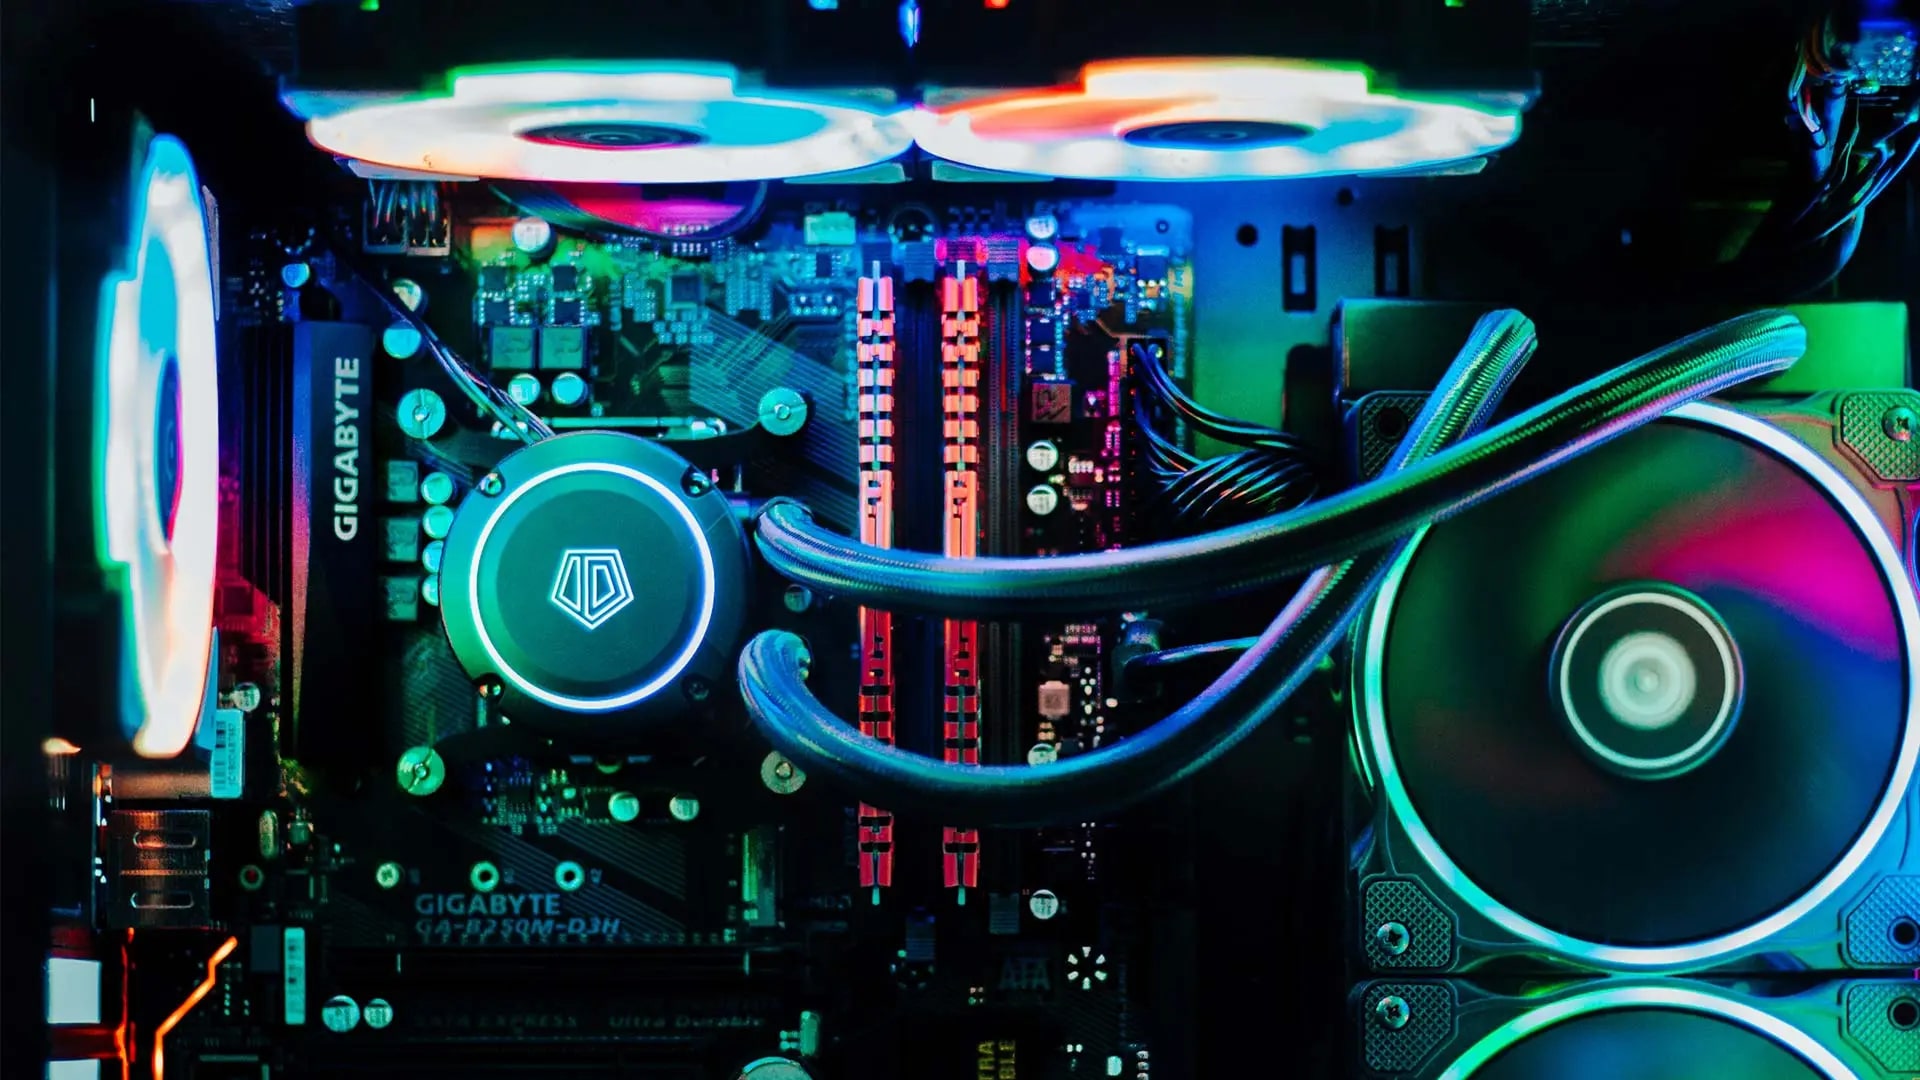
Next, check the cooling solution on your graphics card.
Overclocking generates additional heat, and efficient cooling is necessary to prevent thermal throttling and maintain stability.
Another aspect to consider is the quality of the VRMs (voltage regulation modules) on your graphics card.
VRMs control the power delivery to the GPU and other components.
Overclocking increases the power consumption, potentially straining the VRMs.
High-quality VRMs with efficient heat dissipation are vital for stable overclocking.
Its also important to check the VRAM (video random access memory) on your graphics card.
VRAM stores temporary data used by the GPU.
Overclocking the VRAM can lead to improved performance in memory-intensive tasks.
Ensure that your graphics card has quality VRAM modules capable of handling overclocking.
Lastly, see if your motherboard supports overclocking.
Some older or budget motherboards may not provide sufficient power delivery or have limited BIOS options for overclocking.
Ensure that your motherboard is compatible and has adequate features for overclocking.
The Sensors tab provides real-time information about temperature, fan speed, GPU usage, and more.
This can be helpful for analyzing the performance and stability of your overclocked graphics card.
Most modern graphics cards come with predefined power limits set by the manufacturer.
These limits are meant to ensure the GPU operates within safe parameters.
Its recommended to increase the power limit incrementally and monitor the temperatures and stability after each adjustment.
Overall, managing the power limits of your graphics card is a crucial aspect of overclocking.
Experiment with different power limit adjustments and find the optimal setting for your specific graphics card and cooling solution.
By increasing the core clock and memory clock, you might achieve a noticeable boost in performance.
However, its crucial to approach this process cautiously and methodically.
Before tinkering with the clock speeds, its essential to establish a baseline.
Run benchmarks or play demanding games to determine the stock performance of your graphics card.
This will help you gauge the improvements achieved through overclocking.
While increasing the core clock can result in substantial performance gains, it also produces more heat.
Ensure that your cooling solution can handle the increased heat generated by the overclocked graphics card.
The memory clock is another parameter that can be adjusted during the overclocking process.
Some chips may be more tolerant of overclocking, while others may reach their limits quickly.
Experimenting with different clock speeds and finding the stable maximum for your specific graphics card is a trial-and-error process.
Remember to monitor temperatures and adjust cooling as necessary.
Stability testing helps identify any instability or artifacts that may occur during intensive tasks like gaming or rendering.
This ensures that your graphics card can handle the increased clock speeds without crashing or causing errors.
One of the most popular tools for stability testing is FurMark.
In addition to FurMark, there are several other benchmarking tools available for stability testing.
Examples include 3DMark, Unigine Heaven, and Prime95.
When running stability tests, its essential to closely monitor the temperatures of your graphics card.
Utilize monitoring software such as GPU-Z or MSI Afterburner to keep track of the temperatures during the stress test.
If temperatures exceed safe limits, consider adjusting your cooling solution or dialing back the overclocked configs.
During stability testing, keep an eye out for any artifacts or graphical glitches.
Remember that stability testing is a crucial step in the overclocking process.
There are several software tools available that allow you to monitor the temperatures of your graphics card in real-time.
GPU-Z, HWMonitor, and MSI Afterburner are popular choices that provide accurate temperature readings for your GPU.
The maximum safe temperature for most graphics cards is typically around 85-90 degrees Celsius (185-194 degrees Fahrenheit).
Exceeding these temperatures can lead to instability, thermal throttling, and potentially permanent damage to the GPU.
One option is to adjust the fan speeds on your graphics card.
Strike a balance between cooling and noise based on your preferences and system requirements.
Another option is to ensure proper case airflow.
see to it that your case has adequate ventilation and that the airflow is unobstructed.
Adding case fans or optimizing fan placement can help dissipate heat more effectively and reduce temperatures during overclocking.
These options provide better heat dissipation and can keep temperatures lower during overclocking sessions.
Remember that monitoring temperatures is an ongoing process, especially during extended gaming sessions or demanding tasks.
Most modern graphics cards have built-in fan control mechanisms that automatically adjust fan speeds based on the GPU temperature.
Increasing the fan speeds will enhance the airflow around the graphics card, enabling better heat dissipation.
This can help lower temperatures during demanding tasks and minimize the risk of thermal throttling or stability issues.
However, keep in mind that higher fan speeds also result in increased noise levels.
Its recommended to gradually increase the fan speeds while monitoring the temperatures to find the optimal sweet spot.
Alternatively, you’ve got the option to create custom fan speed profiles based on different temperature thresholds.
This allows for a quieter operation when the GPU isnt stressed and maximizes cooling performance when needed.
Lastly, alongside adjusting fan speeds, its crucial to ensure proper airflow within your system.
Good airflow helps cool not just the graphics card but also other vital components within your system.
While overclocking typically involves increasing voltages, undervolting reduces them without sacrificing performance.
Undervolting can bring several benefits, including reduced power consumption, lower temperatures, and improved efficiency.
Undervolting can also lead to improved overclocking potential and better thermal headroom.
This can result in improved performance while maintaining lower power consumption.
Undervolting is a balancing act, as setting the voltage too low can instigate instability or crashes.
Its recommended to gradually reduce the voltage in small increments and test for stability after each adjustment.
Run stress tests and real-world applications to ensure that the undervolted prefs are stable under various workloads.
Each GPU responds differently to undervolting, and finding the optimal undervolt options requires experimentation and testing.
Undervolting can be accomplished using software utilities such as MSI Afterburner or AMD Wattman (for AMD GPUs).
These tools allow you to adjust the voltage/frequency curve, finding the balance between voltage reduction and stability.
Undervolting is particularly beneficial for users concerned with power consumption and thermal efficiency.
From stability problems to graphical artifacts, these issues can be frustrating but are usually resolvable with some troubleshooting.
Here are some common issues you may encounter during the overclocking process and steps to address them:
1.
Try reducing the clock speeds or increasing the voltage slightly to find a more stable configuration.
Additionally, ensure that your cooling solution is sufficient to handle the increased heat generated by overclocking.
These artifacts indicate an unstable overclock.
Lower the clock speeds or increase the voltage to fix this mess.
If the artifacts persist, it may indicate that your graphics card has reached its maximum overclocking capability.
High temperatures:Overclocking can increase temperatures, but excessively high temperatures can lead to thermal throttling or instability.
Reset your clock speeds and voltage configs to default, then gradually increase them while monitoring for stability.
Each game or system may have different overclocking tolerance levels.
Ensure that your PSU has sufficient wattage and proper power delivery capabilities to handle the increased load.
Remember, troubleshooting overclocking issues requires patience and perseverance.
Take incremental steps and test for stability after each adjustment.
Now that we have covered common troubleshooting issues, lets move on to the concluding section of this guide.
Conclusion
Congratulations!
Youve reached the end of this guide on safely overclocking your graphics card.
We also discussed stability testing, adjusting fan speeds, undervolting for better efficiency, and troubleshooting common issues.
However, its essential to approach overclocking with caution and respect for the risks involved.
Remember to always prioritize stability and monitor temperatures closely during the overclocking process.
Test for stability using benchmarking tools and be prepared to make adjustments if instability or artifacts occur.
Keep an eye on temperatures and ensure that your cooling solution can handle the increased heat generated by overclocking.
Proceed with caution and at your own risk.
Now, its time to put this knowledge into practice and unleash the full potential of your gaming rig!
