In this article, we will walk you through the steps to run a PHP project in Eclipse.
The collaboration between Eclipse and PHP provides an efficient environment for building robust and scalable PHP applications.
Running your PHP projects within Eclipse offers numerous benefits.
If you havent installed it yet, dont worry we will cover the installation process in the next section.
Installing Eclipse
Congratulations!
You now have Eclipse installed on your box and are ready to start developing PHP projects.
It is worth noting that Eclipse is highly extensible and supports a vast array of plugins.
These plugins can be added to enhance the functionality of your Eclipse IDE.
Keep in mind that Eclipse periodically releases updates and newer versions.
Installing PHP Development Tools (PDT) plugin
1.
Launch Eclipse IDE if it is not already open.2.
Go to the Help menu and select Eclipse Marketplace from the dropdown.3.
In the Eclipse Marketplace dialog, search for PHP Development Tools using the search bar.4.
On the PDT page, choose the Install button to begin the installation process.6.
Review the list of featured and optional components and grab the ones you need for your PHP development environment.7.
Accept the terms of the license agreements and punch the Finish button to start the installation.8.
Eclipse will begin downloading and installing the PDT plugin and any selected optional components.
This process may take a few minutes.9.
press Yes to restart Eclipse.
you could now start creating and working with PHP projects.
Mismatched versions may lead to compatibility issues and feature discrepancies.
Creating a new PHP project
1.
Launch Eclipse and ensure the PHP perspective is active.
If not, go to the Window menu, select Perspective, and choose Open Perspective followed by PHP.
This will ensure that you are in the PHP development environment.2.
Go to the File menu and select New followed by PHP Project.
Alternatively, you might right-click anywhere in the Project Explorer view and choose New and then PHP Project.3.
In the New PHP Project dialog, enter a suitable name for your project in the Project name field.4.
Choose an appropriate location for your project by specifying the directory path in the Location field.
you could either use the default location or select a custom one.5.
snag the PHP version you wish to use for your project from the PHP version dropdown menu.
tap on the Next button to proceed to the next step.7.
This can be helpful for quickly getting started with a basic project setup.8.
go for the Finish button to create the new PHP project.
Remember to organize your code into logical directories within the project to maintain a clean and well-structured project hierarchy.
This will make it easier to navigate and manage your files as your project grows.
Configuring PHP interpreter
1.
Go to the Window menu and select Preferences.
In the preferences window, expand the PHP section by clicking on the arrow next to it.3.
Select PHP Interpreter from the expanded menu.4.
In the PHP Interpreters tab, you will see a list of configured PHP interpreters.
If no interpreters are listed, opt for Add… button to add a new PHP interpreter.5.
In the PHP Executable field, enter the path to the PHP executable on your system.
choose the OK button to save the PHP interpreter configuration.
In the next section, we will discuss how to import an existing PHP project into Eclipse.
Importing an existing PHP project
1.
Open Eclipse and see to it the PHP perspective is active.2.
Go to the File menu and select Import.
Alternatively, you’re able to right-click anywhere in the Project Explorer view and choose Import.3.
pick the project(s) you want to import into Eclipse.
snag the Finish button to begin the import process.
Additionally, see to it to check for any project-specific dependencies or external libraries that the project may require.
In the next section, we will cover the process of running a PHP project in Eclipse.
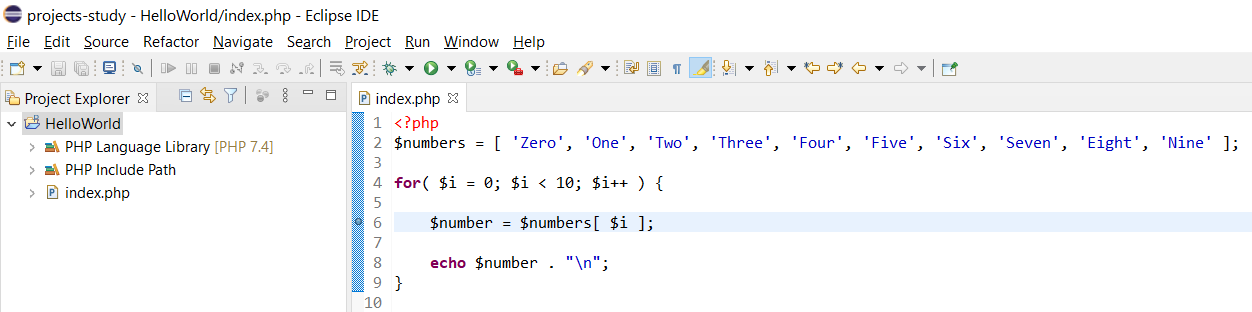
Running a PHP project in Eclipse
1.
Ensure that the PHP perspective is active in Eclipse.
If not, go to the Window menu, select Perspective, and choose Open Perspective followed by PHP.2.
In the Project Explorer view,navigate to the PHP file that you want to run.3.
Right-tap on the PHP file and select Run As from the context menu.
Then, choose PHP Script from the sub-menu.4.
Eclipse will execute the PHP script, and the output will be displayed in the Console view.
Any error messages or runtime information will also be displayed here.5.
This helps to quickly identify and resolve any issues during the development process.
Debugging a PHP project
- kick off the PHP file that you want to debug in Eclipse.2.
Set breakpoints in your code by clicking on the line number of the desired line.
A breakpoint is a marker that tells Eclipse to pause the execution of the code at that specific line.3.
Right-press the PHP file and select Debug As from the context menu, then choose PHP Script.4.
Eclipse will switch to the Debug perspective and start executing your PHP code.5.
Execution will pause at the first breakpoint encountered.
Use the debugging toolbar at the top of the Eclipse window to control the debugging process.
The Variables view also provides detailed information about variable values and their scope.8.
It allows you to fix bugs more efficiently and ensure the expected outcomes.
Eclipses debugging capabilities extend beyond just breakpoints and stepping through code.
Conclusion
In this article, we explored the process of running and debugging PHP projects in Eclipse.
We then covered how to create a new PHP project and import an existing one into Eclipse.
The PHP interpreter allows Eclipse to provide real-time feedback and intelligence specific to your chosen PHP version.
Make the most of the tools and features available in Eclipse to create well-structured and error-free PHP applications.
