Introduction
Are you an aspiring web developer looking to enhance your skills in PHP programming?
Do you want to seamlessly integrate PHP code into your web projects using Dreamweaver CS5?
Look no further, as this article will guide you through the process of running PHP in Dreamweaver CS5.
Dreamweaver CS5 is a powerful web development tool that supports multiple server-side scripting languages, including PHP.
PHP is a server-side scripting language, which means it must be installed on a server to processPHP code.
Well then show you how to configure Dreamweaver CS5 to work seamlessly with PHP.
Well also address common issues and provide troubleshooting tips along the way.
So lets get started and dive into the exciting world of PHP programming in Dreamweaver CS5!
PHP is a server-side scripting language, so it usually requires a server environment to run.
Choose the package that matches your system specifications, such as Windows, macOS, or Linux.
you might download a ZIP file or an installer depending on your preference.
Once the PHP package is downloaded, you oughta extract the files to a designated folder on your system.
Next, youll need to configure PHP to work with your web server.
The configuration process may vary depending on the server you are using.
Uncomment this line by removing the # symbol at the beginning.
After saving the configuration file, power cycle your web server to apply the changes.
You have successfully installed PHP on your box.
Now you might proceed to the next step of setting up a local testing server with Dreamweaver CS5.
The easiest way to set up a local testing server is by using a software package called XAMPP.
Once downloaded, spin up the installer and follow the on-screen instructions to complete the installation.
During the installation process, you’re able to choose which components to install.
After the installation is complete, you might start the XAMPP control panel.
Start the Apache server by clicking on the Start button next to Apache.
If everything is set up correctly, you should see the default XAMPP start page.
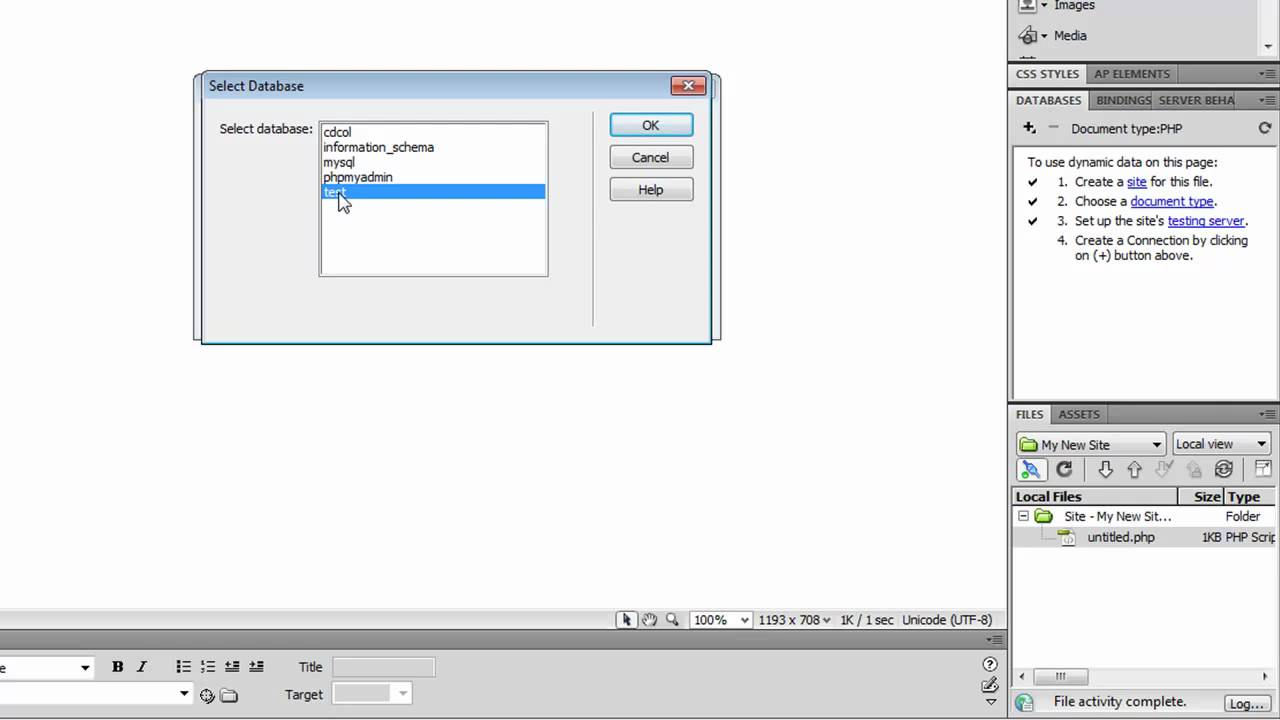
To verify that PHP is working properly, snag the phpMyAdmin link in the XAMPP start page.
This will open phpMyAdmin, a web-based tool for managing MySQL databases.
If phpMyAdmin opens without any errors, it means that PHP is configured correctly on your local testing server.
With XAMPP installed and running, you now have a fully functional local testing server for PHP.
Dreamweaver CS5 can communicate with this server and execute PHP code in your web projects.
To start, open Dreamweaver CS5 and go to the Site menu.
Select New Site to create a new site or choose an existing site from the list.
The site setup allows Dreamweaver to keep track of your project files and manage server connections.
you’ve got the option to choose any location that is convenient for you.
In the Servers section, press the + button to add a new server.
Next, youll need to specify the server folder where your PHP files will be stored.
This is usually the same as the local root folder you specified earlier.
Dreamweaver will use this information to upload your PHP files to the correct location on the server.
Under the Advanced tab, ensure to check the box that says Testing server requires a URL.
This is important for Dreamweaver to correctly generate links and references to your PHP files.
when you land configured the server parameters, click Save to preserve your site setup.
Dreamweaver will now be ready to work with PHP in your project.
Choose PHP from the list of file types and click Create.
This will open a blank PHP file in the Dreamweaver editor.
Inside the PHP file, it’s possible for you to start writing your PHP code.
Dreamweaver provides syntax highlighting and code suggestions to help you write code more efficiently.
It also has built-in error checking to catch any syntax errors or typos.
This is useful when you want to generate dynamic content or execute PHP scripts within your HTML structure.
With Dreamweaver CS5 configured to work with PHP, you have a powerful development environment at your disposal.
Dreamweaver provides a streamlined process for creating and managing PHP files within your project structure.
To create a new PHP file, first, ensure that you have a site defined in Dreamweaver.
Go to the Site menu and select Manage Sites to pull up the site setup.
Choose an existing site or create a new one by specifying the local root folder.
Once your site is set up, go to the File menu and select New.
In the dialog box that appears, choose PHP as the file punch in.
This willcreate a new blank PHP file in the Dreamweaver editor.
In the new PHP file, you might start writing your PHP code.
Dreamweavers editor provides features like syntax highlighting, code suggestions, and auto-completion to improve your coding experience.
When creating a PHP file, its important to include the necessary PHP tags.
For example, lets say you want to create a simplePHP scriptthat displays a welcome message.
Dreamweaver will highlight the code and provide suggestions to help you write it correctly.
The online window will render the PHP code and display the output on the web page.
Creating a new PHP file in Dreamweaver is a straightforward process.
Dreamweavers editor provides a range of features that make writing PHP code easier and more efficient.
Dreamweavers editor includes syntax highlighting, which helps differentiate between PHP code and HTML markup.
PHP code will be colored differently from the HTML code, making it easier to read and understand.
In addition to syntax highlighting, Dreamweaver offers code suggestions and auto-completion for PHP.
This can save you time and reduce the chances of making syntax errors.
When writing PHP code in Dreamweaver, its important to follow proper coding conventions and best practices.
This includes indentation, commenting, and organizing your code in a readable manner.
Properly formatted code will be easier to understand and maintain in the long run.
Lets take a look at an example to understand how to write PHP code in Dreamweaver.
Suppose you want to create a simple website that displays the current date and time.
By utilizing Dreamweavers features, you’re free to easily write and edit PHP code within the editor.
Remember to test your PHP code regularly to ensure it behaves as expected.
Writing PHP code in Dreamweaver is a seamless process, thanks to its intuitive editor and helpful features.
This allows you to dynamically generate content or execute PHP scripts within your HTML structure.
This allows you to mix PHP code and HTML markup seamlessly.
Lets take a look at an example to understand how to embed PHP code into HTML using Dreamweaver.
Suppose you want to display a personalized greeting on your website based on the time of day.
In the above code, we have an HTML structure with a heading and a couple of paragraphs.
Within the second paragraph, we embed PHP code to determine the appropriate greeting based on the current time.
The code highlighting and suggestions help ensure that your PHP code is written correctly and error-free.
One of the simplest ways to test your PHP code in Dreamweaver is to use the Live View feature.
This will open a new tab in the editor displaying the rendered version of your PHP file.
you might also view the dynamic output generated by your PHP code, ensuring that it behaves as expected.
In addition to Live View, Dreamweaver also allows you to check for syntax errors in your PHP code.
you could hover over the error to view a description of the issue and make the necessary corrections.
This is especially crucial if your PHP code interacts with databases or relies on specific server configurations.
Regular testing and debugging will help you deliver high-quality web applications that meet your requirements.
Fortunately, many of these issues have common solutions that can help you troubleshoot and resolve them quickly.
Syntax errors:Syntax errors are one of the most common issues inPHP coding.
Dreamweaver’s editor performs real-time error checking and highlights syntax errors in your code.
Carefully review the error messages and the lines where they occur to identify and correct any syntax-related issues.
Server configuration issues:Sometimes, PHP code may not execute as expected due to server configuration problems.
Ensure that PHP is properly installed and configured on your local or remote server.
Ensure that the server name, username, password, and database name are correct.
Verify that your database server is running and accessible.
Debugging techniques:When encountering issues, use debugging techniques to identify and handle the problem.
Utilize Dreamweaver’s built-in debugging tools, such as setting breakpoints or printing debug messages to the output.
Use var_dump or echo statements to inspect variables and their values at different points in your code.
Don’t hesitate to consult online resources, forums, or the Dreamweaver community for assistance if needed.
Regular testing helps identify and resolve any issues or errors, ensuring that your PHP code functions as expected.
Troubleshooting common issues is a crucial part of the development process.
Experiment with different features and techniques to enhance the functionality of your websites and provide dynamic user experiences.
