This process can also be beneficial when preparing the receiver for a new setup or troubleshooting persistent technical issues.
Let’s dive into the step-by-step process and get your Pioneer AV receiver back to its default controls.
This is a crucial first step to prevent any potential issues during the reset procedure.
Press the power button until the receiver completely powers down.
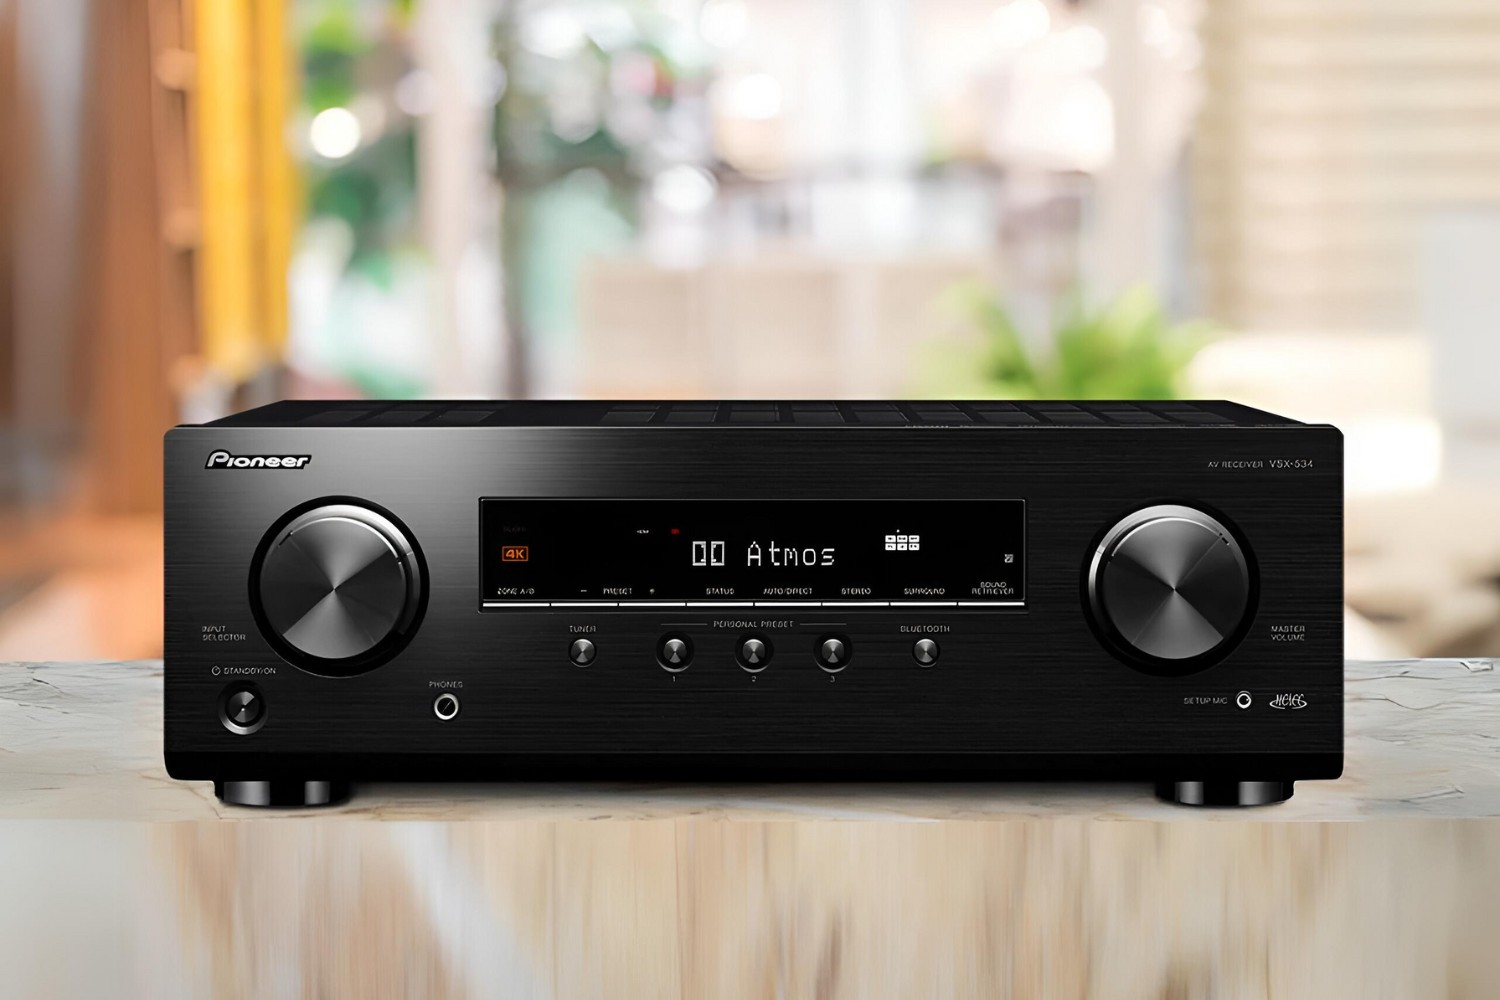
Locate the Auto/Direct and Pure Direct buttons on the front panel of the receiver.
These buttons are typically positioned alongside the other control buttons, easily identifiable by their respective labels.
To proceed with the reset, firmly press and hold down both the Auto/Direct and Pure Direct buttons simultaneously.
As the receiver powers on, continue to hold down the Auto/Direct and Pure Direct buttons without releasing them.
Powering on the receiver while maintaining pressure on the designated buttons is a critical step in the reset process.
This action prompts the receiver to enter the reset mode, initiating the restoration of default controls.
When the Reset message prominently appears on the receivers display, promptly release the Auto/Direct and Pure Direct buttons.
Conclusion
Congratulations!
You have successfully completed the reset process for your Pioneer AV receiver.
