Over time, the battery performance may diminish, leading to shorter battery life and power issues.
In this guide, we will walk you through the step-by-step process of replacing the battery in yourultrabook.
We will cover everything from gathering the necessary tools to reconnecting all the cables and powering on your gadget.
Therefore, we recommend consulting your ultrabooks user manual or manufacturers website for specific instructions related to your unit.
With that said, lets dive into the necessary steps for replacing the battery in your ultrabook.
Having the right tools on hand will ensure a smooth and efficient battery replacement.
Its important to have these tools readily available to ensure a successful battery replacement without any delays or complications.
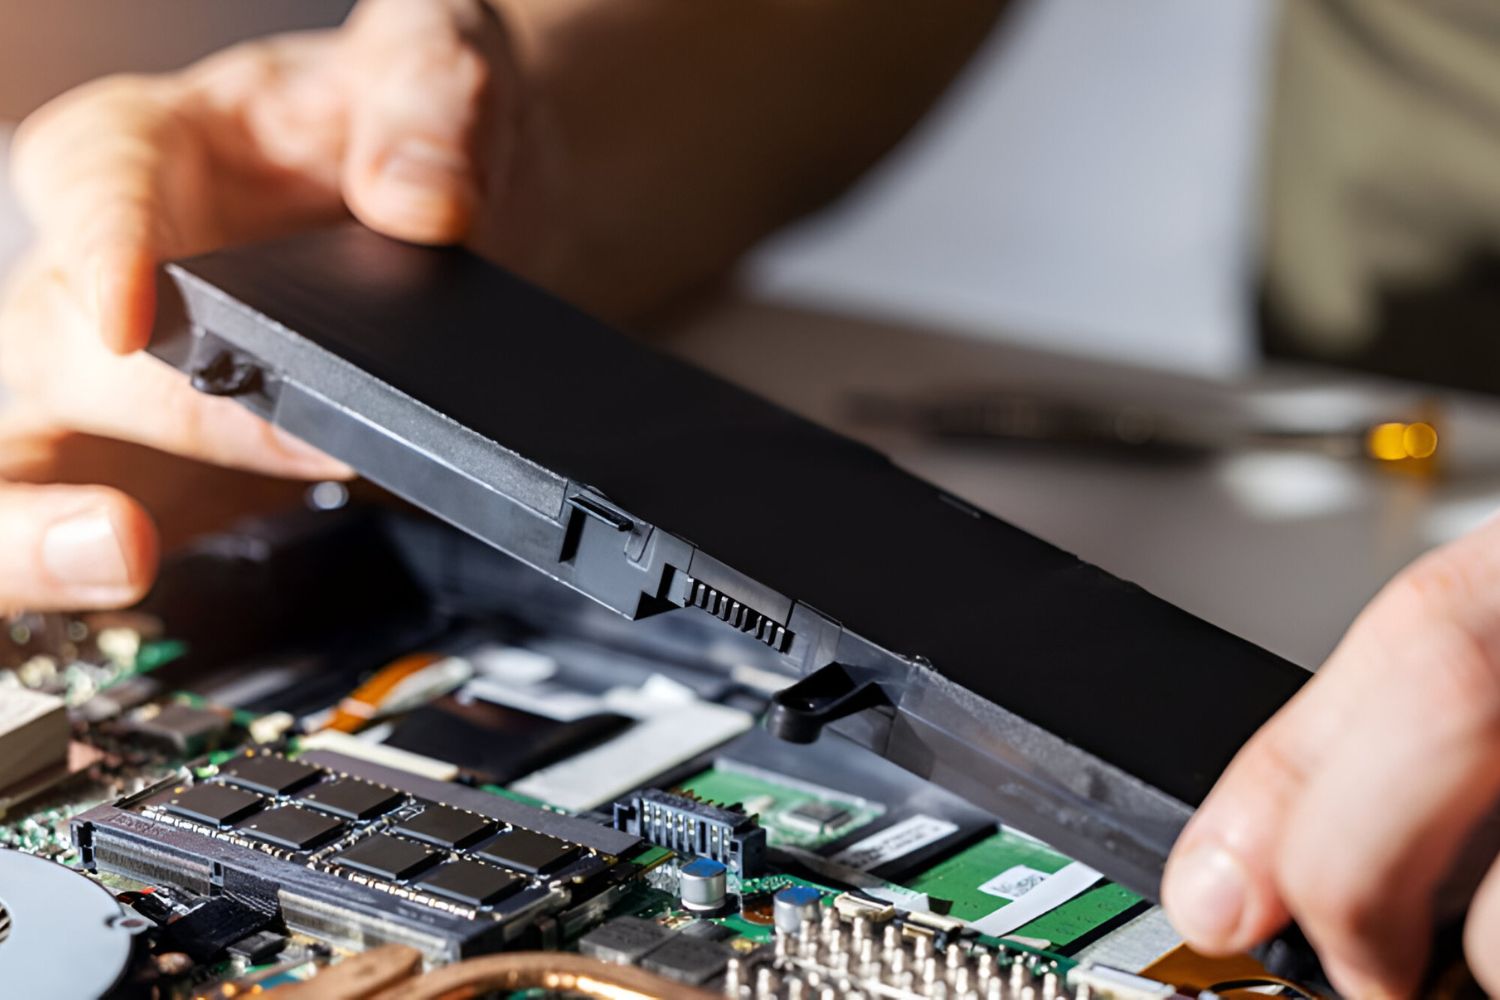
Understanding the method of securing the battery will help you in the subsequent steps of the battery replacement process.
If the cables are color-coded or labeled, remember their respective positions.
Take care not to damage or tear the cables or any necessary insulating material.
Take your time and exercise caution to avoid any accidental damage to your ultrabook or its components.
In such cases, it may be necessary to consult the manufacturer or seek professional assistance for battery replacement.
These labels are typically placed to protect the battery during shipping or storage and should be removed before use.
Take your time to ensure that the connectors are correctly aligned and securely attached.
Mistakenly connecting the cables in the wrong order or orientation can lead to malfunctions or power issues.
Remember to be mindful of the surrounding components and cables while reconnecting the battery.
Avoid applying excessive force or bending the cables, as they are delicate and could be easily damaged.
confirm all screws are tightened evenly, without over-tightening to avoid damaging theultrabooks casing.
If thats the case, be sure to apply even pressure to ensure a secure adhesion.
Double-check each connection to avoid any loose or partially inserted cables.
By reconnecting all cables and powering on your ultrabook, you have successfully completed the battery replacement process.
Enjoy the improved battery life and performance of your ultrabook with the new battery!
Conclusion
Congratulations!
You have successfully replaced the battery in your ultrabook.
Ultrabooks vary in design, and there may be slight variations in the battery replacement process between different models.
