Well cover everything from backing up your data to installing the SSD and restoring your files.
By following these instructions, you’re able to ensure a smooth transition without losing any important data.
SSDs are available in various capacities, ranging from 128GB to 4TB or more.
Interface:Check the interface compatibility of your computers motherboard.
Form Factor:SSDs come in different form factors, including 2.5-inch, M.2, and mSATA.
Ensure that the SSD you choose matches the available slots or connections in your system.
Performance:Consider the performance specifications of the SSD, such as read and write speeds.
Higher speeds will result in faster data transfers, boot times, and utility loading.
Brand and Reliability:Opt for reputable brands known for their reliability and quality.
Research customer reviews and ratings to gain insights into the longevity and overall performance of the SSD.
A reliable SSD will offer a longer lifespan and better data protection.
Budget:Set a budget for your SSD purchase.
Evaluate your storage needs and budget constraints to find the right balance.
Take your time to research and compare different SSD options before making a decision.
Having the right tools on hand will make the process smoother and more efficient.
Additionally, having everything readily available will help ensure a successful and hassle-free upgrade.
Keep the side panel and screws in a safe place to ensure they arent misplaced during the upgrade process.
Next, we will prepare the SSD for installation.
your machine is now ready for the installation of the new SSD.
In the next section, we will prepare the SSD for installation.
In the next section, we will guide you through the process of installing the SSD in your setup.
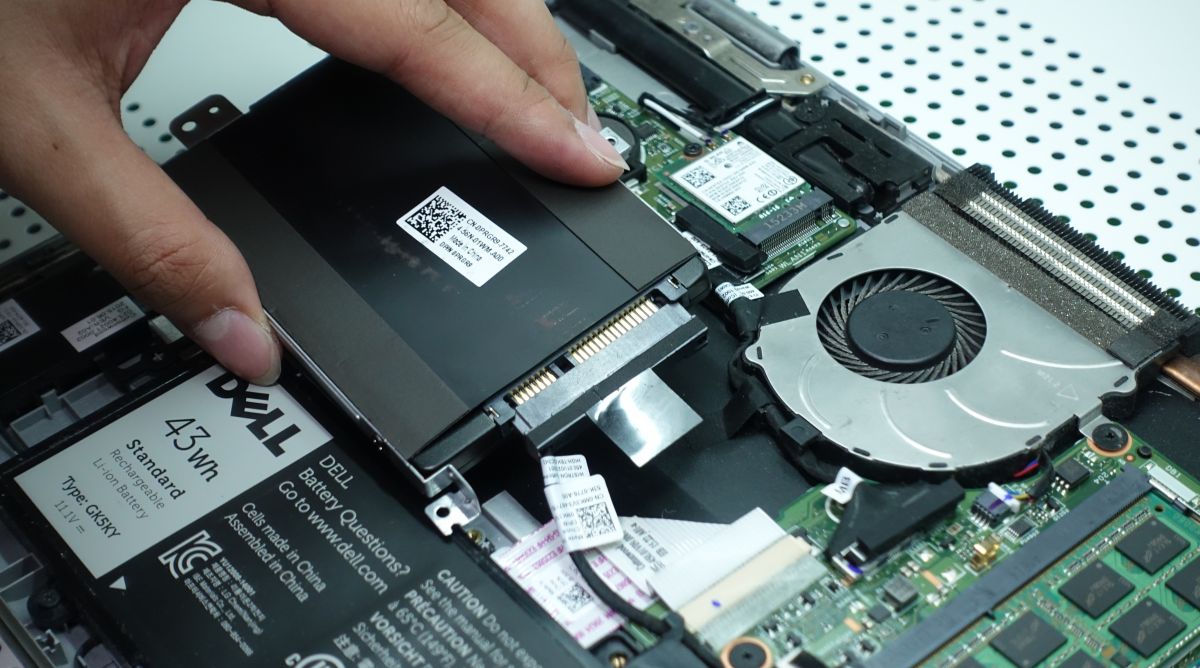
Installing the SSD
By following these steps, you have successfully installed the SSD into your rig.
Double-check all connections and ensure that the SSD is securely in place.
Take a moment to ensure all connections are correct and the SSD is recognized by your rig.
If everything is working properly, congratulations!
You have completed the installation process.
In the next section, we will guide you through the process of powering on and formatting the SSD.
Now, your SSD is ready for use and can be utilized to store and access your data.
In the final section, we will provide some additional tips and insights to wrap up the process.
Final Thoughts and Tips
Congratulations!
This can help identify any potential issues or ensure that youre getting the expected performance benefits.
This will allow you to continue using it for additional storage or as a backup gadget.
If supported, enable TRIM to ensure your SSD stays in peak condition.
Regularly check for any warning signs or anomalies to detect potential issues at an early stage.
Its better to have an expert address any concerns than risk causing damage to your setup.
Enjoy the benefits of faster boot times, improved responsiveness, and enhanced overall computing experience.
