Introduction
Welcome to our comprehensive guide on how to repair an HDMI port.
They allow for high-quality audio and video transmission, making them vital components for a seamless entertainment experience.
However, like any other electronic component,HDMIports can develop issues over time or due to accidental damage.
Common issues include loose connections, dirt or debris obstructing the port, and bent or damaged pins.
If you are unsure or uncomfortable with performing the repairs yourself, its always recommended to seek professional assistance.
Now lets dive into the common issues you may encounter with HDMI ports and how to troubleshoot them effectively.
Lets explore some of the most frequent issues:
1.
It can be sparked by loose connections, incompatible devices, or faulty HDMI cables.
This issue can be due to damaged pins, a faulty cable, or an incompatible resolution setting.
This can be due to loose connections, incorrect audio configs, or a malfunctioning HDMI audio driver.
This issue can be attributed to loose cables, a failing HDMI port, or improper equipment compatibility.
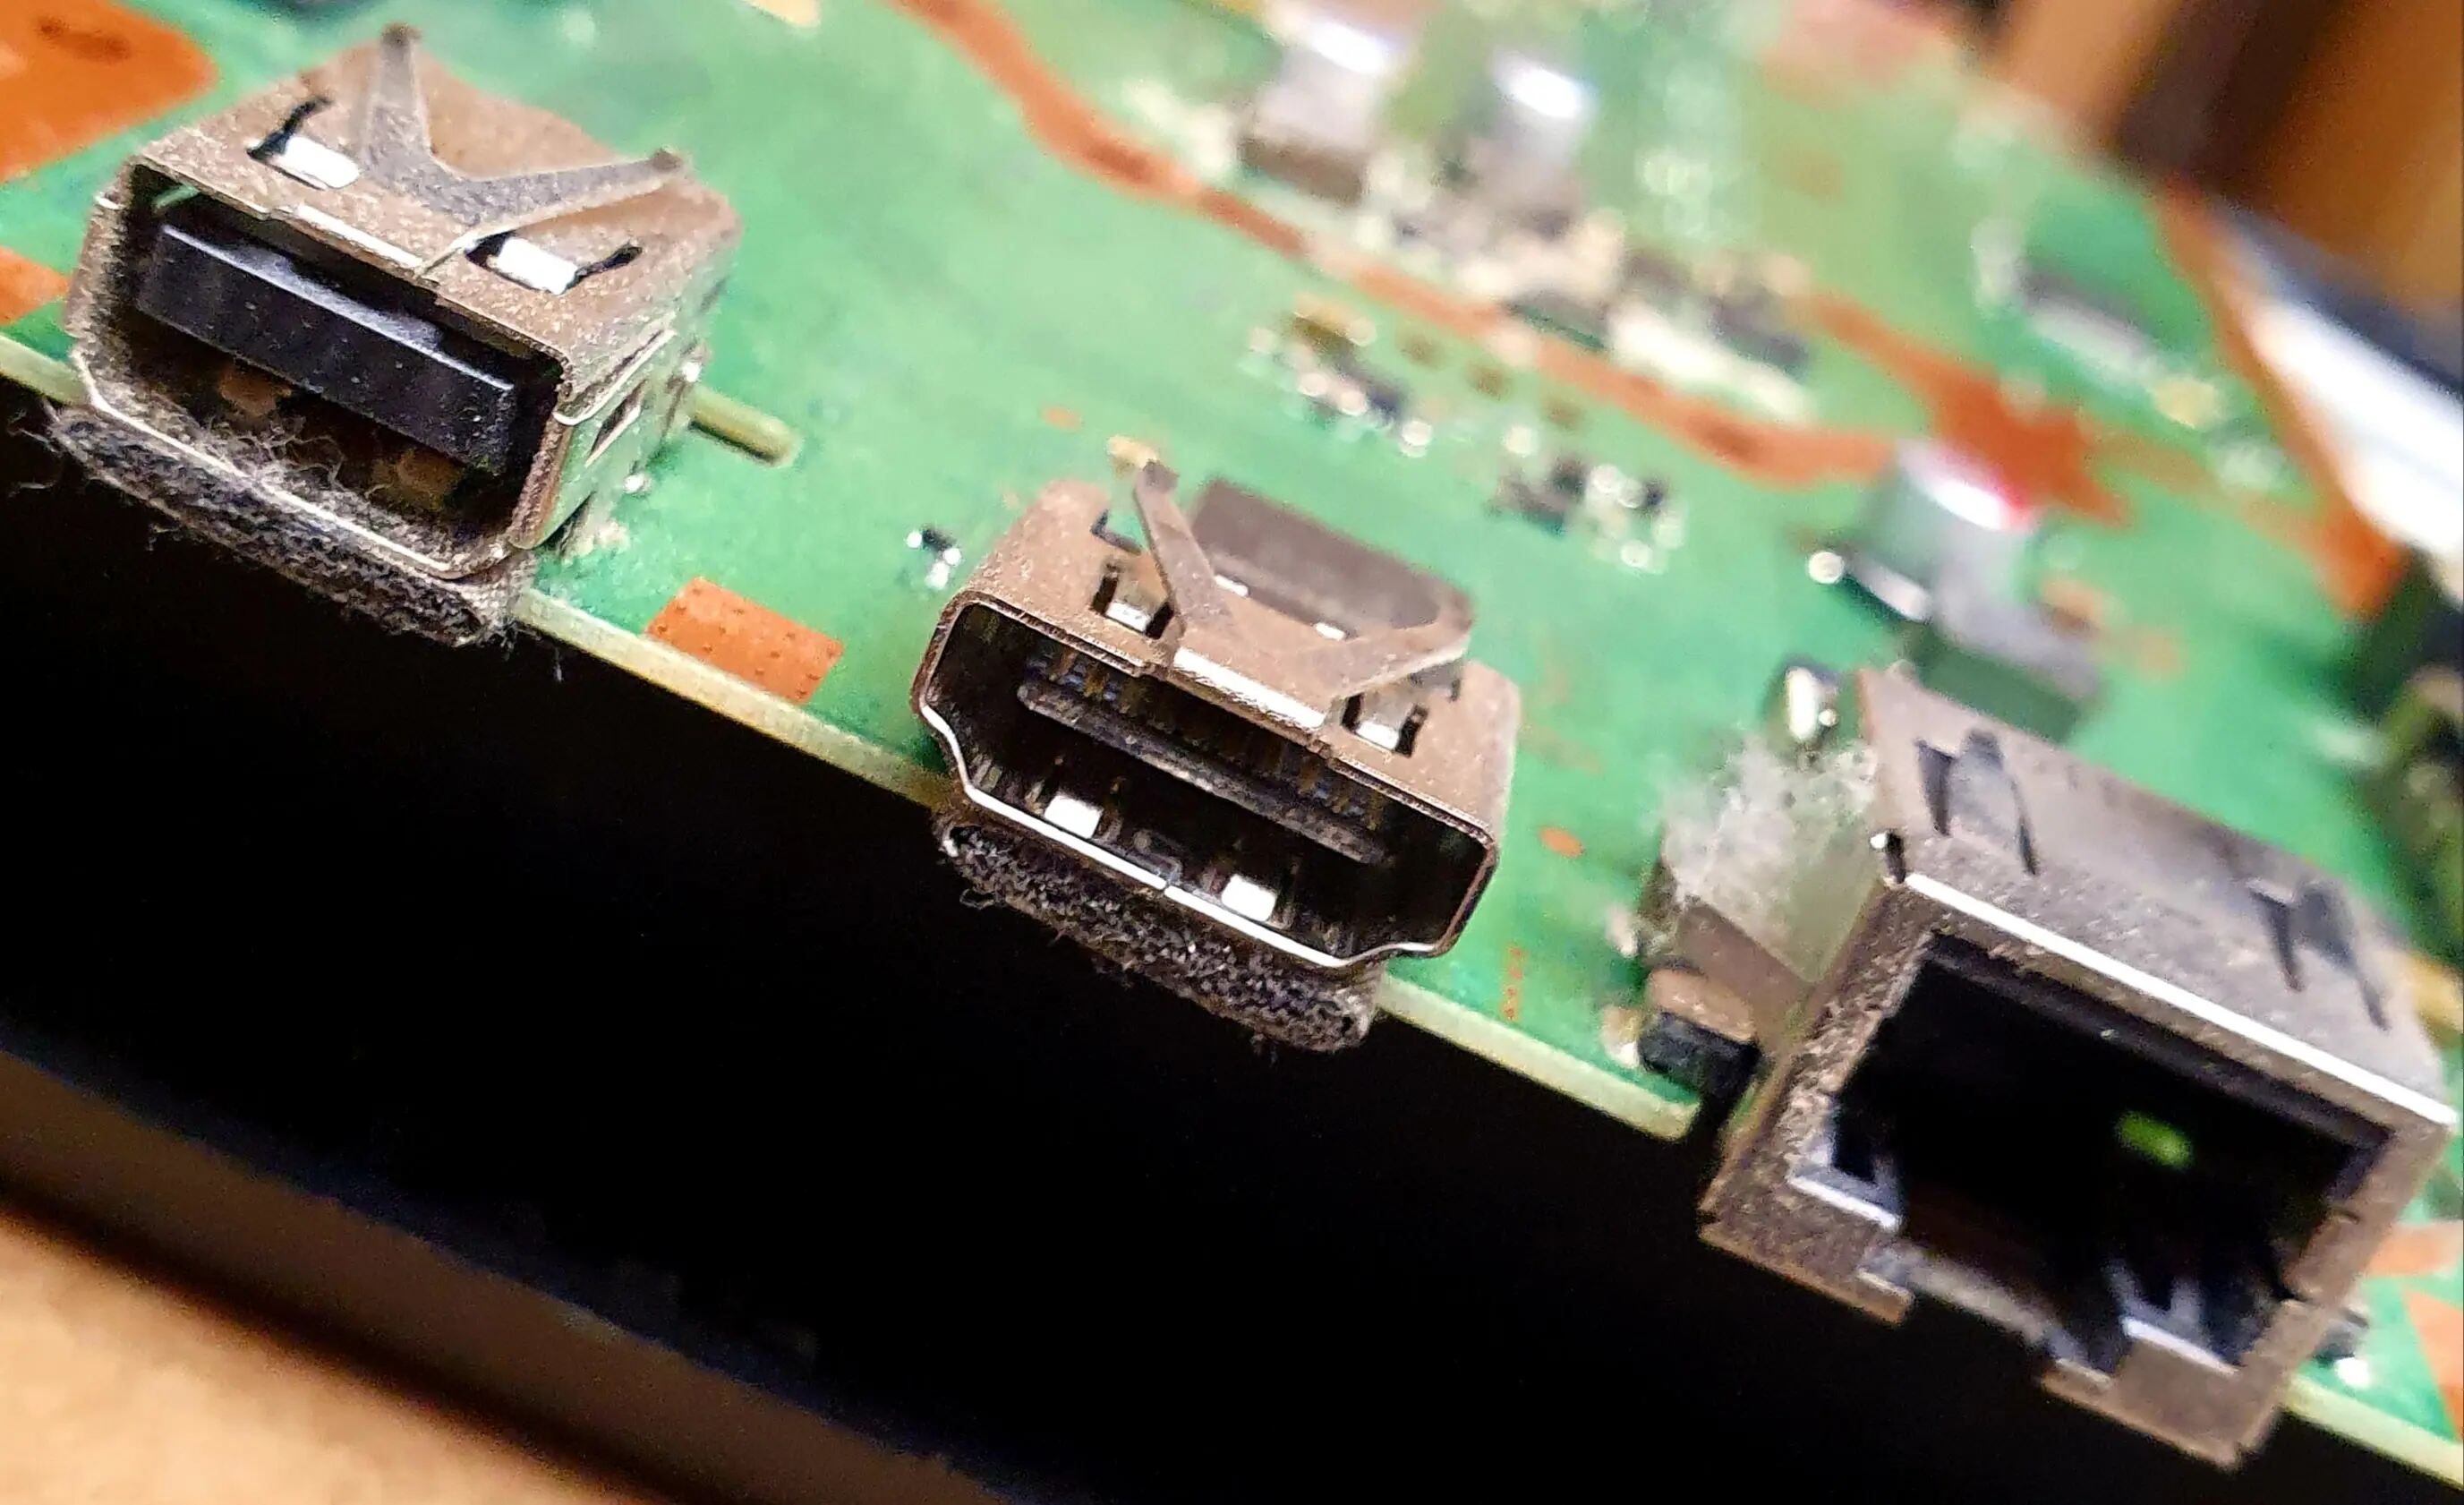
Damaged Pins: HDMI ports have delicate pins that can become bent, broken, or damaged.
This can occur from rough insertion or accidental mishandling.
Bent pins can disrupt the signal transmission, resulting in various display and audio issues.
Here are the items youll need:
- confirm to use a can specifically designed for electronics to avoid moisture or residue buildup.
Avoid using harsh chemicals or abrasive materials, as they may further damage the port.
ensure to purchase a compatible port for your specific unit.
Refer to your devices manual or consult a professional if youre unsure.
This will help remove any stubborn debris that can affect the connection.
It can help dissolve residue and improve the overall connection quality.
However, exercise caution, as excessive use or improper software of alcohol can damage the port.
Remember to gather all the necessary tools and materials before you attempt to repair the HDMI port.
This will ensure that you have everything you better effectively troubleshoot and potentially fix the issue.
Now that youre prepared, lets move on to the next section: checking for loose connections.
Step 1: Check for Loose Connections
Loose connections are a common cause of HDMI port issues.
Before moving on to more in-depth troubleshooting steps, start by checking the connections to ensure they are secure.
Heres how:
1.
Gently wiggle the cable to verify if theres any play or movement.
If the cable feels loose, remove and reconnect it firmly to establish a secure connection.
Sometimes, cables can become damaged over time, affecting the signal quality.
Verify that the input source on the receiving unit is correctly set to the HDMI port you are using.
Most devices have multiple HDMI inputs, so selecting the correct one is crucial for proper signal transmission.
Faulty power supply can cause erratic behavior in HDMI connections.
If the problem persists, proceed to the next step: cleaning the HDMI port.
Step 2: Clean the HDMI Port
1.
Power off and unplug the machine that has the HDMI port you want to clean.
This will prevent any electrical mishaps during the cleaning process.
Inspect the HDMI port for any visible dirt, dust, or debris.
Use a flashlight if necessary to get a clear view of the port.
Allow the port to dry completely before proceeding.
Use the compressed air or a clean cloth to remove any lingering particles.
If the issue persists, proceed to the next step: checking forbent pins in the HDMI port.
Step 3: Check for Bent Pins
1.
Power off and unplug the equipment that has the HDMI port you want to inspect.
Ensure that there is no electrical current flowing through the equipment during this process.
Carefully examine the HDMI port to check for any visible signs of bent or misaligned pins.
Use a flashlight or magnifying glass if needed to get a closer look.
Be extremely cautious not to break or further damage the pins.
Its essential to align the pins correctly with the corresponding holes in the cable connector.
Power on the machine and test the HDMI connection.
If the issue is resolved and the audio and video signals are being transmitted correctly, congratulations!
Your HDMI port is back in working order.
Proceed to the next step to learn about the process of replacing a faulty HDMI port.
Heres how you could go about replacing it:
1.
Some devices may require removing screws, panels, or a back cover.
Take note of their positions to ensure proper reassembly later.
Locate the HDMI port on the devices circuit board.
It will typically be soldered to the board, and you will need a soldering iron to remove it.
Use the soldering iron to heat the solder joints connecting the HDMI port to the circuit board.
As the solder melts, gently lift the port using a soldering iron or a desoldering pump.
Take your time to avoid damaging nearby components.
This will ensure a clean surface for the new port to be soldered onto.
Take the replacement HDMI port that matches the specifications of your unit.
Align the pins and position the port onto the solder pads.
Apply a small amount of solder to each pad and reflow the solder joints using the soldering iron.
Finally, reassemble the unit by following the steps in reverse order.
verify all screws, panels, or covers are securely fastened.
Once the unit is fully reassembled, power it on and test the new HDMI port.
Connect your HDMI cable and test whether the audio and video signals are being transmitted properly.
Step 5: Test and Troubleshoot
1.
Power on the devices and verify if the audio and video signals are being transmitted correctly.
Look for any flickering screens, distorted audio, or other issues that were present before the repair.
- if you hit any issues during the test, double-check the connections to ensure they are secure.
Verify that the input source on the receiving rig is correctly set to the repaired HDMI port.
This can help determine if the problem lies with the cable or the port.
This will help identify if the problem lies with the port or the connected equipment.
They may have specific recommendations or firmware updates that can address any persistent issues.
However, its important to note that not all HDMI port issues can be resolved through DIY repairs.
Professional technicians have the expertise and tools to diagnose and repair complex HDMI port problems more accurately.
In any case, regular maintenance and care can help prevent issues with HDMI ports.
We hope that this guide has been helpful in guiding you through the process of repairing an HDMI port.
