Before attempting any repair work, it is crucial to ensure your safety and the safety of others.
double-check the area is clear of any electrical hazards or potential sources of ignition.
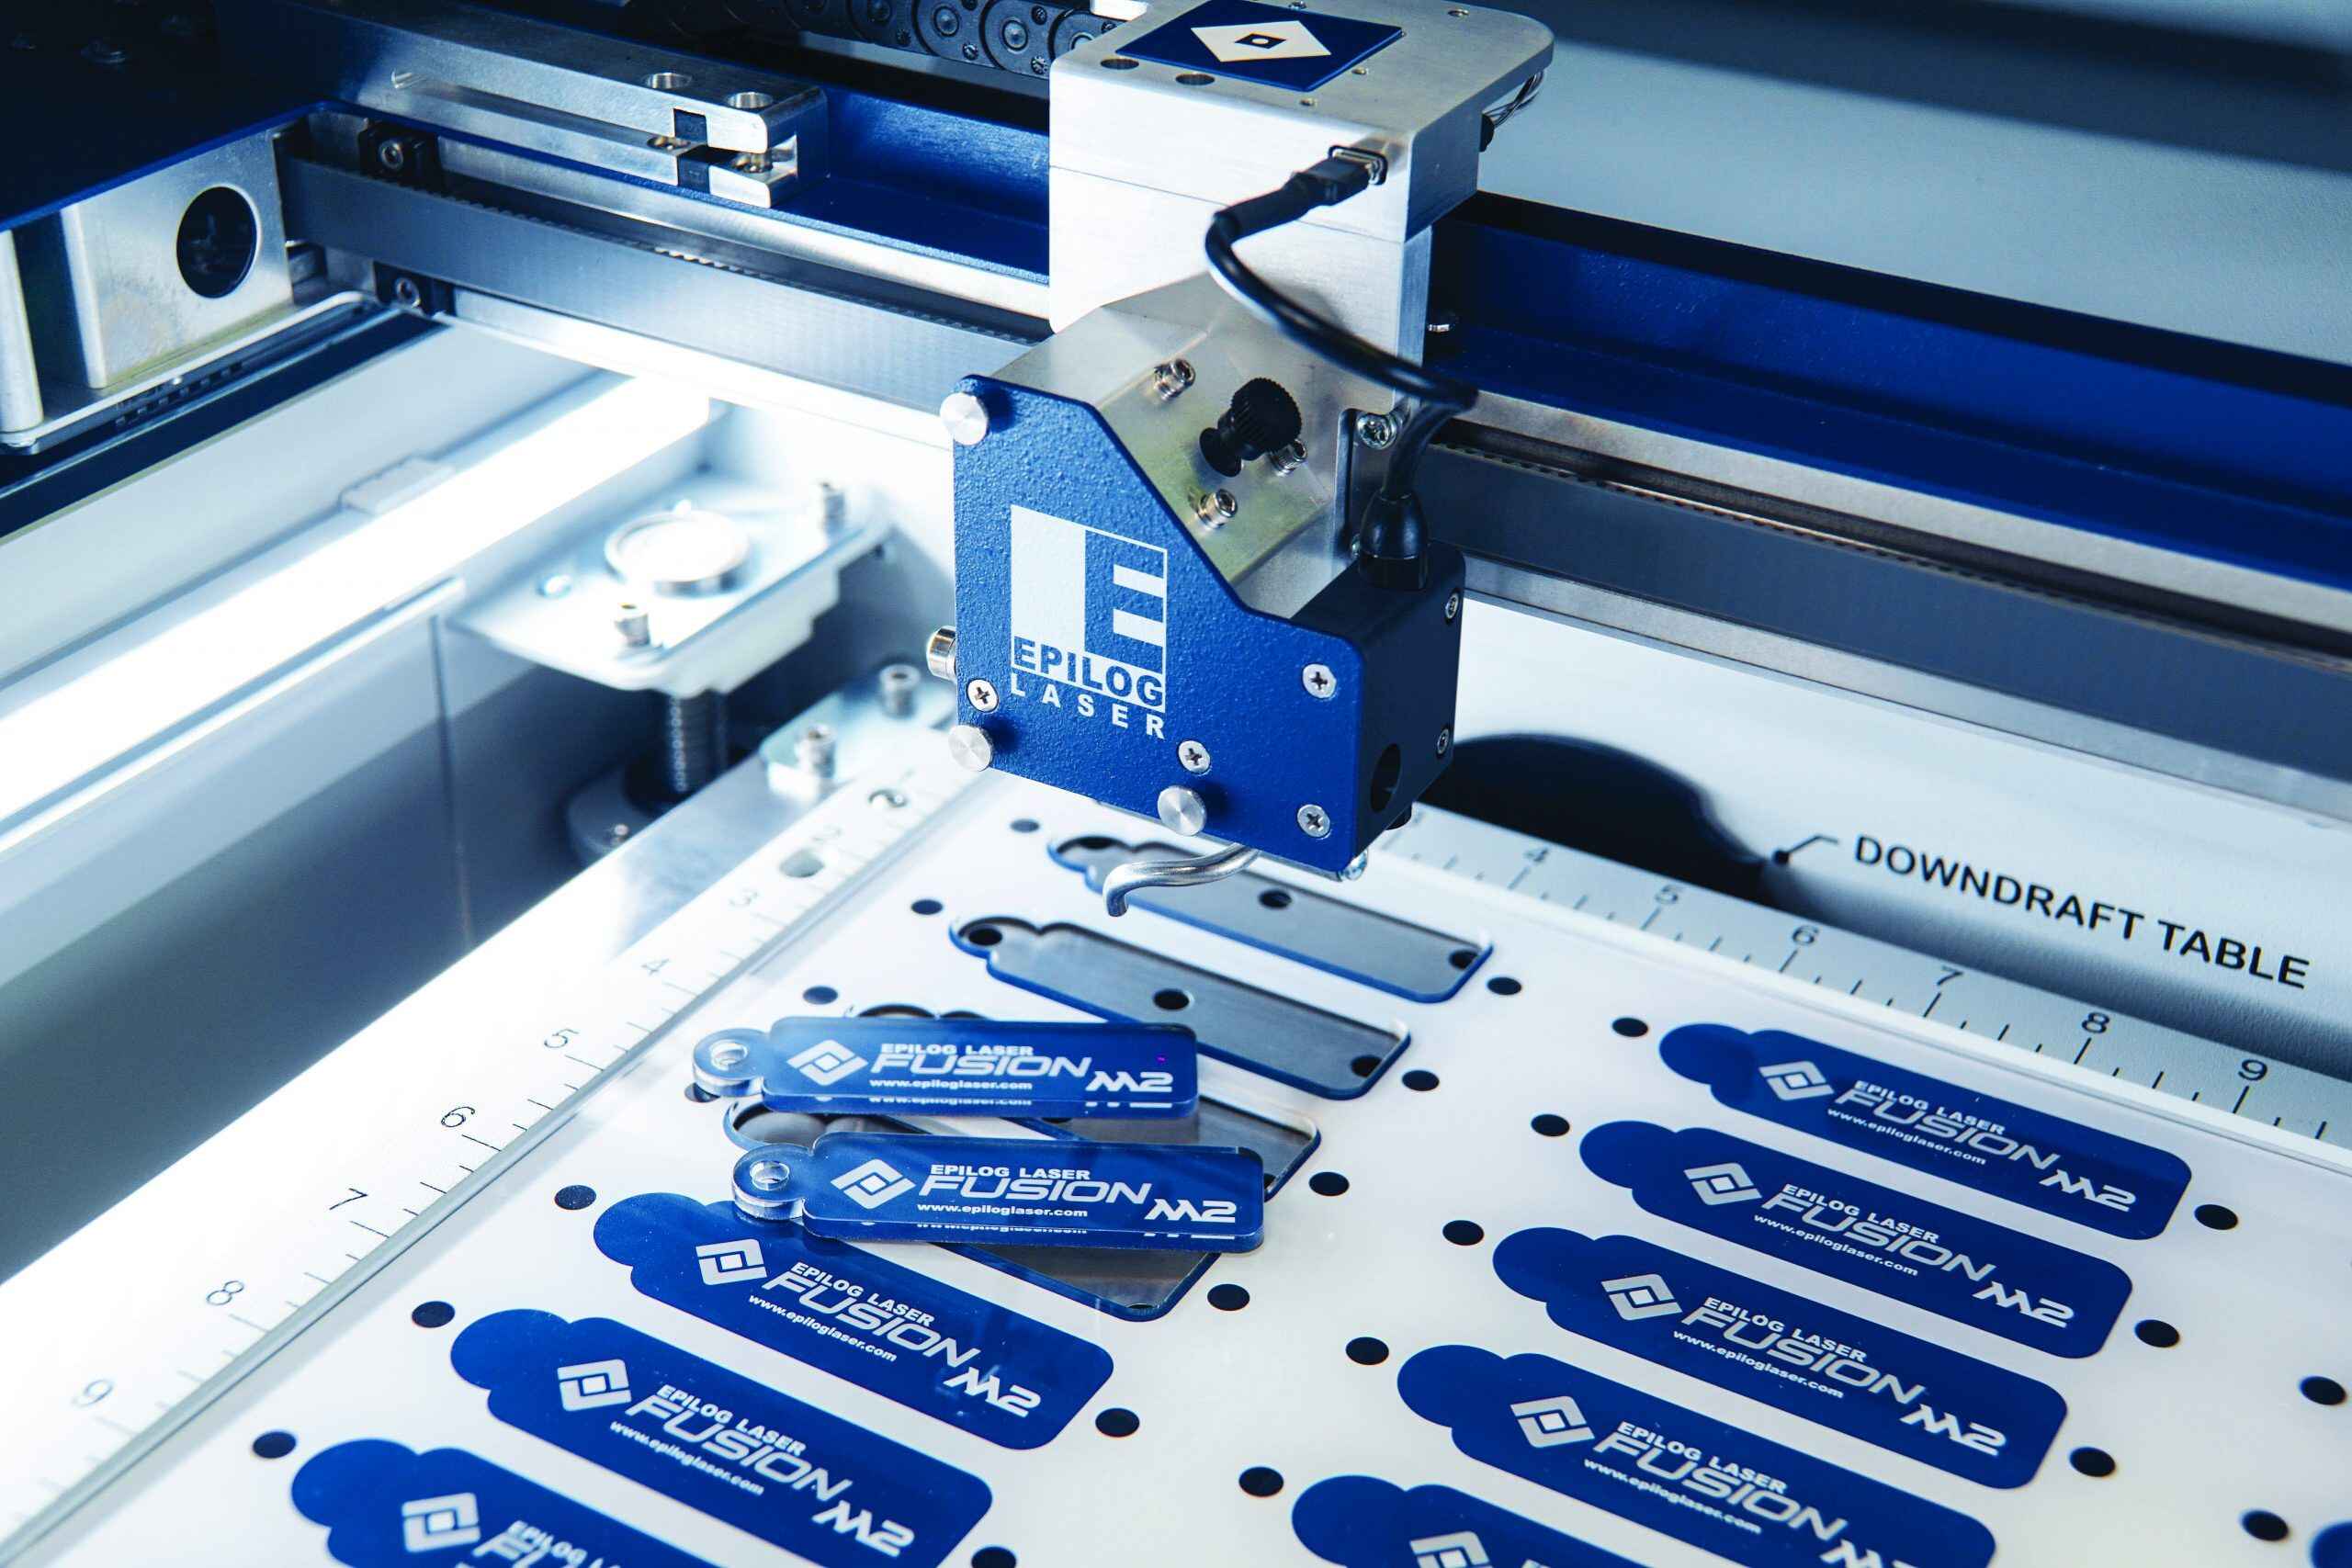
Assessing the extent of the damage is the first step in repairing yourEpilog laser engraver.
Inspect the machine thoroughly, looking for visible signs of fire damage, such as charred or melted parts.
when you land assessed the damage, the next step is to clean the machine.
Remove any debris, ashes, or soot from the surface of the engraver.
Use a soft cloth or brush to gently clean the exterior and interior parts.
Be cautious not to use excessive force, as this may further damage the machine.
This step is crucial to determine the level of repair and restoration needed.
Start the assessment by visually inspecting the exterior of the laser engraver.
Look for any charred or melted parts, as well as discoloration resulting from the heat.
Next, open up the machine and examine the interior components.
Look for warping, charring, or other indications of heat damage that may affect the engravers functionality.
In addition to visual inspection, it is worth conducting a functional test of the machine.
Turn on the engraver and observe any irregularities or issues that may arise during the startup process.
Pay attention to the sound, airflow, and any error messages displayed on the control panel.
They can provide guidance and help you identify any hidden damage that may not be immediately apparent.
By ensuring the machine is clean, you could prevent potential issues and ensure optimal performance after the repair.
Start by carefully wiping down the exterior of the laser engraver using a soft cloth or sponge.
Dampen the cloth or sponge with a mild cleaning solution that is safe for use on electronic equipment.
Avoid using abrasive cleaners or excessive moisture, as this can cause further damage.
Gently clean these surfaces, being careful not to apply too much pressure.
If needed, use a cotton swab or soft brush to reach crevices and difficult-to-reach areas.
Be cautious when cleaning delicate components, such as lenses or mirrors, to avoid scratching or damaging them.
Ensure that all components are completely dry to avoid any potential electrical issues or damage.
A clean machine not only functions better but also provides a safer and more hygienic environment for future use.
Burned components can hinder the engravers functionality and safety, so replacing them is essential to ensure proper operation.
Start by carefully examining the machine and identifying any visibly damaged parts.
This may include charred wires, connectors, or electronic components.
Take note of these parts and make a list of what needs to be replaced.
communicate with the manufacturer or a certified technician to inquire about obtaining the appropriate replacement parts.
Manufacturers often have support teams that can guide you in acquiring the necessary parts.
When replacing burned parts, follow the manufacturers instructions or seek professional assistance if needed.
Some components may require specialized tools or techniques to ensure proper installation and functionality.
It is important to follow the correct procedures to avoid potential damage or safety hazards.
When installing the new parts, ensure that all connections are secure and properly aligned.
Double-check the wiring and connectors to guarantee that everything is correctly attached and in the right position.
Pay attention to any specific instructions or guidelines provided by the manufacturer during the installation process.
Additionally, perform functionality tests to verify that the engraver is operating as expected.
Monitor for any unusual sounds, error messages, or issues during the testing phase.
Properly installed new components will help ensure smooth operation and minimize the risk of future problems.
Heat and smoke can damage electrical components, posing a risk to the engravers performance and safety.
Next, check the wiring and connectors for any loose or frayed connections.
Ensure that all connections are secure and properly insulated.
Alternatively, consult a professional technician who can perform a more comprehensive electrical assessment.
Additionally, check the laser tube and its connections to ensure they are intact and adequately insulated.
The laser tube is a critical component that may have been affected by the fire or extreme heat.
After checking the electronics, it is crucial to power up the machine and observe its operation.
Pay attention to any abnormal sounds, error messages, or flickering lights.
Monitor the power supplys stability and ensure that all controls and functions work correctly.
Calibration is essential to ensure precise and accurate engraving results.
By calibrating the laser engraver, you could optimize its performance and achieve the desired output.
Start by referring to the manufacturers calibration instructions specific to your model.
In addition to the laser beam alignment, it is important to calibrate the engraving speed and power controls.
Experiment with different options to achieve the desired depth and clarity in your engravings.
This will allow you to make any necessary adjustments and fine-tune the engraving parameters to achieve the desired results.
Pay close attention to the engraved output during the calibration process.
Look for any signs of inconsistent engraving depth, distortion, or misalignment.
Adjust the relevant configs as needed until you achieve consistent and accurate engraving results across the entire work area.
Keeping your machine properly calibrated ensures optimal performance and ensures that the engraved output meets your expectations.
They can provide guidance and assistance in properly calibrating your Epilog laser engraver.
By conducting comprehensive tests, you might ensure the engravers performance and reliability.
Start by powering up the machine and observing its startup process.
Listen for any unusual sounds or vibrations that may indicate a problem with the motor or other moving parts.
Check that all lights and indicators on the control panel are functioning properly.
Once the engraver is powered on, test its basic functionalities.
Pay attention to the accuracy, depth, and clarity of the engravings.
During the testing phase, check the efficiency and speed of the engraving process.
Monitor the machines performance to ensure it completes the engravings within a reasonable timeframe.
Evaluate the engravers ability to handle different designs and intricacies without experiencing any slowdowns or errors.
Ensure that the controls respond accurately and that the changes are reflected in the output.
Test various options to determine the optimal configuration for different materials and engravings.
Inspect the ventilation system to guarantee proper airflow and cooling.
Ensure that the machine does not overheat during an extended period of operation.
Check that the ventilation fan is working effectively and that any filters or vents are clean and unobstructed.
Ensure they operate smoothly and integrate seamlessly with the engravers main functions.
Finally, closely monitor the machine during the testing process for any signs of abnormal behavior or errors.
Pay attention to error messages, warning lights, or any unusual patterns or inconsistencies.
Address any issues promptly to prevent further damage or complications.
They can provide expert guidance and help diagnose and resolve any problems that may arise.
First and foremost, routinely inspect and maintain your laser engraver.
Regularly clean the machine, including the exterior, interior components, and ventilation system.
Remove dust, debris, and any combustible materials that could pose a fire hazard.
Check and replace filters as needed to ensure proper airflow and cooling.
Regularly inspect and maintain these devices to ensure they are functioning correctly and are readily accessible if needed.
Train yourself and your personnel on the proper use of fire extinguishers and emergency procedures.
Implement a comprehensive fire prevention and response plan in your workshop or business.
Ensure that everyone in your facility is familiar with this plan and understands their roles and responsibilities.
Regularly inspect and maintain the electrical system in your workspace.
Check for any damaged or frayed wiring, loose connections, or overloaded circuits.
Keep electrical cords and cables organized and away from potential sources of heat or combustion.
Stay up to date with any safety recalls or updates from the manufacturer of your laser engraver.
Manufacturers may release important information regarding potential fire risks or recommended maintenance procedures.
Staying informed ensures that you’re free to take appropriate actions to address any concerns.
Conclusion
Experiencing a fire incident with your Epilog laser engraver can be a devastating situation.
Assessing the damage allows you to understand the extent of the fires impact and identify any hidden issues.
Replacing burned parts, especially electrical components, is crucial in restoring functionality and safety to your engraver.
Calibrating the laser engraver is essential to achieving accurate and precise engravings.
Preventing future incidents is crucial to protect your investment and ensure the safety of your workspace.
