Introduction
Welcome to our guide on how to remove Time Machine from an external hard drive.
However, there may be instances where you want to remove Time Machine from your external hard drive.
The utility creates incremental backups, capturing changes made to files over time.
This means that users can easily restore previous versions of documents or recover deleted files.
This can include using cloud-based storage, creating manual backups, or utilizing other backup software.
This ensures that you have a copy of your files in case anything goes wrong during the removal process.
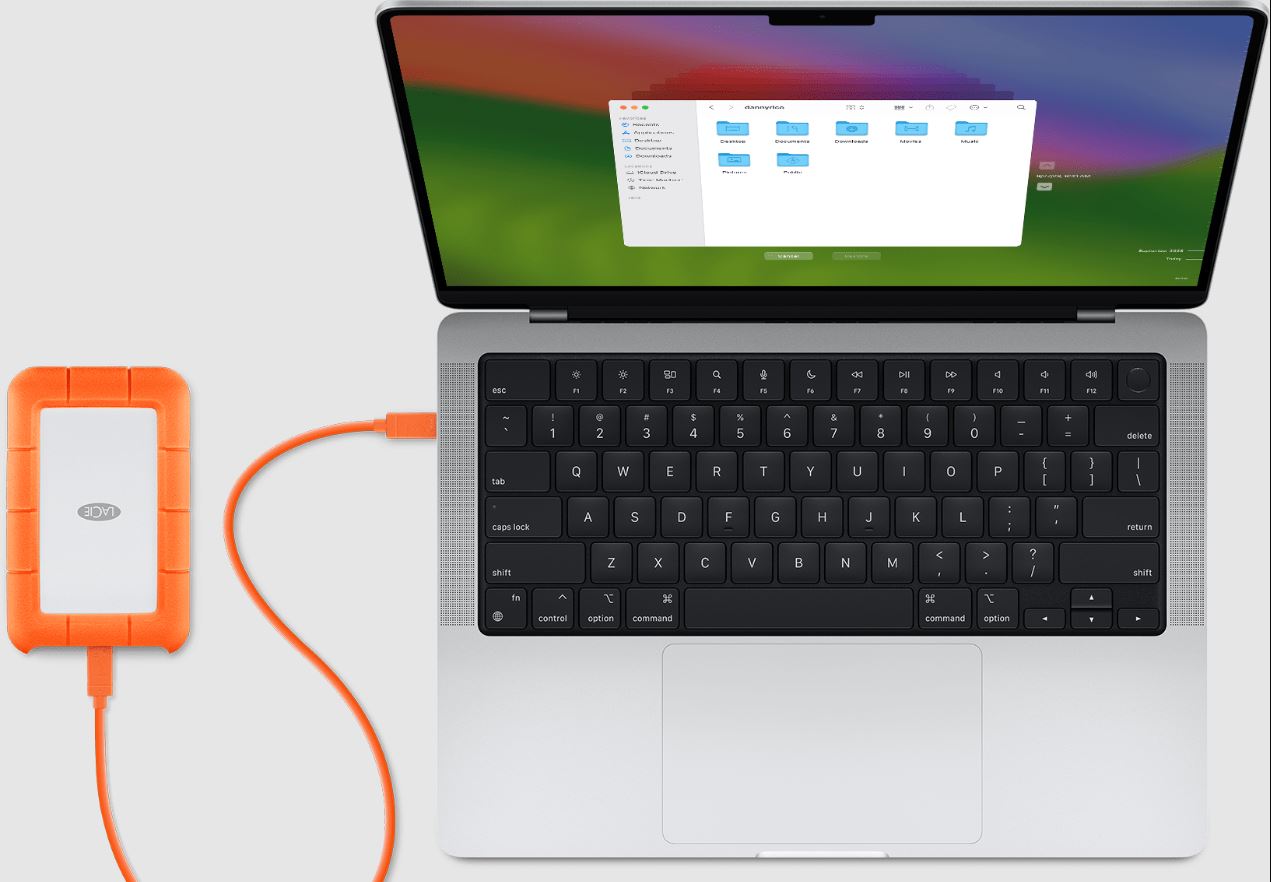
Open Finder and snag the Time Machine drive from the sidebar.
Right-tap on the drive and choose Eject to unmount it safely.
This ensures that there are no active processes or applications accessing the drive.
Open System Preferences on your Mac and select Time Machine.
tap on the On/Off slider toturn off Time Machine for the external hard drive.
This prevents any future backups from being created on the drive.
Navigate to the Time Machine drive in Finder and locate the folder named Backups.backupdb.
Right-choose this folder and select Move to Trash to delete the entire Time Machine backup.
Once the drive is erased, you’re free to format it for your desired use.
In Disk Utility, opt for drive and press the Partition tab.
Choose the desired partition layout, format, and name for the drive.
Click Apply to complete the formatting process.
After completing these steps, you have successfully removed Time Machine from your external hard drive.
Losing data can be devastating, so it is better to be safe than sorry.
Double-check that all the important files and folders have been successfully copied to the backup destination.
Take the time to organize your backup to make it easier to retrieve files when needed.
This indicates that the drive is no longer actively connected or accessible by your Mac.
Disabling Time Machine for the external hard drive is an important step to ensure a smooth removal process.
Be aware that turning off Time Machine does not delete existing backups on the drive.
We will cover the removal of the Time Machine backup in a later step.
This action permanently eliminates all the incremental backup data, restoring the drive to its original state.
It is important to note that once the Time Machine backup is deleted, it cannot be recovered.
This process will remove all the data on the drive, including any remaining Time Machine system files.
Ensure that you have selected the appropriate erasing options and have backed up any essential data before proceeding.
Formatting the drive will prepare it for a specific file system and optimize it for compatibility and performance.
It will be formatted with the selected file system and named according to your preference.
You have successfully removed Time Machine from your external hard drive and formatted it for other uses.
We started by understanding the background of Time Machine and its purpose as a reliable backup utility for macOS.
Remember to always take precautions and maintain backups of your important data to safeguard against any potential loss.
