If left unaddressed, this can lead to performance issues, system instability, or even hardware failures.
Note: Before proceeding with theCPU cooler removal, see to it to follow proper safety precautions.
Ensure that your console is turned off and disconnected from the power source to prevent any electrical mishaps.
Additionally, have a clean and well-lit workspace to avoid losing any small components during the process.
With that said, lets dive into the details of removing the CPU cooler from your Xbox One!
Remember to handle the shell with care to avoid any unintended damage.
Take care not to damage any wires or connectors, as they will need to be reconnected later.
This will allow you to safely remove the CPU cooler in the next step.
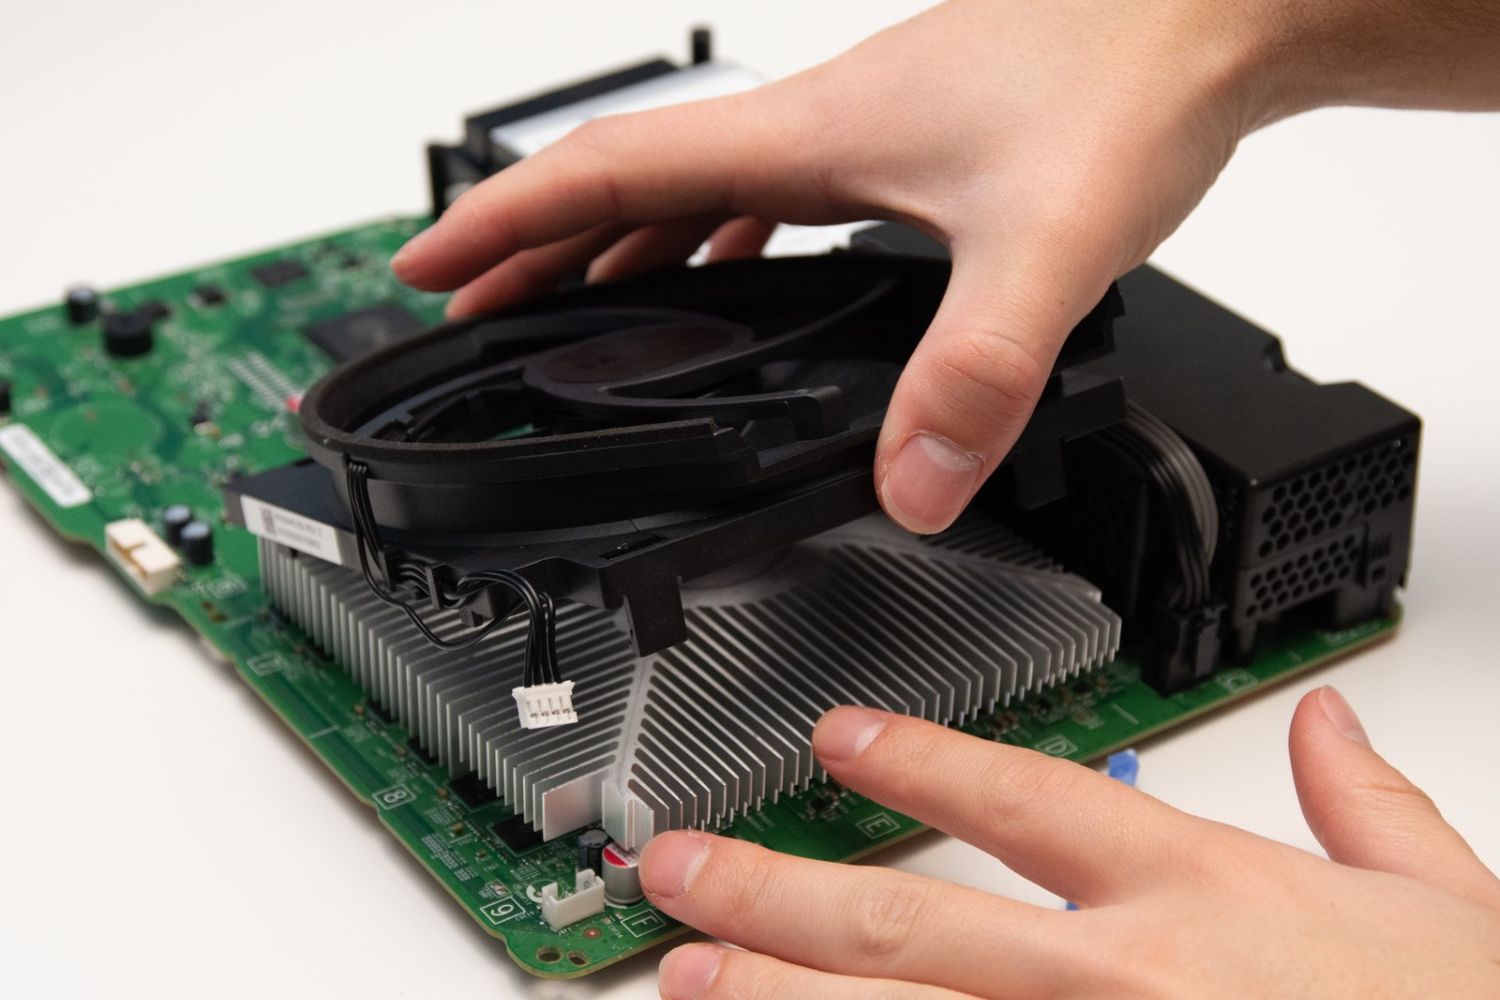
see to it to handle the fan connector and its wires with care to avoid any accidental damage.
With the fan connector disconnected, youre ready to proceed to the next step of removing the heat sink.
Be mindful of not applying any unnecessary pressure or causing any damage during this step.
Take your time and be thorough in your cleaning efforts to achieve the best results.
Be diligent in following the manufacturers instructions and avoid overtightening screws to prevent any damage.
Double-check all connections and screws to avoid any loose or missed components.
Properly cleaning the thermal paste from the CPU and heat sink is important before applying new thermal paste.
Powering on and testing the console ensures that everything is functioning properly.
Remember to always prioritize safety and take your time during each step to avoid any accidental damage.
