However, the base can sometimes hinder flexibility and portability.
So, lets dive in and get started!
Here are the tools you will need:
The Philips screwdriver is the primary tool required for this process.
It is used to remove the screws that secure the base to the monitor.
A clean, soft cloth is recommended to protect the monitors screen and casing from scratches or smudges.
Its always a good idea to handle electronic devices with care and keep them clean.
This will make reassembling the monitor much easier when necessary.
This is important to prevent any electrical shock or damage to the monitor during the removal process.
Start by locating the power cord that is plugged into the back of the monitor.
Gently pull the plug out of the socket and set it aside.
Next, check for any USB cables or other peripheral devices that may be connected to the monitor.
If there are any, disconnect them as well.
If you notice any issues, its recommended to address them before proceeding with the base removal.
Unplugging the monitor is an essential safety precaution that should never be overlooked.
First, clear a flat and stable surface to work on.
This will prevent strain or discomfort while working.
This will create a safe and stable working area.
when you obtain prepared the workspace, carefully place the monitor face down on the cloth or mat.
This will help maintain stability and prevent accidental damage to the monitor.
By properly positioning the monitor, you create a comfortable and stable environment for the base removal process.
This step sets the foundation for a smooth and efficient removal process without risking any damage to the monitor.
Start by inspecting the back of the monitor near the base area.
Look for a small indentation or slot that indicates the presence of the screw cover.
Once located, gently pry the screw cover using your fingernail or a flat-headed tool like a screwdriver.
Be cautious not to apply excessive force to avoid damaging the cover or the monitors surface.
This can help soften the adhesive and make it easier to lift the cover.
Once the screw cover is lifted, set it aside in a safe place where it wont get misplaced.
By removing the screw cover, you gain access to the screws that secure the base to the monitor.
This is an important step before moving on to the next step of removing the screws themselves.
Take your Philips screwdriver and carefully insert it into the screw heads.
check that the screwdriver fits snugly to prevent slipping and potential damage to the screws.
Rotate the screwdriver in a counterclockwise direction to loosen and remove each screw one by one.
Its crucial to pay attention to the number of screws and their location.
Monitors can have different configurations, and the number of screws may vary.
Typically, there will be two to four screws holding the base in place.
This will help prevent any confusion when reassembling the monitor in the future.
This process allows for the freedom to make adjustments or mount the monitor on other devices or stands.
This step involves carefully releasing the base from any connections or clips that may be holding it in place.
Start by firmly gripping the base with both hands.
Gently lift and pull it away from the monitor, applying even pressure to release any clips or connections.
While detaching the base, pay attention to any cables or wires that may be attached to it.
Often, monitors have built-in cable management features that route the cables through the base.
If there are any cables connected, disconnect them carefully to avoid any strain or damage.
Inspect the base and the monitor to ensure that all connections have been properly released.
Once the base is detached, set it aside in a safe location.
This opens up the opportunity for various mounting options or transportation without the bulkiness of the base.
These attachments could affect the stability and reassembly of the monitor if not properly addressed.
Start by carefully examining the bottom of the monitor and the removed base.
Look for any additional screws, clips, or brackets that may still be attached.
These components may have been obscured by the base or the screw cover.
If you discover any remaining screws, use the Phillips screwdriver to remove them.
confirm to keep track of these screws in a separate container from the ones previously removed.
This will avoid confusion during reassembly.
In addition to screws, some monitors may have plastic clips or brackets that secure the base.
Inspect the monitor and base for any signs of these attachments.
If you find any, gently release or unfasten them to ensure a clean detachment.
This step contributes to the overall stability and functionality of the monitor without the base.
This step ensures that the monitor is free from any attachments and ready for alternative mounting options or transportation.
Hold the monitor steadily with one hand while using your other hand to lift and remove the base.
Apply gentle and even pressure to release any remaining connections.
Be cautious not to use excessive force or sudden movements, as this can lead to unintended damage.
As you separate the base, double-check for any resistance or remaining attachments.
Once the base is fully separated, set it aside in a safe location.
Start by finding an appropriate storage location for the base.
Choose a dry, dust-free area where it wont be exposed to potential hazards or accidental damage.
If the base came with its original packaging, its ideal to store it in the original box.
This will provide additional protection against scratches, dents, or other physical damage.
This can prevent any potential damage to the base and ensure that it remains intact for future use.
Keeping all the components together will make it easier when it comes time for reassembly or any necessary adjustments.
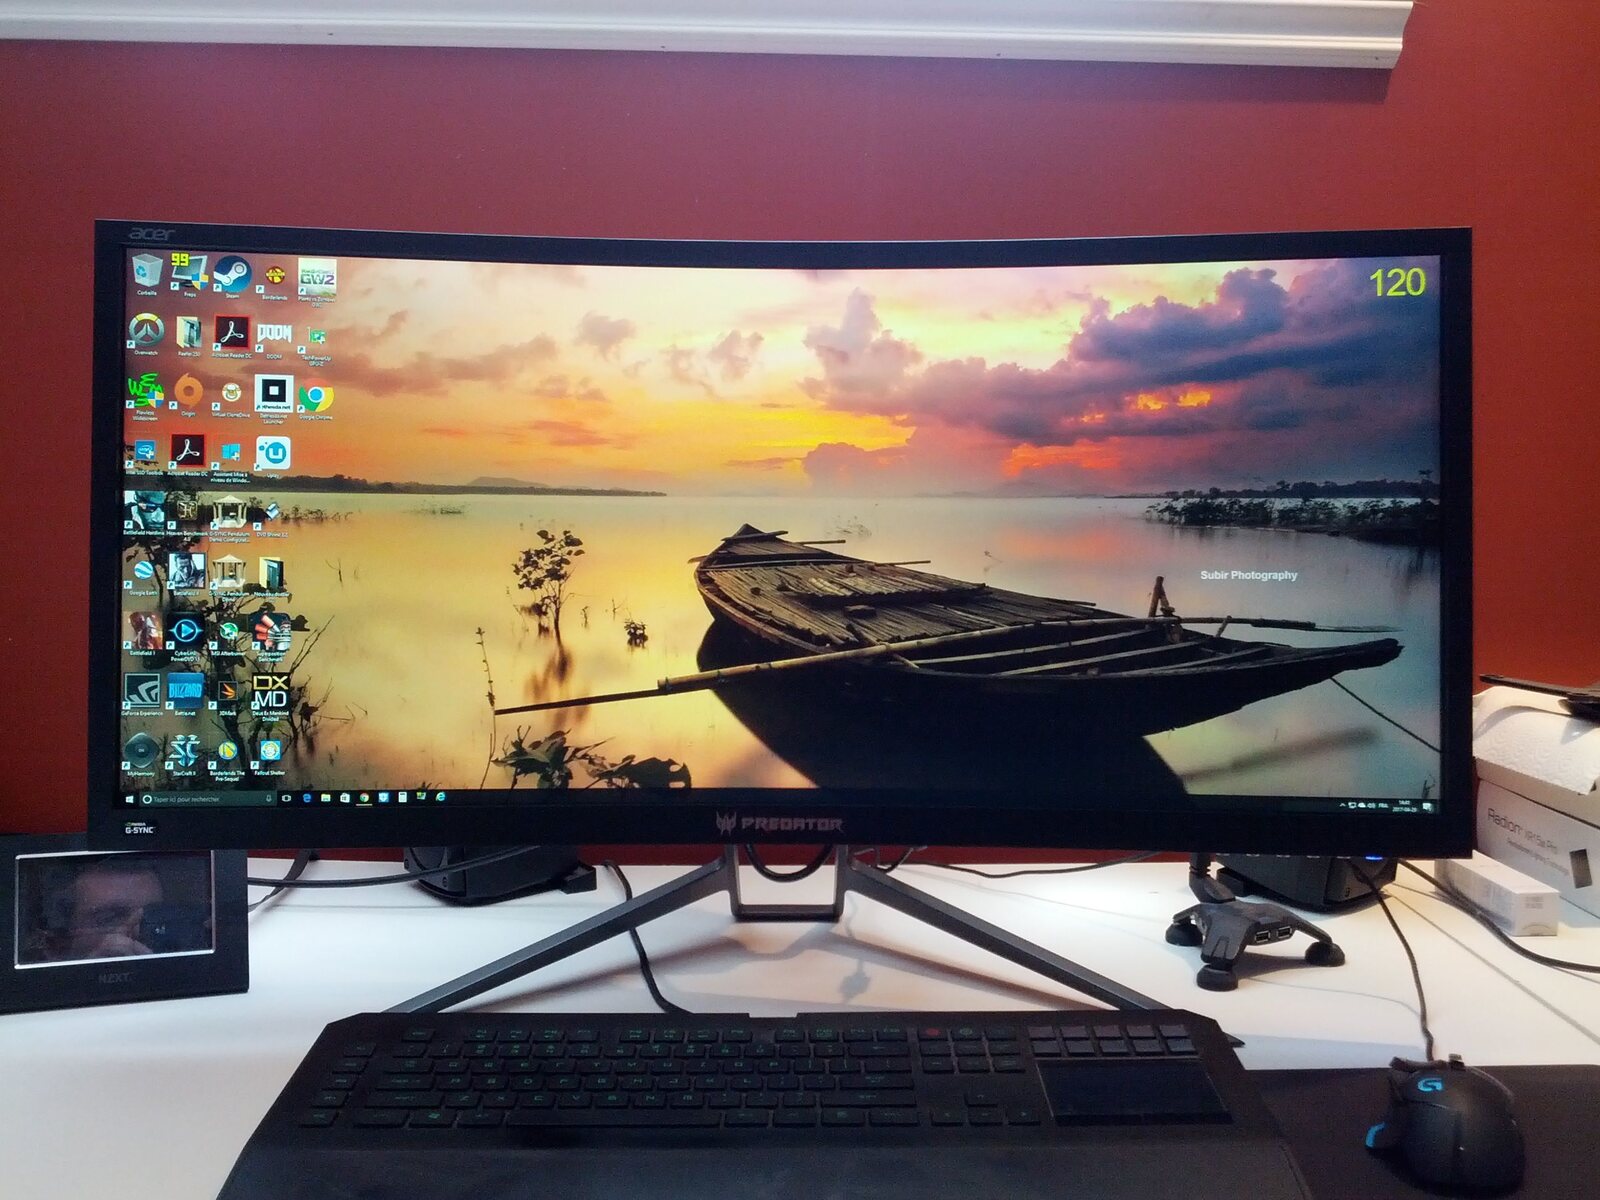
Remember to label the storage container or box to identify that it belongs to your Acer Predator Z35VA monitor.
By storing the base properly, you ensure its longevity and maintain its condition for potential future use.
Conclusion
Congratulations!
These steps ensure that you could work on the monitor without risking any accidents or damage.
ensure to store the base properly in a safe location for future use.
Removing the base opens up a world of possibilities for customizing your gaming setup.
We hope this guide has been informative and helpful in assisting you with the base removal process.
