Introduction
Welcome to this comprehensive guide on how to remove the PC CPU cooler Noctua.
Removing the CPU cooler can seem intimidating, especially if youre new to PC building or maintenance.
In this guide, we will walk you through the step-by-step process of removing the Noctua CPU cooler.
Now, lets gather the necessary tools and get started on removing the PC CPU cooler Noctua!
Having the right tools at hand will make the process efficient and prevent any unnecessary delays or frustrations.
By following these steps, you have successfully powered off your gear and disconnected it from the power source.
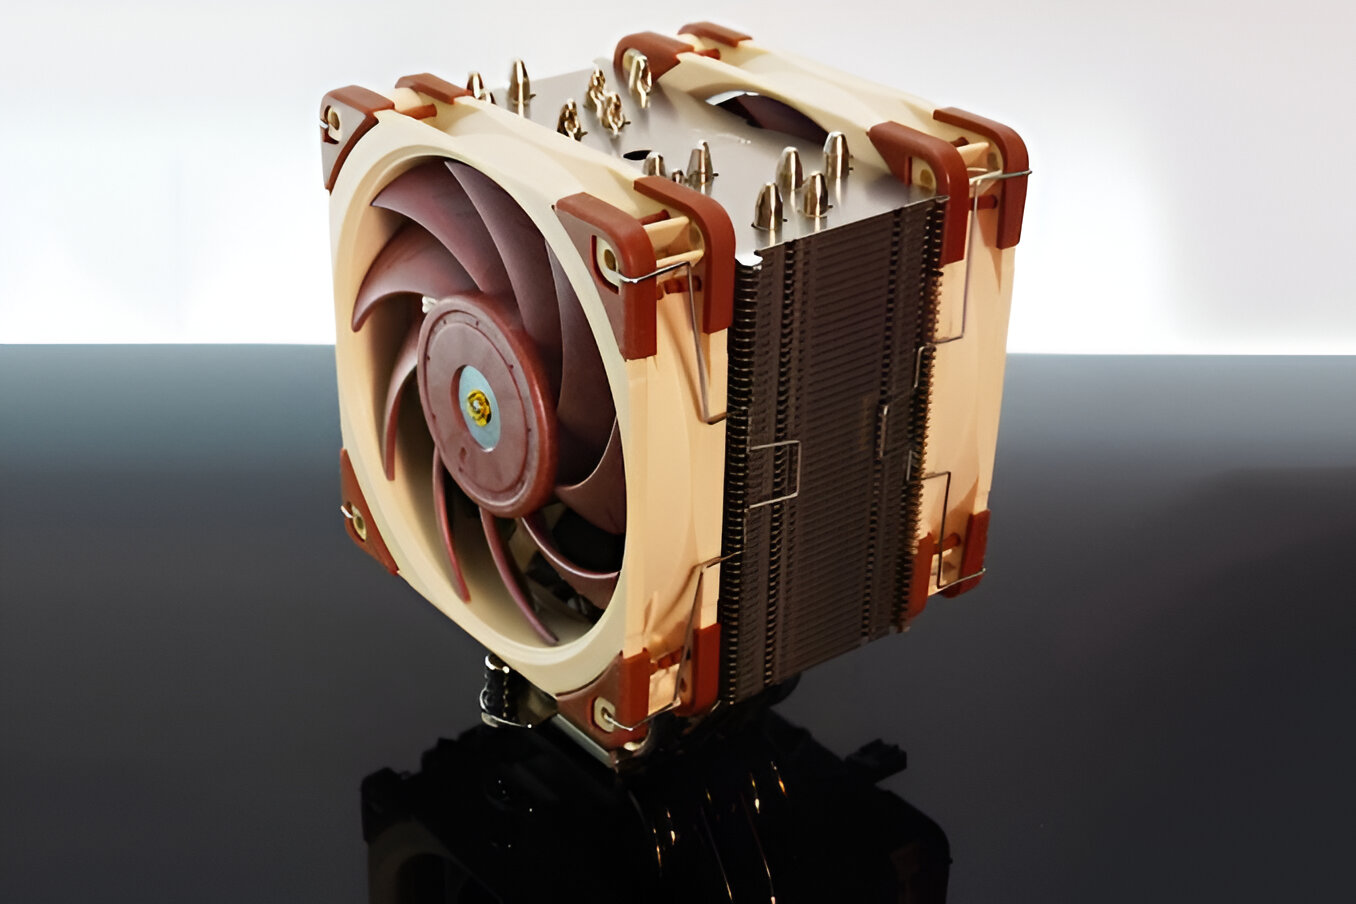
In the next step, we will identify the Noctua CPU cooler and prepare for its removal.
In the next step, we will proceed with removing the CPU cooler fan.
In the next step, we will proceed with detaching the CPU cooler from the motherboard.
In the next step, we will move on to cleaning the CPU and cooler surfaces.
Ensure that all connections are secure and the cooler is properly seated before proceeding to power on your PC.
You have now completed the process of removing and replacing the PC CPU cooler Noctua.
Proper cooling is essential for maintaining optimal performance and longevity of your box components.
Remember to regularly clean your CPU cooler and monitor temperatures to ensure efficient cooling in the future.
A professional can guide you through the process and ensure everything is handled correctly.
We hope this tutorial has been helpful in your PC maintenance journey.
