Introduction
Welcome to our guide on how to remove a motherboard.
Removing themotherboardmay be necessary when replacing it, upgrading components, or troubleshooting hardware problems.
Now that weve covered the general precautions, lets get started with the step-by-step process of removing a motherboard.
Before proceeding, its also a good idea to double-check you have a clear and clutter-free workspace.
Having everything ready beforehand will help streamline the process and prevent any unnecessary delays or interruptions.
Clear any clutter and ensure there is enough space to maneuver around the computer case comfortably.
Having good lighting in the area will also aid visibility and make the process easier.
Remember to take your time, follow proper procedures, and exercise caution while handling the delicate components.
This step ensures your safety and prevents any potential damage to the motherboard or other components.
Remember to handle the components with care and avoid applying excessive force when disconnecting cables or removing expansion cards.
Take care not to spread or smear the thermal paste over other components during removal.
Some CPU coolers may have additional mounting mechanisms or specialized designs.
Its important to refer to the manufacturers instructions specific to your CPU cooler model to ensure correct removal.
This step ensures that the motherboard can be safely removed without any obstructions or potential damage to the components.
Take your time to ensure that you disconnect each cable cleanly without bending any pins or damaging the connectors.
When removing the modules, ensure that you lift them straight out without placing excessive force or bending them.
Avoid touching the exposed components or delicate circuitry on the cards.
Remember to keep the cables in a safe place for reinstallation if needed.
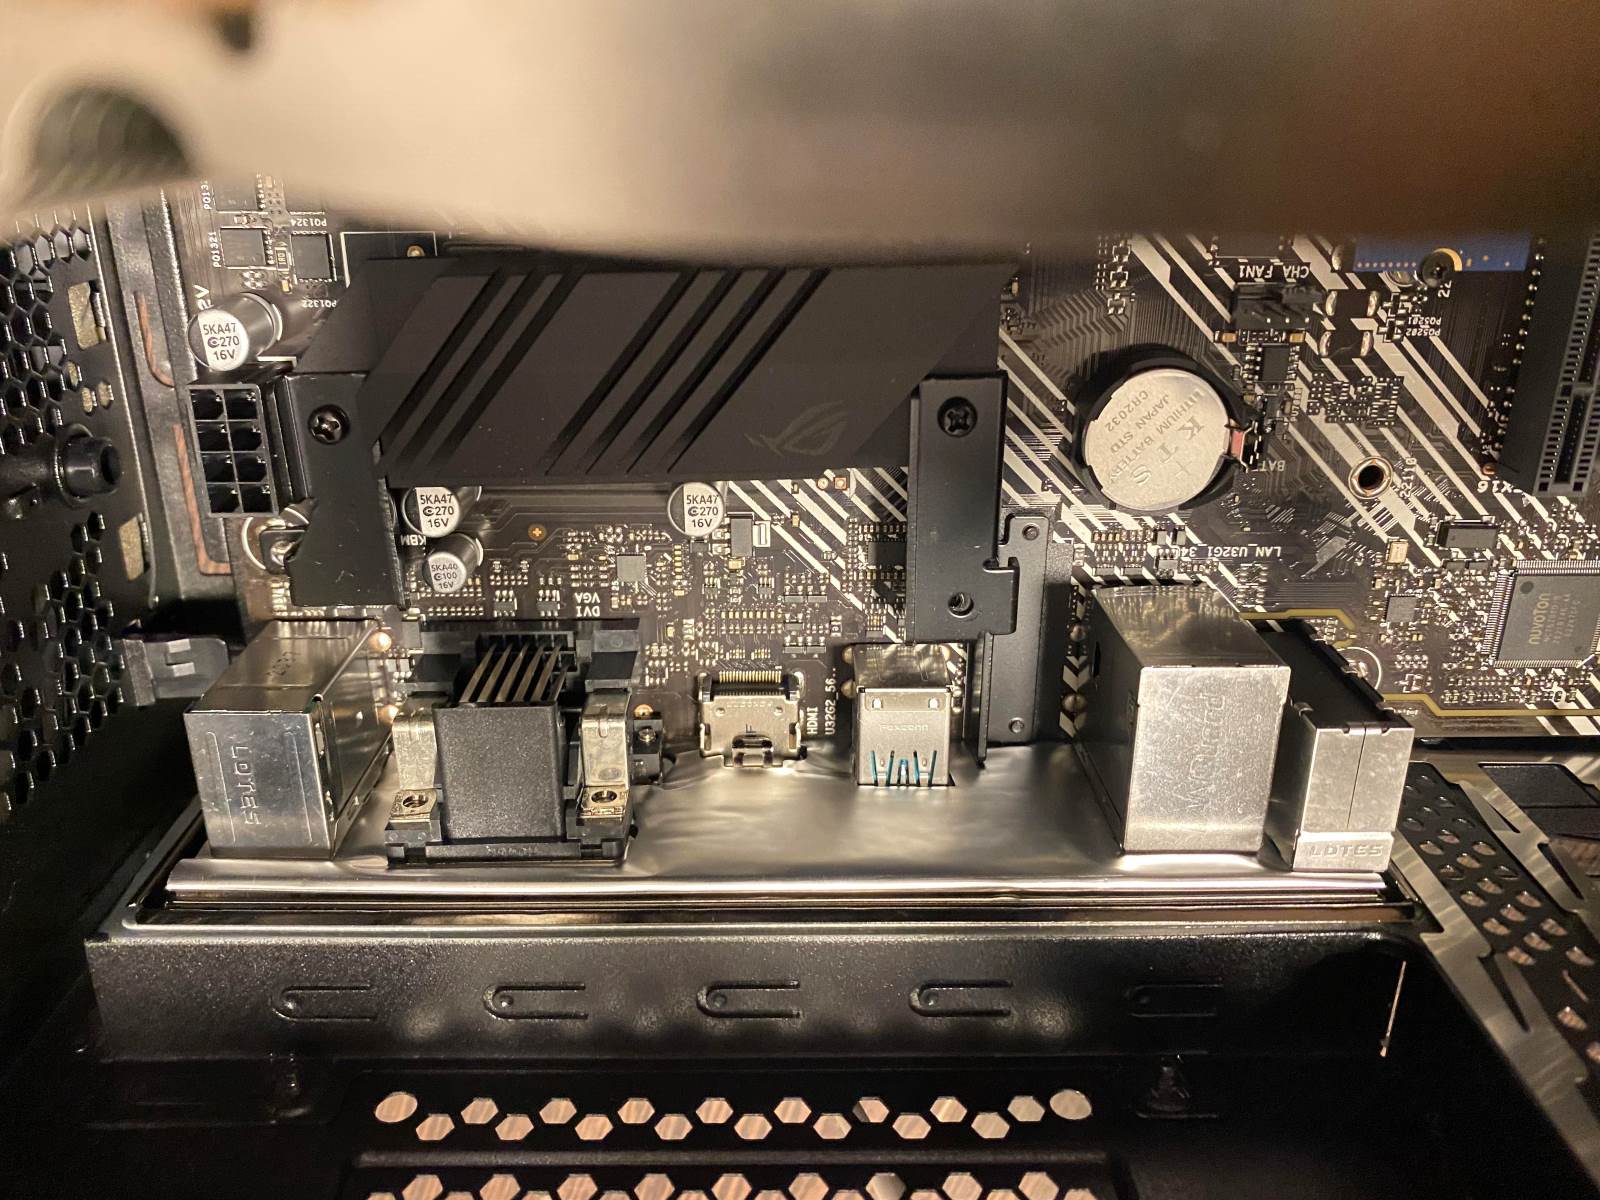
The motherboard is typically secured to the case with screws to ensure stability and proper grounding.
Take your time and be patient throughout this process.
This step requires careful handling to ensure the safety of the motherboard and other components.
Take your time and be mindful of the motherboards weight and fragility throughout the process.
We hope this guide has been helpful in assisting you as you remove your motherboard.
Good luck, and happy troubleshooting or upgrading!
