In this guide, we will walk you through the step-by-step process of removing keyboard keys from a laptop.
Using a dirty or damaged tool may cause further damage to your laptops keyboard.
Work gently and patiently, applying just enough pressure to remove the keycaps without exerting excessive force.
This will prevent any accidental keystrokes or electrical shock while working on the keyboard.
With the laptop powered off and disconnected, you could proceed to the next steps with peace of mind.
The keycap is the top part of the key that you press when typing.
it’s possible for you to take a photo or create a diagram to help you remember the layout.
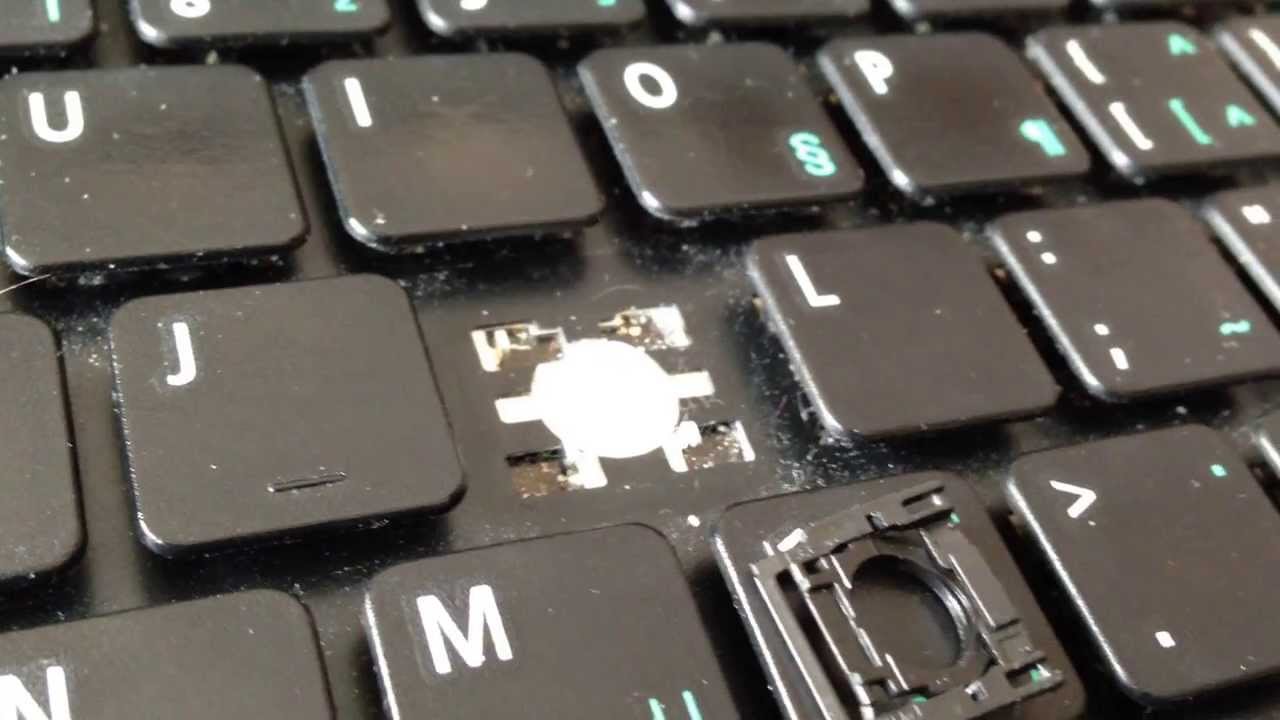
Some keycaps may have small plastic hinges or metal clips underneath them.
if you stumble on these types, be careful not to break or damage them during removal.
Note the position and orientation of these hinges or clips for correct reassembly later.
This will help ensure that there is no moisture left that could cause damage when the keys are reinstalled.
In the next step, we will cover how to reattach the keycap to the keyboard.
Heres how you might do it:
Take your time while reattaching the keycaps, ensuring accuracy and precision.
Double-check that each keycap is aligned correctly to avoid any potential issues with typing or functionality.
These hinges or clips help secure the keycap and provide stability during use.
Once all the keycaps are reattached, you are almost ready to test your cleaned and reassembled laptop keyboard.
But before that, lets move on to the final step.
Its important to address any issues promptly to avoid further inconvenience or potential damage.
Remember to maintain regular cleaning habits to prevent the recurrence of dirt and debris accumulation.
With this guide, you have learned how to remove,clean, and reattach laptop keyboard keys.
However, it is crucial to exercise caution and refer to your laptops user manual for specific instructions.
During the process, remember to power off and disconnect your laptop to ensure safety.
Allow sufficient time for drying.
Be careful not to damage any plastic hinges or clips that secure the keycap.
Then, reattach the keycap to the key switch, ensuring a secure fit and proper alignment.
Test each keys functionality by typing in a text editor or program.
If any keys remain sticky or unresponsive, repeat the cleaning process or seek professional assistance if needed.
Regularly cleaning and maintaining your laptop keyboard will prolong its lifespan and ensure smooth and effortless typing.
Enjoy a clean and fully functional keyboard, allowing you to key in with ease and efficiency.
