In such cases, it becomes necessary to remove the fan and clean it properly.
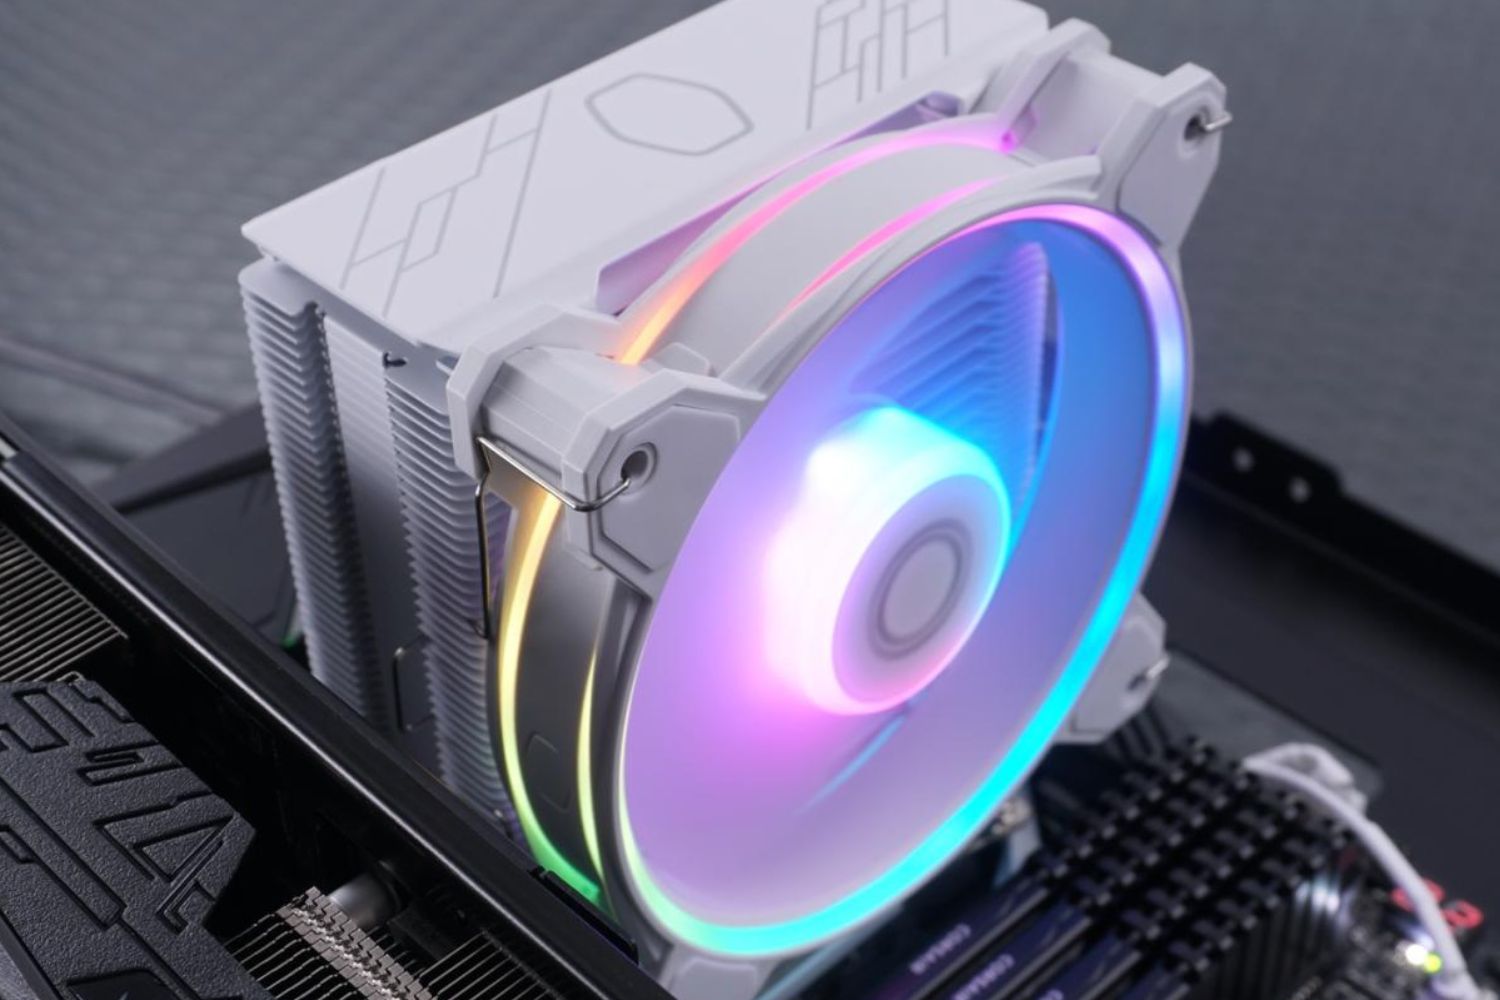
This guide will take you through the step-by-step process of safely removing the Cooler Master Hyper 212Evo CPU coolerfan.
However, just like any other cooling solution, it requires regular maintenance to ensure optimal performance.
Before we dive into the steps, confirm you have the necessary tools at hand.
Its also a good idea to work on a clean and grounded surface to prevent any static discharge.
Remember to power down your rig and disconnect the power cable before starting any work inside the case.
This will ensure your safety as well as prevent any potential damage to the hardware.
The Phillips screwdriver will be especially handy for removing any screws that secure the fan to the heat sink.
Lastly, the compressed air or small brush will be used to clean the fan and the heat sink.
Over time, dust and debris can build up on these components, negatively affecting the fans performance.
Using compressed air or a brush will help remove this buildup and ensure that the fan can function optimally.
This is an essential precautionary measure to protect both yourself and the hardware.
To power down your setup, do these things:
Wait for your setup to shut down completely.
Do not attempt to remove the cooler fan while the computer is still powered on.
Once your box is completely powered down, youre ready to proceed to the next step.
Removing the side panel will provide you with access to the internal components, including the CPU cooler fan.
If the panel doesnt come off easily, double-check that you have removed all necessary screws or fasteners.
After removing the side panel, set it aside in a safe place.
You may want to keep the screws or fasteners nearby to ensure they are not misplaced.
Proceed to the next step to continue removing the Cooler Master Hyper 212 Evo CPU cooler fan.
SomeCPU cooler fansmay also have an additional connector for controlling fan speed.
This step eliminates the risk of injury and protects your hardware from potential damage.
This step will allow you to clean the fan and the heat sink separately.
This will prevent any damage to the fan or the heat sink.
There may be additional securing mechanisms that need to be released before the fan can be lifted off.
Once the CPU cooler fan is successfully removed, place it in a secure location.
you’ve got the option to clean it separately in the next step.
Over time, dust and debris can accumulate, compromising the efficiency of the cooling system.
Cleaning these components will help restore optimal airflow and cooling performance.
Cleaning the heat sink and fan will improve the cooling efficiency and airflow within your setup case.
This step is crucial to ensure proper cooling of your CPU and prevent any overheating issues.
Ensure that the CPU cooler fan is securely attached to the heat sink and doesnt wobble or move excessively.
This will ensure proper cooling efficiency without any vibrations or noise issues.
If youre reattaching the existing fan, double-check that all screws or clips are properly tightened and secured.
This will prevent any potential issues during operation.
This step is essential to ensure that the fan receives power and can effectively cool your CPU.
This is usually labeled as CPU_FAN or SYS_FAN.
Double-check that both the power cable and the control cable, if applicable, are securely connected.
A loose connection can lead to fan malfunctions or inadequate cooling.
Reconnecting the power cable ensures that the CPU cooler fan receives the necessary power supply to function optimally.
Its an essential step to maintain proper cooling for your CPU and prevent any potential overheating issues.
Properly closing the case will ensure the components are protected and that the cooling system functions effectively.
The goal is to have the side panel securely attached without putting excessive pressure on the components within.
After replacing the side panel, give it a gentle push to ensure it is properly seated.
Check visually to verify there are no gaps or misalignments.
This step ensures that the fan is functioning correctly and providing adequate cooling to your CPU.
If you notice any issues during the test, power down the computer and inspect the installation once again.
check that all connections are secure and that the fan is properly attached to the heat sink.
Conclusion
Congratulations!
Take your time and be gentle with the components to avoid causing any unnecessary damage.
Inspecting and cleaning your CPU cooler fan periodically is essential for maintaining a stable and optimized computer system.
you should repeat this process every few months or as needed, depending on your gear usage environment.
