Introduction
Welcome, fellow tech enthusiasts!
Removing an SSD from your PC may seem like a daunting task, but fear not!
The SSD houses valuable data that needs to be handled with care to avoid any accidental damage or loss.
So, lets get started on this exciting journey of upgrading or replacing your SSD.
Get your toolkit ready and lets dive in!
In the following steps, well cover each aspect of safely removing an SSD from your PC.
Finally, well guide you through removing the SSD from its slot and storing it in a safe place.
Ready to take the plunge?
Its important to handle the side panel with care to avoid any damage.
Look for any cables or components that may obstruct access to the SSD.
Opening the PC case can vary depending on the model and manufacturer of your machine.
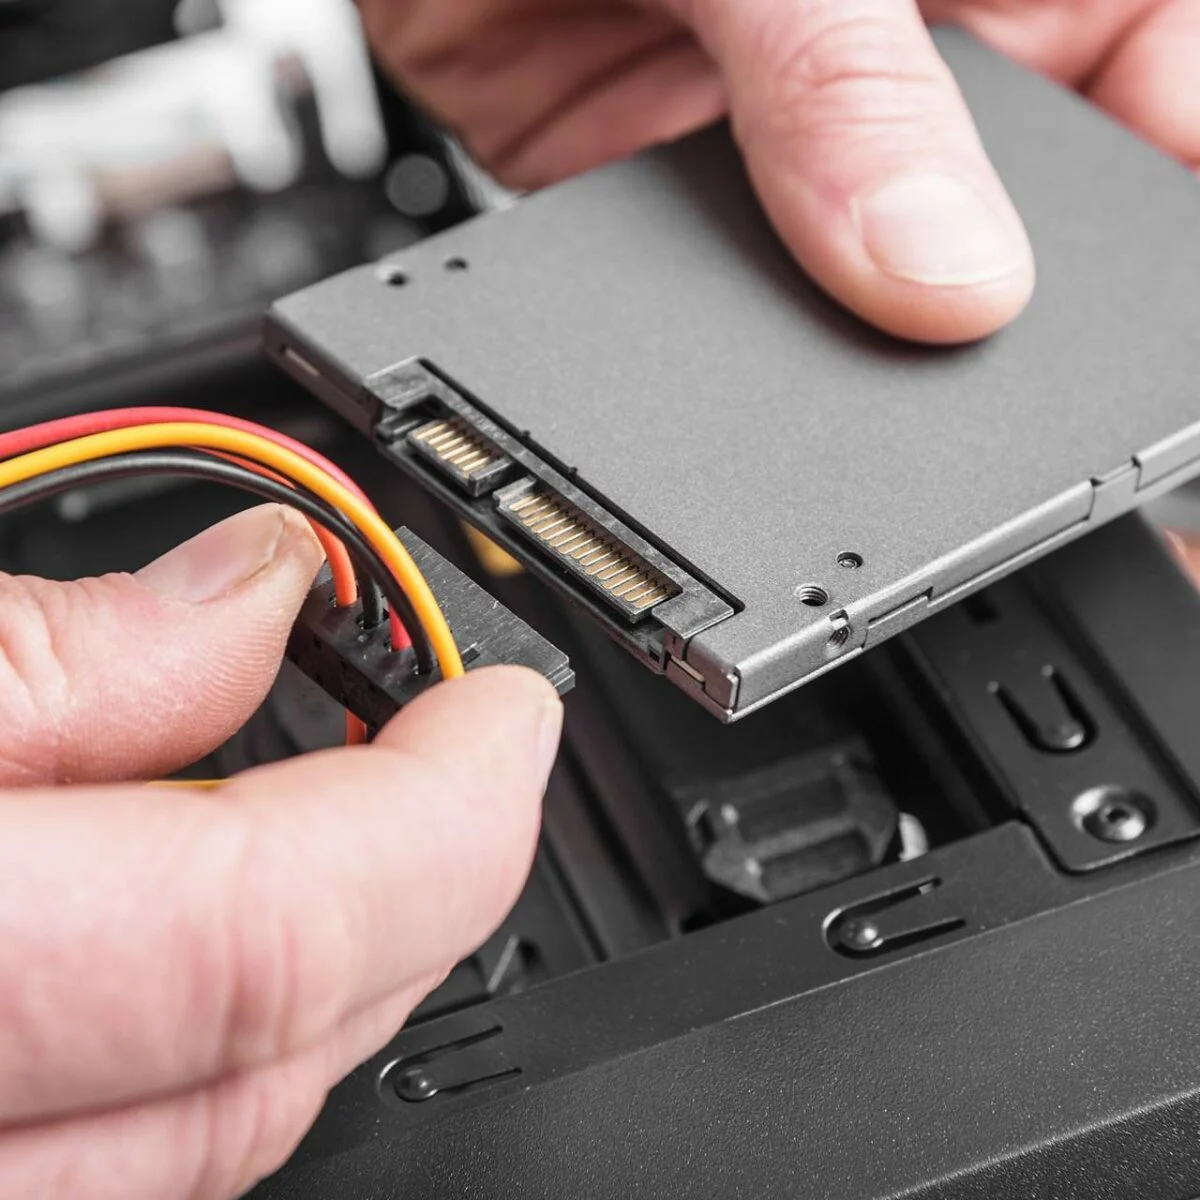
These cables will need to be disconnected in the following step when removing the SSD.
The mounting bracket provides stability and helps to secure the SSD in place.
Its important to handle the mounting bracket with care to avoid any damage.
Be mindful of any components or cables that may be connected to the bracket as you remove it.
Keep in mind that not all PCs have mounting brackets for SSDs.
Removing the SSD from the bracket allows for easy removal from your PC case.
Handle the SSD with care as it is a delicate electronic component.
Avoid touching any of the exposed circuitry or connectors on the SSD.
Once the SSD is removed from the bracket, set the bracket aside for future use or storage.
You have successfully removed the SSD from its slot.
The next step is to store the SSD safely and securely.
Proper storage will protect the SSD from physical harm and potential data loss.
These precautions will help extend the lifespan of the SSD and maintain the integrity of your data.
You have successfully removed and stored the SSD.
Now you might proceed with your desired upgrade or replacement for a faster and more efficient computing experience.
We started by powering down the PC and opening the case to gain access to the internal components.
Then, we located the SSD within the PC and disconnected the necessary cables.
Finally, we removed the SSD from its slot and stored it safely to protect its integrity.
Take your time, follow the instructions, and refer to your PCs documentation if needed.
They can provide guidance specific to your PC model and ensure a smooth SSD removal process.
We hope this guide has been helpful in assisting you with removing your SSD.
Good luck with your future PC endeavors!
