Before you begin the removal process, its essential to prepare your workspace.
Ensure that you have enough room to work comfortably and that you have all the necessary tools.
Step 1: Prepare the Workspace
1.
Find a spacious area:verify you have enough room to comfortably work around your box tower.
Clear any clutter or obstructions on your desk or work surface to create an open and tidy workspace.
Gather the necessary tools:You will need a few tools to safely remove the graphics card.
Power down your gear:Shut down your gear completely and unplug it from the power source.
This is essential to prevent any electrical accidents or damage to your hardware.
This will make it easier to identify screws, connectors, and any potential issues during the removal process.
This will prevent the loss of any important data and ensure a smooth shutdown process.
Shut down the computer:choose the Start menu and pick the Shut Down option.
Allow the computer to complete the shutdown process before proceeding further.
Carefully unplug it from the wall outlet or surge protector.
This step ensures that there is no electrical power flowing through your system during the removal process.
This helps discharge any residual power remaining in the system.
Ground yourself:Remember to ground yourself again before proceeding.
If youre wearing an anti-static wrist strap, confirm it is securely fastened.
This will prevent any static electricity discharge that could potentially damage your system components.
Step 3: Locate and Remove the GPU Cover
1.
It may have screws or clips securing it in place.
Look for any markings or indications that point to the location of the graphics card.
Place the screws in a safe container or tray to avoid misplacing them.
If the cover is secured with clips, gently press or release the clips to loosen the cover.
Some covers may require you to lift or twist them slightly to release them.
Take caution to avoid any excessive force and ensure a smooth removal.
You may need to reinstall it later, depending on your situation.
If needed, use compressed air or an anti-static brush to clean the area before proceeding.
By locating and removing the GPU cover, you have successfully gained access to the graphics card.
Now youre ready to move on to the next step: disconnecting the power cables from the graphics card.
Step 4: Disconnect Power Cables from the Graphics Card
1.
Identify the power cables:Look for the power cables connected to your graphics card.
Most modern graphics cards require both a 6-pin and/or 8-pin power connector.
These connectors are typically located on the top or side of the graphics card.
Be careful not to bend or force the connectors as this may damage them.
Some power connectors may have clips or locks that need to be released before removing the cables.
Pulling on the cables can put stress on the connectors and potentially damage them.
Always grip the connectors firmly and pull them straight out of the graphics card.
Repeat if necessary:Some graphics cards may require multiple power connectors.
Now you might proceed to the next step: removing any additional attachments present on the graphics card.
Step 5: Remove Any Additional Attachments
1.
Look for any obvious connections or cables that may need to be disconnected.
Disconnect the attachments:Gently remove any cables or connectors that are connected to the graphics card.
Set aside the attachments:Once the attachments are disconnected, place them aside in a safe location.
Take a closer look around the graphics card area to ensure that all attachments have been removed.
If you find any additional connections, follow the same steps to disconnect them.
Labeling the container or bag can help you easily identify the specific attachments when needed in the future.
By removing any additional attachments from the graphics card, you ensure a clean and unobstructed removal process.
Step 6: Release the Graphics Card Latch or Screws
1.
Identify the latch or screws:Locate the latch or screws that are holding the graphics card in place.
double-check to release the latch fully to allow the graphics card to be removed smoothly.
Turn the screws counterclockwise until they are completely loosened.
Avoid overtightening the screws or using excessive force, as this can damage the graphics card or the motherboard.
Its recommended to keep screws from different components separate to prevent confusion when reassembling your system.
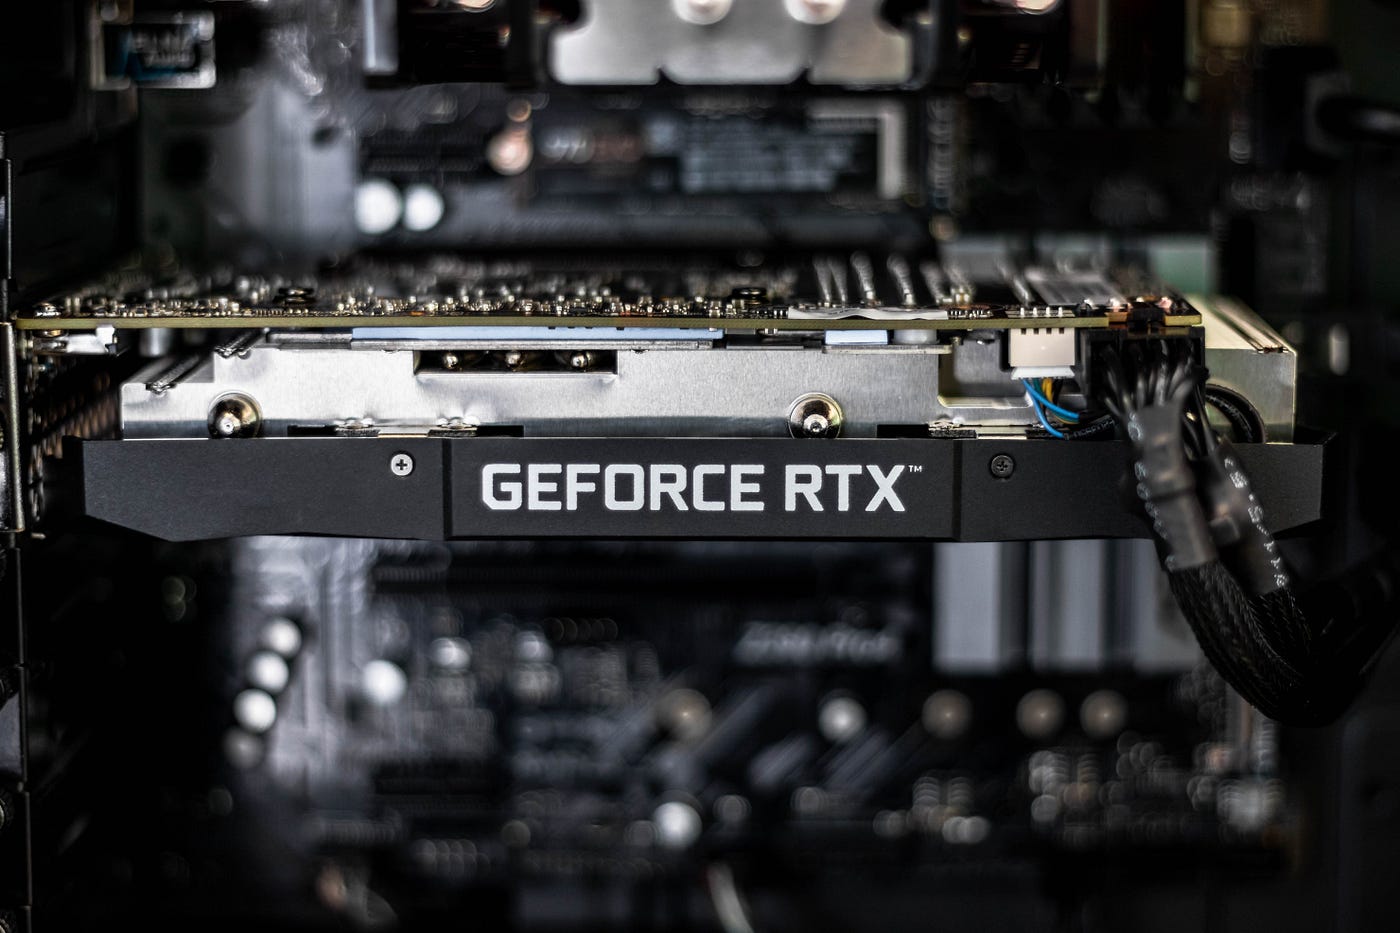
Step 7: Gently Remove the Graphics Card from the PCIe Slot
1.
Locate the PCIe slot:Identify the PCIe slot where the graphics card is installed.
Its essential to have a secure grip on the card to prevent accidental dropping or mishandling.
Gently lift the graphics card:Slowly lift the graphics card straight up out of the PCIe slot.
Use gentle and even pressure to prevent any bending or damage to the card or motherboard.
If the graphics card feels stuck, double-check to ensure that the latch or screws have been fully released.
Avoid excessive force:Its crucial not to use excessive force or twist the graphics card while removing it.
Keep it in a safe location away from any potential sources of damage or static electricity.
Step 8: Clean the PCIe Slot if Necessary
1.
Compressed air can help dislodge any loose dust particles, while an anti-static brush can gently remove stubborn debris.
Direct short bursts of compressed air into the PCIe slot, targeting areas where dust may have accumulated.
This will help blow away any loose particles.
If necessary, repeat the cleaning process until the slot appears clean and free from any obstructions.
Liquids can potentially damage the electrical contacts or other components on the motherboard.
Stick to using compressed air or anti-static brushes for safe and effective cleaning.
Step 9: Insert the New Graphics Card (Optional)
1.
Ensure the slot is free from any obstructions or debris from the previous card.
The PCIe slot has a specific configuration and an open end that matches the connector on the graphics card.
Ensure a proper alignment before proceeding.
Insert the graphics card:Gently push the graphics card straight into the PCIe slot.
Apply even pressure to ensure a snug fit while taking care not to force or bend the card.
The card should slide into place smoothly.
Do not overtighten the screws.
Reconnect power cables:If necessary, reconnect any power cables to the new graphics card.
Ensure that the power cables are securely connected and that any locks or clips are engaged properly.
By following these steps, you have successfully inserted the new graphics card into the PCIe slot.
Step 10: Reconnect Power Cables and kill the GPU Cover
1.
Common power connectors are 6-pin and 8-pin connectors.
Reconnect the power cables:Align the power connectors on the graphics card with the available power cables.
Gently push the connectors into place until you feel them snap or lock securely.
Take care to avoid any bending or forcing of the connectors.
Ensure that the cover fits properly and does not apply any pressure to the graphics card.
Once aligned, secure the cover by tightening any screws or locking mechanisms, if applicable.
Double-check all connections:Take a moment to review all the connections you have made.
Ensure that the power cables are securely connected and that the GPU cover is properly closed.
Additionally, check for any loose screws or components that may require tightening or adjustment.
Plug in the power cable, press the power button, and allow the computer to boot up.
Verify that the new graphics card is detected and functioning correctly in your system.
You have successfully reconnected the power cables and closed the GPU cover.
Your new graphics card is now installed and ready for use.
Ensure that you load the latest drivers and software for optimal performance and enjoy your enhanced graphics capabilities!
Remember to keep your graphics card drivers up to date and regularly maintain your system to ensure optimal performance.
