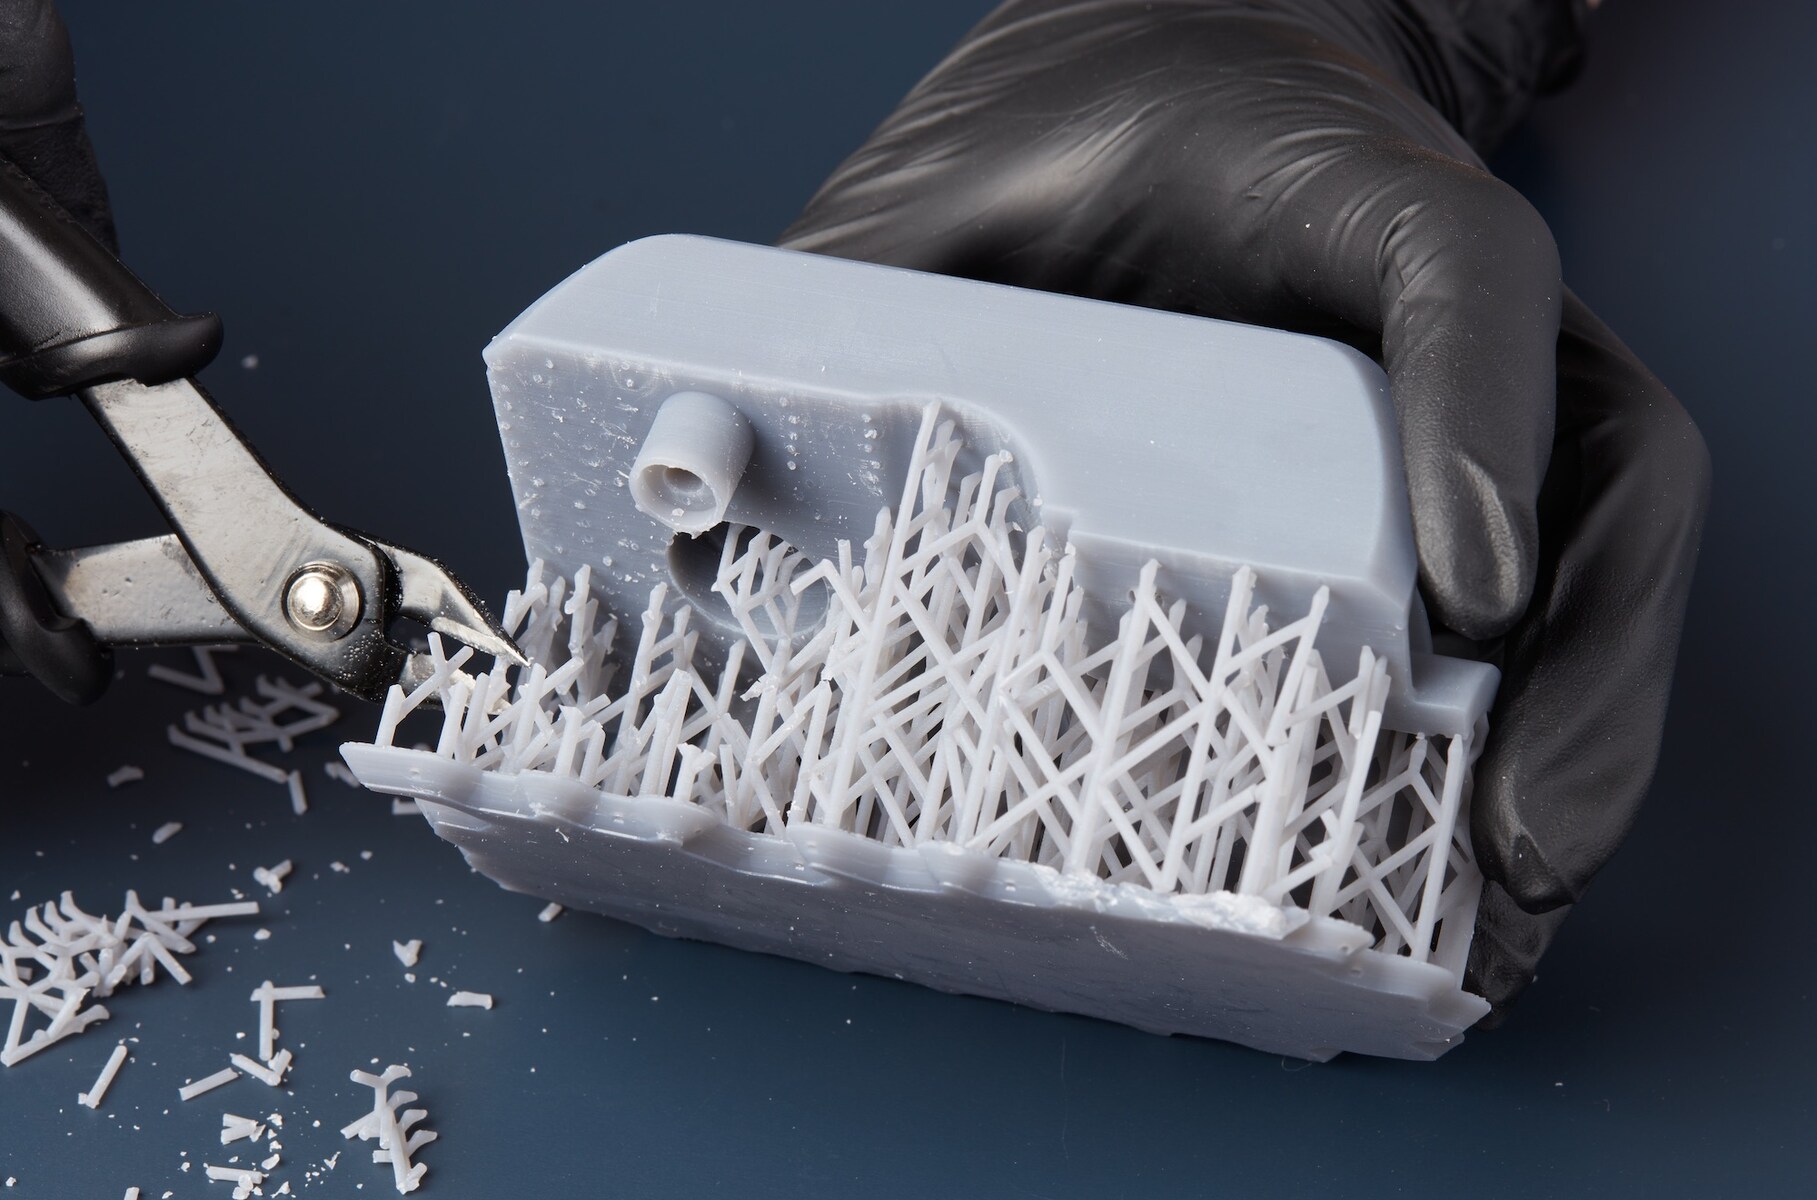
However, one challenge that arises when using a 3D printer is the need for supports.
While supports are essential for complex designs, removing them can be a painstaking task.
In this guide, we will explore various methods and techniques to efficiently remove supports from your 3D prints.

The main goal of removing supports is to leave behind a smooth and flawless surface on your 3D print.
Therefore, its essential to use the right tools and techniques for an effective support removal process.
What are 3D Printer Supports?
The placement of supports is determined by the 3D modeling software or slicer program used to prepare the print.
They are printed in a way that allows easy removal once the print is complete.
Removing the supports correctly is crucial to ensure a smooth and blemish-free surface on your desired object.
Its important to note that not all 3D prints require supports.
Simple designs or prints with minimal overhangs may not need additional support structures.
However, for more complex and intricate models, supports are usually necessary to achieve accurate and high-quality results.
Why Remove 3D Printer Supports?
Removing 3D printer supports is an essential step in the post-processing of your prints.
Firstly, supports can leave visible marks and scars on the surface of your print.
Removing the supports carefully ensures a smooth and flawless surface, enhancing the overall aesthetics of your print.
Secondly, supports can hide intricate details and features of your model.
When supports are attached to delicate or intricate parts, they can obstruct the visibility of those details.
Removing the supports allows you to fully appreciate and showcase the intricate design elements of your print.
Furthermore, leaving supports on your print can affect the functionality of the object.
Carefully removing the supports ensures that your print can function as intended.
Additionally, supports can impact the dimensional accuracy and tolerance of your print.
Lastly, removing supports is necessary if you plan on painting or post-processing your print.
Supports can create unwanted texture or surface irregularities that can affect the outcome of your post-processing techniques.
In the following sections, we will explore different methods and techniques for removing supports effectively and efficiently.
This method involves using basic hand tools to carefully cut or snap off the supports from your print.
Practice on scrap prints or less important projects before attempting support removal on more intricate or valuable prints.
With practice and patience, you could achieve clean and professional-looking prints using this method.
Experimentation and practice will help you determine the optimal heat and cold prefs for different prints.
Be mindful of overheating the print or applying excessive force, as this can lead to warping or breakage.
Practice on less critical prints before attempting this method on more valuable or intricate projects.
This method is especially effective for prints with complex geometries or internal cavities that are difficult to access manually.
Additionally, be aware that using dissolvable supports may require additional setup and maintenance of your 3D printer.
These tools are specifically designed to make the process easier and minimize the risk of damaging the print.
Use the tools in combination with manual techniques to achieve the best results.
Keep in mind that support removal is an art that requires practice and experience.