Introduction
Welcome to our guide on how to raise a projector screen!
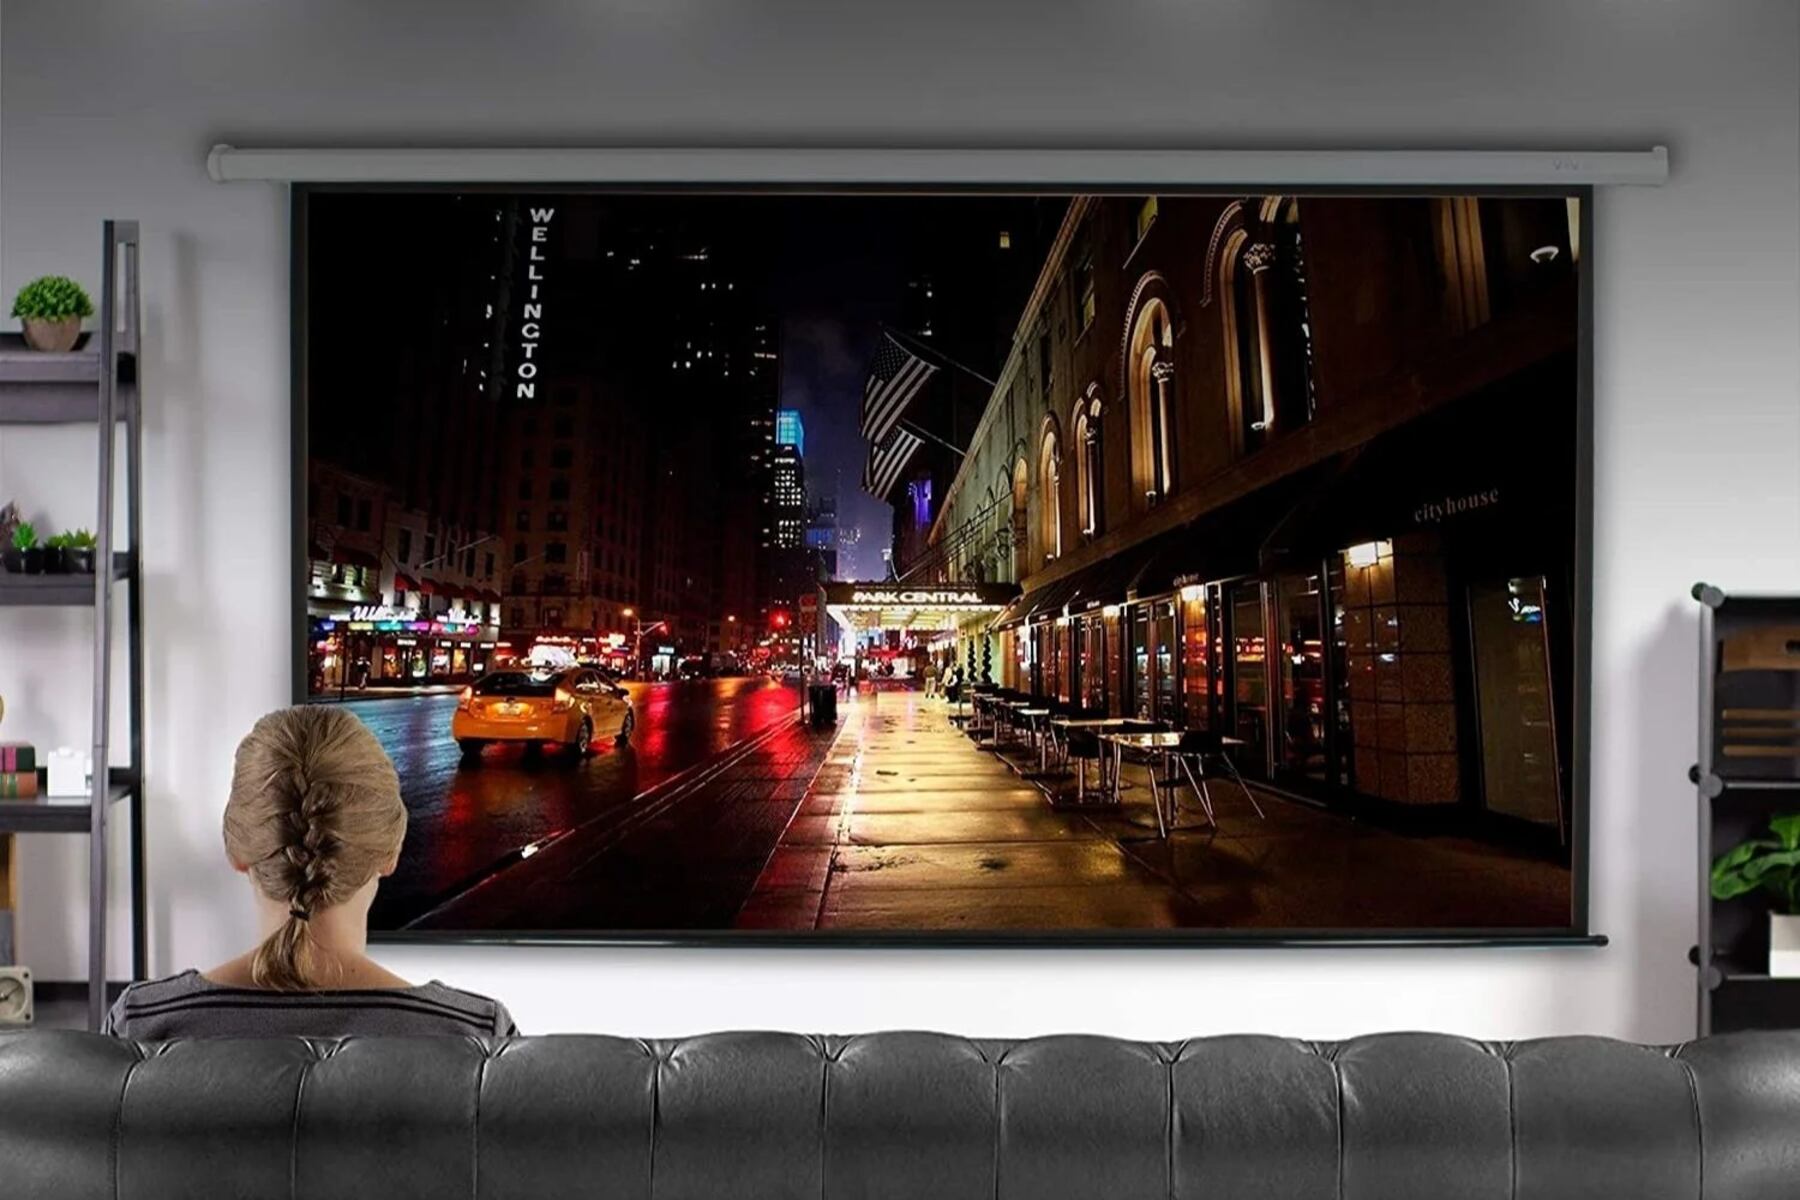
Choosing the rightprojector screenis crucial for achieving optimal image quality and viewing pleasure.
There are several factors to consider, such as screen size, aspect ratio, and gain.
We will delve into these aspects in our upcoming sections to help you make an informed decision.
Understanding the different types ofprojector screensis also essential.
Manual projector screens are operated manually, typically using a pull-down mechanism.
Electric projector screens, on the other hand, are operated electronically with the push of a button.
before you get going raising a projector screen, its important to gather the necessary tools and equipment.
You may need a ladder or a sturdy platform, depending on the height of your screen.
We will provide a comprehensive list of tools youll need in our later sections.
Throughout this guide, we will provide step-by-step instructions on how to raise both manual and electric projector screens.
Well also address common issues you may encounter and provide troubleshooting tips to help you overcome them.
Once your projector screen is raised, its important to properly maintain and care for it.
Regular cleaning and correct storage can prolong the lifespan of your screen and ensure optimal performance.
We will share some key maintenance tips to keep your projector screen in top shape.
Lets explore these factors in detail.
First off, screen size is a crucial consideration.
The screen should be large enough to provide clear visibility and legibility from all angles.
Measure the available space and determine the ideal screen size based on the viewing distance and room dimensions.
Keep in mind that a larger screen may require a higher resolution projector for optimal image quality.
Aspect ratio is another essential factor to consider.
The aspect ratio determines the width and height proportions of the screen.
The two most common aspect ratios are 16:9 and 4:3, with 16:9 being the standard for widescreen content.
Choose an aspect ratio that is compatible with the content you will be displaying.
Next, consider the gain of the screen.
The gain refers to the screens ability to reflect light back to the viewer.
A higher gain value results in a brighter image, but it can also create hotspots or uneven lighting.
For rooms with controlled lighting conditions, a higher gain screen may be suitable.
In rooms with ambient light, a lower gain screen is recommended to minimize glare.
Additionally, think about the material of the screen.
Different materials offer different advantages.
White matte screens provide consistent color reproduction and wide viewing angles.
Gray screens enhance contrast and black levels, making them ideal for rooms with ambient light.
Acoustic transparent screens allow speakers to be placed behind the screen for improved audio quality.
Budget is also an important consideration.
Consider your budget and look for screens that provide the best value for your money.
Lastly, keep in mind the installation requirements.
Lets explore the different types and their characteristics to help you make an informed decision.
The most common types of projector screens are manual and electric screens.
Manual screens operate using a pull-down mechanism.
They are typically more affordable and straightforward to install.
With a manual screen, you’re free to easily adjust the height to your desired position.
These screens are a popular choice for home theaters and small conference rooms.
Electric screens, on the other hand, offer a higher level of convenience.
They are operated electronically with the push of a button or through a remote control.
Electric screens are ideal for larger spaces or commercial parameters where frequent adjustments are required.
They provide a smooth, motorized operation and can be easily integrated into a project control system.
Another throw in of projector screen is the fixed frame screen.
As the name suggests, these screens are permanently fixed in place, creating a seamless and tensioned surface.
Fixed frame screens offer a sleek and professional look and are suitable for dedicated home theaters or conference rooms.
They provide a flat, wrinkle-free viewing surface for optimal image quality.
Portable screens are designed for easy transport and quick setup.
These compact screens are lightweight and often come with a carrying case.
Portable screens are popular for outdoor events, classrooms, or presentations on the go.
They offer flexibility and convenience, allowing you to set up your screening area wherever you need.
Rear projection screens are designed to be viewed from the opposite side of the screen.
Rear projection screens provide a vibrant and seamless display while keeping the projector concealed.
Lastly, there are ambient light rejecting screens.
These screens are specifically designed to combat ambient light and enhance image contrast.
Ambient light rejecting screens are commonly used in living rooms or spaces with large windows.
Lets take a look at the tools and equipment youll need.
The first tool youll need is a measuring tape.
This will help you determine the ideal screen size and make accurate measurements for placement and positioning.
Measure the available space and ensure that the screen dimensions are suitable for the room.
A level is another essential tool.
It will help you ensure that the screen is perfectly straight and aligned.
Next, youll need a ladder or sturdy platform.
Its crucial to prioritize safety and choose a ladder that is stable and secure.
Depending on the pop in of screen and installation method, you may need additional equipment.
Electric screens may require a power drill to ensure a stable and safe installation.
Screwdrivers and a wrench set will also come in handy during the installation process.
If youre installing a ceiling-mounted screen, a stud finder is essential.
This may include wall anchors, screws, or brackets specific to your screen and installation requirements.
Having everything on hand will save you time and ensure that the screen is securely and properly installed.
Heres a step-by-step guide to help you raise your manual projector screen:
Thats it!
You have now successfully raised your manual projector screen.
Enjoy your viewing experience!
yo note that the specific steps may vary depending on the brand and model of your projector screen.
Always refer to the manufacturers instructions for precise guidance on raising and lowering your screen.
Heres a step-by-step guide to help you raise your electric projector screen:
Thats it!
You have now successfully raised your electric projector screen.
Enjoy your viewing experience!
Some electric screens may also come with additional features, such as adjustable drop lengths or programmable presets.
Familiarize yourself with the specific capabilities of your screen to get the most out of its functionality.
Here are some troubleshooting tips to help you address these issues:
1.
Try gently pulling down on the side that is rolling up too quickly to help distribute the tension evenly.
For electric screens, consult the manufacturers instructions on adjusting the screen tension if applicable.
Wrinkles or creases on the screen:Wrinkles or creases can affect the image quality and overall viewing experience.
For manual screens, ensure that the tension adjustment is properly set to keep the screen taut.
If wrinkles persist, consult the manufacturers instructions on how to steam or iron the screen material carefully.
Be cautious not to damage the screen in the process.
Check the power connection and ensure that the power source is functioning.
If the issue persists, ping the manufacturer for assistance or consult a professional technician.
Check the locking mechanism to ensure it is properly engaged.
Tighten or replace as necessary.
If the issue persists, check that there are no obstructions between the remote and the screens receiver.
If necessary, try reprogramming or replacing the remote control.
drop a line to the manufacturer for guidance on how to address the issue.
Here are some maintenance and care tips to keep your projector screen in excellent condition:
1.
Regular cleaning:Dust and dirt can accumulate on the screens surface, affecting image quality.
Avoid using abrasive materials or harsh chemicals that can damage the screen material.
If you notice any damage, address it promptly to prevent further deterioration.
Small tears can be repaired using a patch kit or adhesive suitable for the screen material.
get in touch with the manufacturer or a professional for guidance on repairing larger or more severe damage.
Protect from moisture and humidity:Excessive moisture or humidity can damage the screen material and affect its performance.
Avoid installing the screen in areas prone to moisture, such as bathrooms or kitchens.
If the screen is exposed to accidental spills or moisture, wipe it dry immediately to prevent damage.
Conclusion
Raising and maintaining a projector screen doesnt have to be complicated.
Choosing the rightprojector screen size, aspect ratio, and jot down is crucial for achieving optimal image quality.
Additionally, troubleshooting common issues and properly maintaining your projector screen are essential for its longevity and optimal performance.
These instructions will provide additional details and recommendations for the best care and maintenance practices.
