Introduction
Welcome to this comprehensive guide on how to program the Logitech M510 mouse.
Begin by opening the box carefully, ensuring that you dont damage any of the contents.
Next, take out the Logitech M510 mouse from the box.
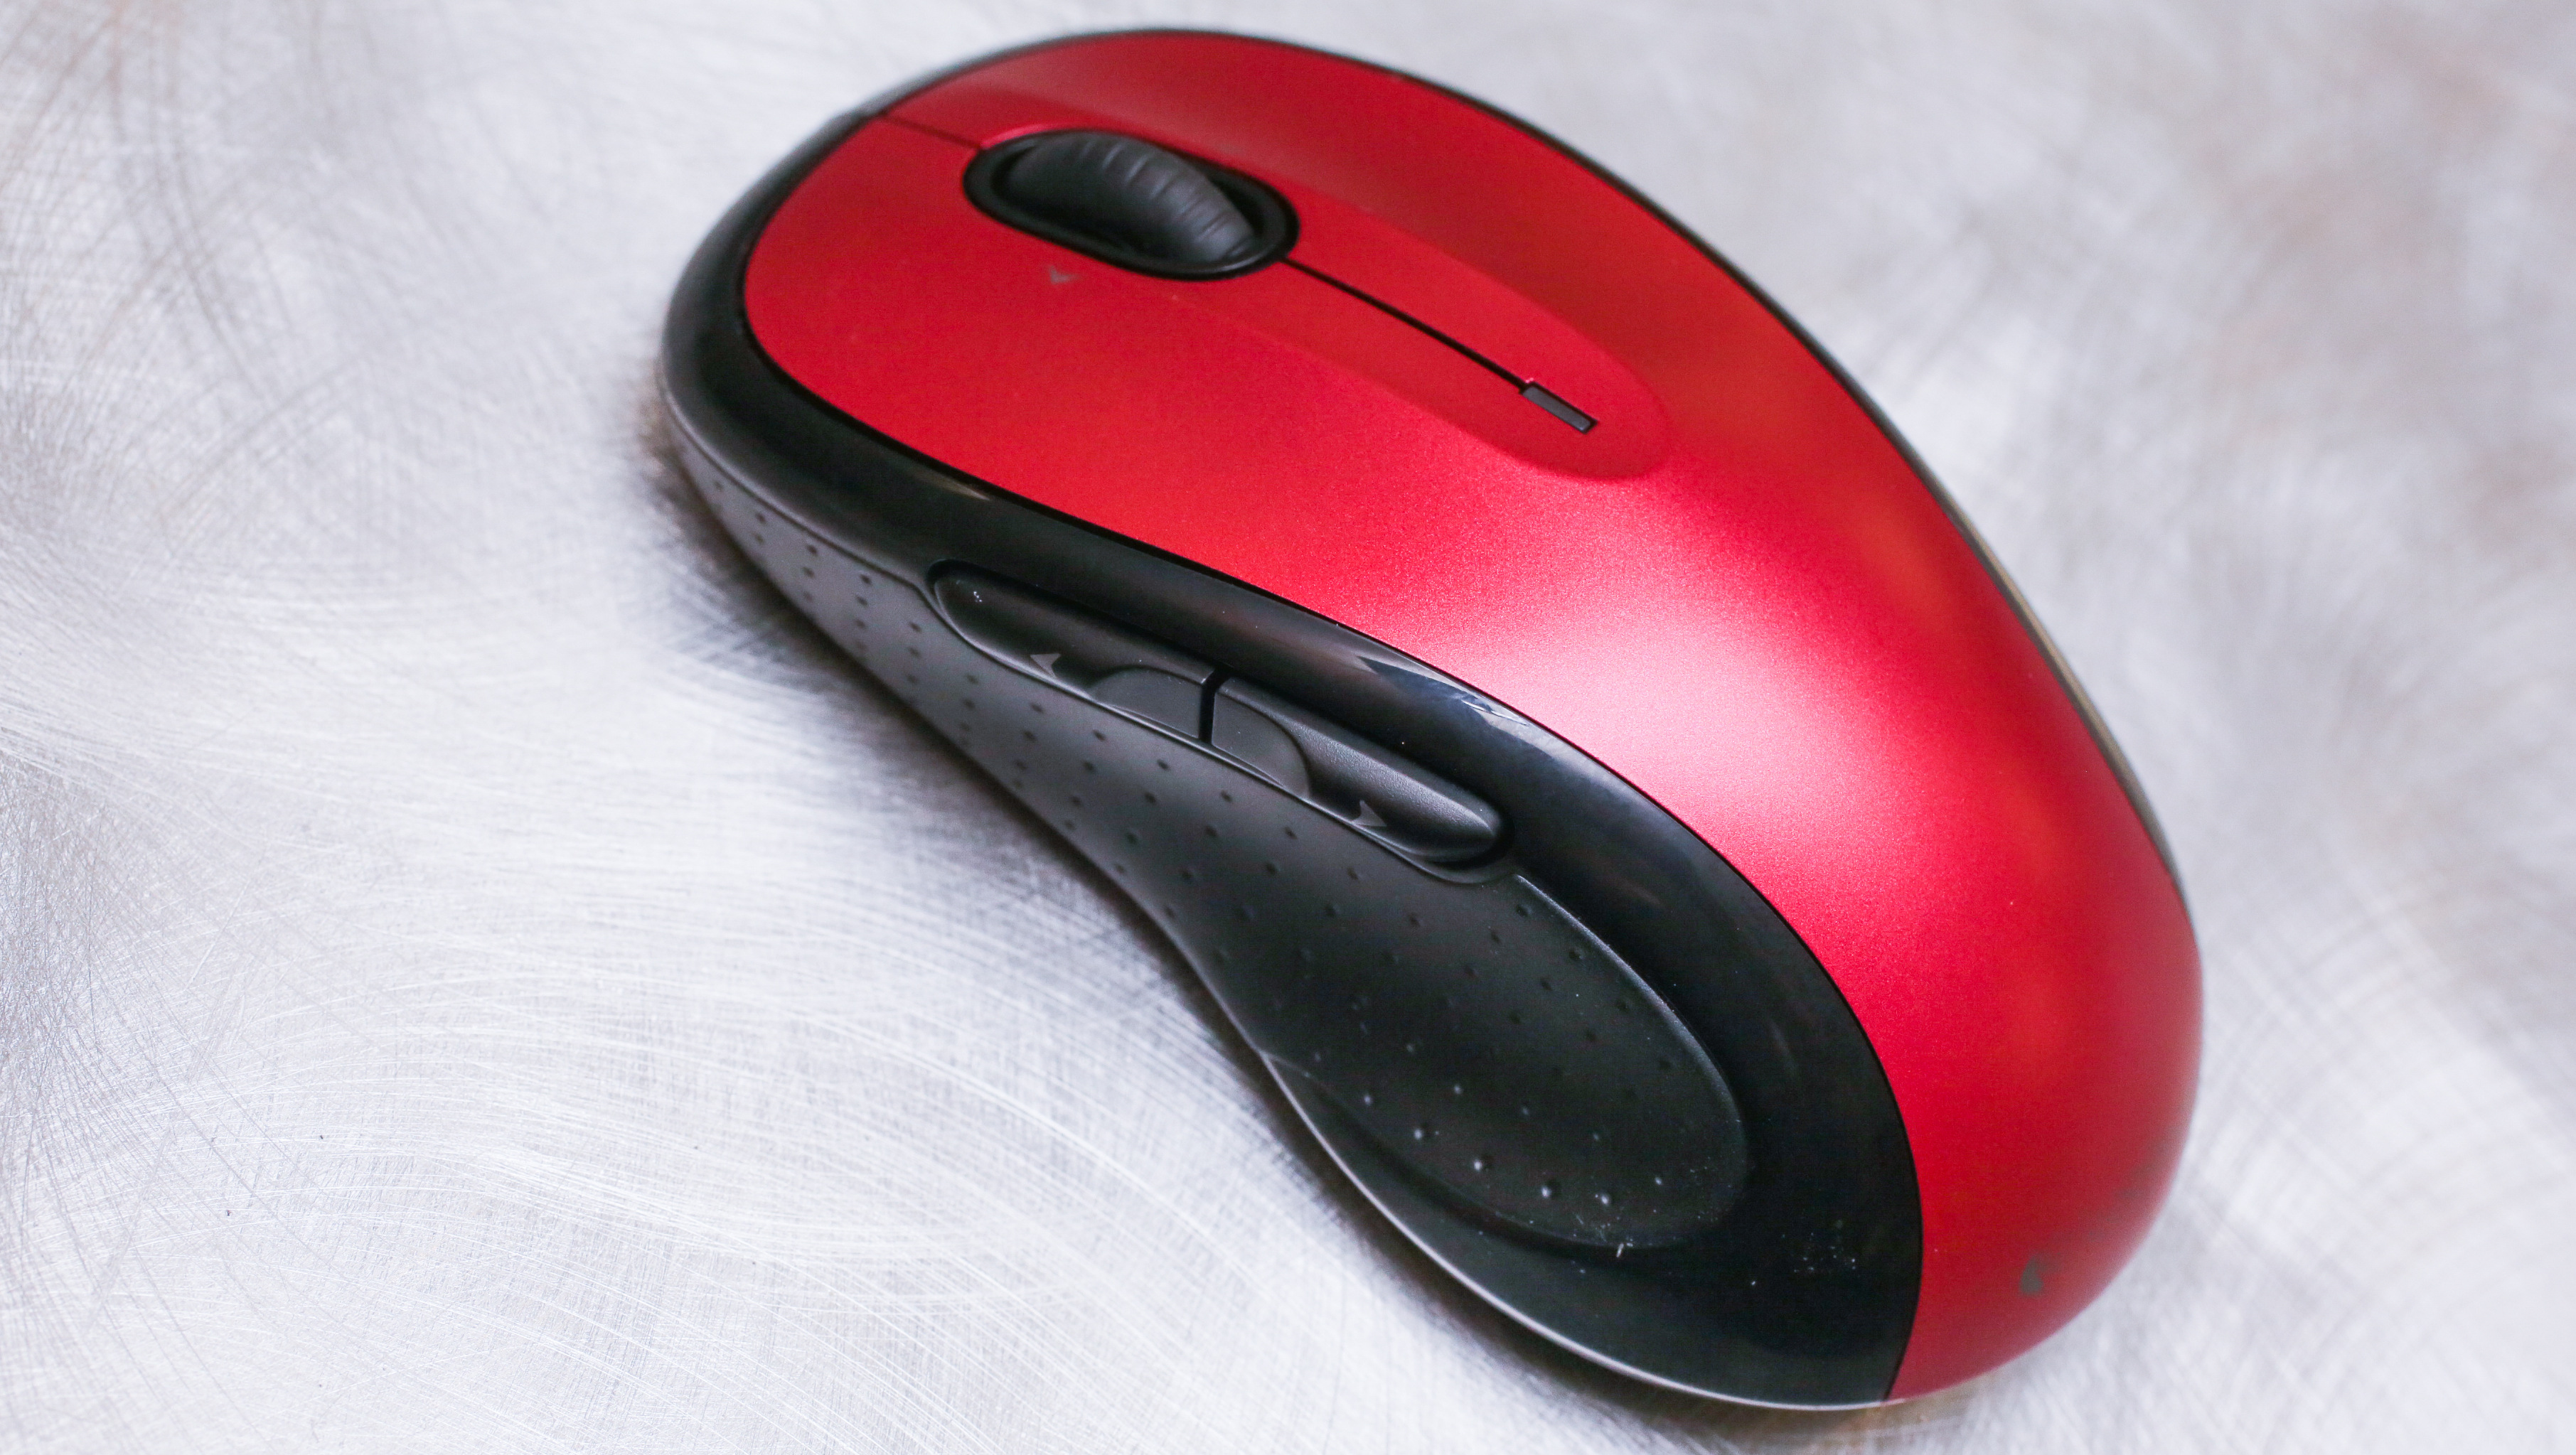
Take a moment to appreciate its sleek design and ergonomic shape.
If your Logitech M510 mouse is the wireless version, youll find a USB receiver included in the packaging.
This receiver allows you to connect the mouse wirelessly to your equipment.
Remove the receiver from its protective covering and set it aside for now.
Additionally, check for the batteries that are required to power the Logitech M510 mouse.
The mouse typically uses two AA batteries.
If the batteries are included, great!
Otherwise, youll need to provide your own.
We recommend using high-quality batteries for optimal performance.
This software allows you to personalize and program the mouse buttons, adjust tweaks, and access advanced features.
To begin the installation process, visit the Logitech website and navigate to the official Logitech M510 product page.
tap on the download link to start the installation.
During the installation, you may be prompted to connect your Logitech M510 mouse to your system.
If its a wireless mouse, insert the USB receiver into an available USB port on your gear.
The receiver will automatically establish a connection with the mouse.
Once the installation is complete, you could launch the Logitech Options software.
On macOS, the software can be found in the Applications folder.
If you have multiple Logitech devices connected, verify to snag the M510 mouse from the list.
Now, lets move on to the next step: connecting the mouse to your machine.
The process of connecting the mouse will depend on whether you are using the wireless or Bluetooth version.
The receiver is small and can be plugged directly into a USB port.
Once inserted, your gear should automatically recognize the receiver and establish a connection with the mouse.
Consult the user manual or the manufacturers website for instructions specific to your gear on how to enable Bluetooth.
Next, put your Logitech M510 mouse in pairing mode.
The exact method will vary depending on the model, so refer to the user manual for specific instructions.
Once the connection is established, your Logitech M510 mouse is ready to use.
To start customizing, launch the Logitech Options software and confirm that your Logitech M510 mouse is selected.
The interface will display the available customization options for your mouse.
First, lets customize the mouse buttons.
The Logitech M510 mouse typically has programmable buttons on the side, which can be assigned various functions.
In the Logitech Options software, locate the section for button customization.
Choose from the available options or create custom shortcuts by selecting Add system or Add Keystroke.
Experiment with different configurations to find what works best for you.
Next, lets customize the scrolling.
The Logitech M510 mouse features a scroll wheel that allows you to navigate through documents and websites.
With the Logitech Options software, you could adjust the scrolling speed and direction according to your preference.
In the Logitech Options software, find the scrolling section.
Youll have the option to choose between smooth scrolling and stepped scrolling.
Smooth scrolling provides a seamless scrolling experience, while stepped scrolling offers defined increments for more precise navigation.
Adjust the scrolling speed using the slider provided.
Once you are satisfied with your button and scrolling customizations, click Apply or OK to save the parameters.
Your Logitech M510 mouse is now tailored to your specific preferences and workflows.
To begin, ensure you have the Logitech Options software running and your Logitech M510 mouse selected.
Locate the pointer controls section, where youll find options to modify the pointer speed and sensitivity.
The pointer speed determines how quickly the cursor moves across the screen when you move the mouse.
Use the slider provided in the Logitech Options software to adjust the pointer speed.
you could test the new speed by moving your mouse and observing the cursors movement on the screen.
Adjusting the sensitivity allows you to fine-tune the responsiveness of the mouse to better match your hand movement.
Again, use the slider provided in the Logitech Options software to modify the sensitivity.
Experiment with different sensitivity levels until you find the one that feels most comfortable and accurate for your use.
Explore these controls to further refine your pointer control.
Once you are satisfied with your adjustments, click Apply or OK to save the options.
Your Logitech M510 mouse now offers a customized pointer speed and sensitivity to improve your overall navigation and productivity.
In this step, we will explore how to configure these advanced features using the Logitech Options software.
fire up the Logitech Options software and confirm that your Logitech M510 mouse is selected.
Navigate to the section that provides access to the advanced features of the mouse.
One of the advanced features of the Logitech M510 mouse is the ability to configure scrolling modes.
Smooth scrolling allows for continuous, fluid scrolling, while ratchet scrolling provides more defined increments.
Another advanced feature is the ability to set gestures on the Logitech M510 mouse.
Gestures allow you to perform specific actions by swiping or tapping on the mouse surface.
Explore the Logitech Options software to configure and enable gestures that align with your workflow.
If it is, configure the controls to enable this powerful functionality.
Customize the mouse to suit your workflow and make your daily tasks more efficient and enjoyable.
In this step, we will cover how to update and troubleshoot your Logitech M510 mouse.
Start by checking the battery levels of your mouse if its wireless.
Low battery levels can cause connectivity problems and erratic behavior.
Replace the batteries if necessary, and ensure they are correctly inserted in the battery compartment.
Next, try reconnecting the mouse to your gear.
If the mouse continues to experience issues, try using it on a different surface.
In some cases, resetting the mouse to its default tweaks can resolve minor issues.
Look for the option to reset or restore defaults within the Logitech Options software and follow the instructions provided.
You have completed the steps to program and customize your Logitech M510 mouse.
Conclusion
Congratulations on successfully programming and customizing your Logitech M510 mouse!
Lets recap the key points covered throughout this process.
With the mouse successfully connected, we moved on to customizing the mouse buttons and scrolling.
Furthermore, we fine-tuned the pointer speed and sensitivity to achieve precise and responsive cursor movement.
This adjustment enhanced our overall navigation and productivity.
In the next step, we explored the advanced features of the Logitech M510 mouse.
We checked battery levels, reconnected the mouse, tested different surfaces, and performed a reset if necessary.
If the issues persisted, we sought assistance from Logitech support for further guidance.
By completing these steps, you have unlocked the full potential of your Logitech M510 mouse.
Remember to periodically check for software updates and explore new features that Logitech may release for your mouse model.
Regular maintenance and care will ensure the long-lasting performance of your Logitech M510 mouse.
Thank you for following this guide, and we hope you enjoy your customized Logitech M510 mouse experience!
