Introduction
Welcome to our guide on how to plug in a GPU (Graphics Processing Unit).
In this step-by-step guide, well walk you through the process of plugging in a GPU into your setup.
double-check to check your computers specifications and ensure that the GPU you choose is compatible with your system.
This step ensures your safety and prevents any electrical damage to your system during the installation process.
By powering down and unplugging your rig, you create a safe working environment for the installation process.
Removing this cover will allow you to insert the GPU into the slot.
Removing this cover will also ensure a secure and proper fit for the GPU.
Now, youre ready to prepare the GPU for installation in the upcoming step.
This step will also help guarantee a smooth installation process and optimal performance of the GPU.
A properly installed GPU will help prevent any connectivity issues and ensure optimal performance.
This step ensures a stable connection and eliminates the risk of the GPU becoming loose during use.
By securing the GPU in place, you provide additional stability and eliminate the risk of accidental dislodging.
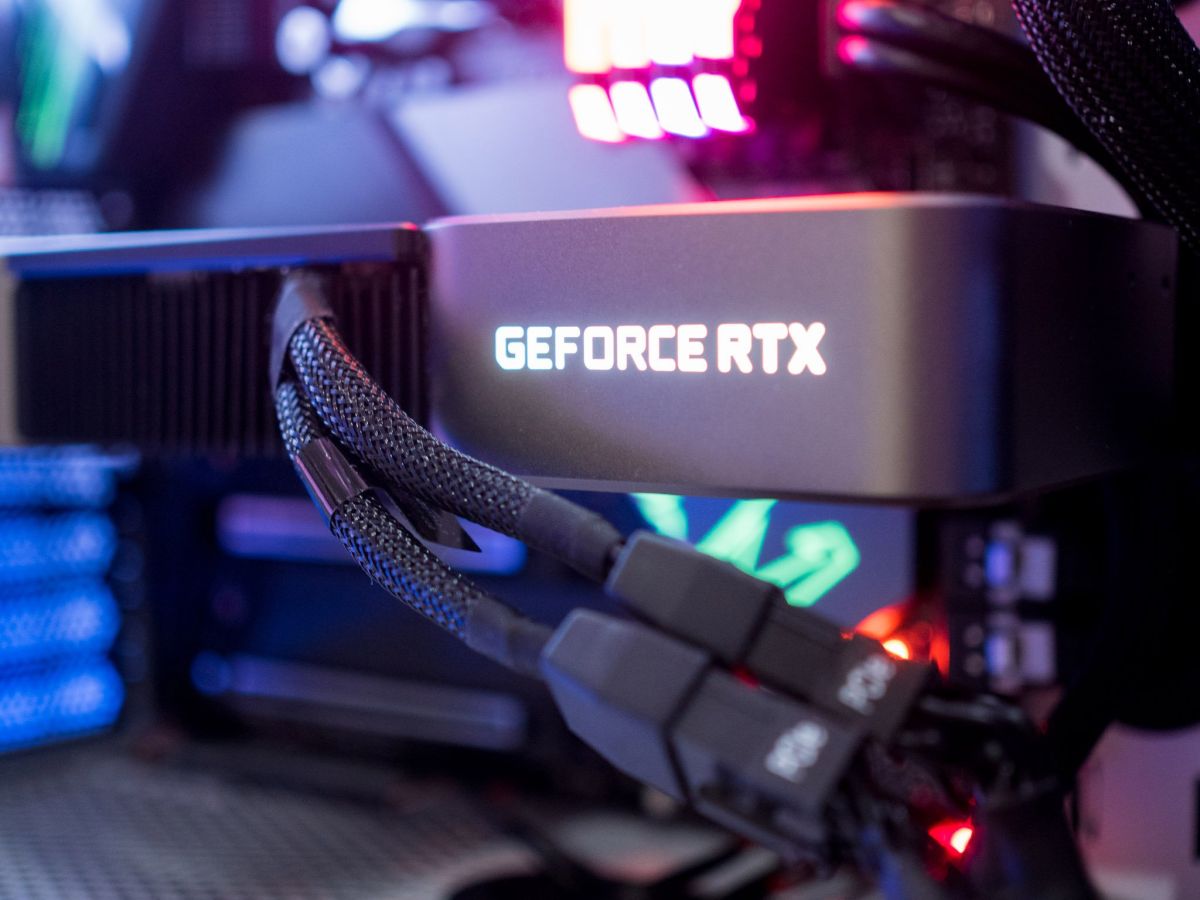
Most modern GPUs require additional power from the power supply unit (PSU) to function properly.
Connecting the power supply cables to the GPU ensures that it receives the necessary power to function optimally.
As your rig boots up, it should now recognize the newly installed GPU.
Additionally, updated drivers often include bug fixes and performance improvements.
From there, you might customize the GPU configs and monitor its performance.
You have successfully installed a GPU and completed the process of installing the necessary drivers.
your setup is now ready to provide improved graphics performance and handle demanding tasks with ease.
We hope that this guide has been helpful and that you have found the information provided valuable.
Happy gaming and productive computing with your newly installed GPU!
