Introduction
RAM sticks, also known as memory modules, are essential components in any computer system.
They help in storing and retrieving data quickly, ensuring smooth and efficient performance.
PaintingRAM sticksis a popular DIY project among computer enthusiasts and custom builders.
It allows you to customize the look of your RAM sticks to complement your overall computer aesthetics.
This guide will take you through the step-by-step process of painting RAM sticks.
Having everything prepared in advance will make the process much smoother and prevent interruptions.
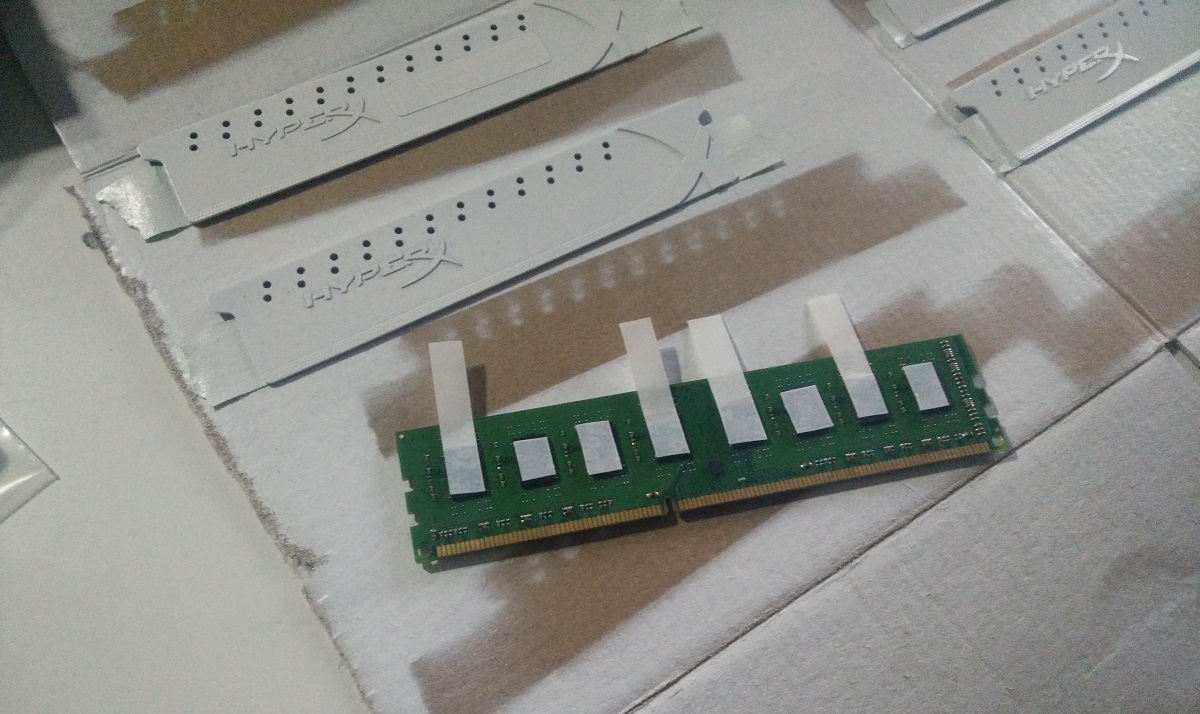
Properly preparing the RAM sticks sets a solid foundation for a successful painting process and ensures a professional-looking finish.
This step ensures a smooth and flawless finish for your painted RAM sticks.
It also helps in achieving a smoother and more professional-looking finish.
Take your time to ensure smooth, even coats during this step.
Take your time and enjoy the process of transforming your RAM sticks into personalized works of art.
With your design and details complete, youre almost done!
The next step is to seal the paint to protect and preserve your hard work.
With the paint sealed, your RAM sticks are nearly complete!
The final step is to allow them to dry thoroughly before reinstalling them in your machine.
Once the RAM sticks are dry, youre ready for the exciting final step: reinstallation!
Lastly, remember to double-check that your system recognizes the new RAM capacity and enjoy the enhanced performance!
Remember to always exercise caution and follow safety precautions when working with computer components and painting materials.
Take your time, be creative, and allow your personality to shine through in your design.
Experiment with different colors, patterns, and techniques to make your RAM sticks truly unique.
Enjoy the process and let your imagination guide you on this rewarding DIY project.
