Before we dive into the step-by-step process, it is essential to stress the importance of safety.
confirm to power off your box and unplug it from the electrical outlet before attempting to launch the case.
This will prevent any potential damage to the internal components and minimize the risk of electrical shocks.
Now, lets gather the necessary tools and get started on opening the PC case side panel.
However, its worth noting that some cases may have specific requirements or use different fastening mechanisms.
This will prevent any accidental damage or contamination of the internal components.
This step ensures your safety and prevents any potential damage to the internal components of your setup.
Allow your gear to shut down completely before proceeding to unplug it.
This step helps further ensure your safety during the process of opening the side panel.
Manufacturer websites often provide manuals or guides with detailed instructions for opening the case.
Additionally, pay attention to the overall design of your PC case.
Some cases have side panels that are easily identifiable as they may have a windowed section or ventilation ports.
These design elements can offer visual clues as to where the side panel is located.
In some cases, the manufacturer may have labeled or indicated the throw in of fasteners near the panel.
The method you use will depend on the bang out of fasteners present in your case.
Take your time and be careful not to exert excessive force.
Ensure that they are not obstructing the removal process and are safely disconnected or moved out of the way.
Take note of the orientation of the side panel during removal so that you might easily reinstall it later.
Some cases have specific alignment features or hooks that need to be properly aligned when reattaching the panel.
confirm to loosen them sufficiently before attempting to remove the side panel.
if you catch any resistance, double-check that all the thumb screws are properly loosened.
Keep in mind that some cases may have a combination of standard screws and thumb screws.
In such cases, carefully identify the pop in of fasteners used and adjust your removal process accordingly.
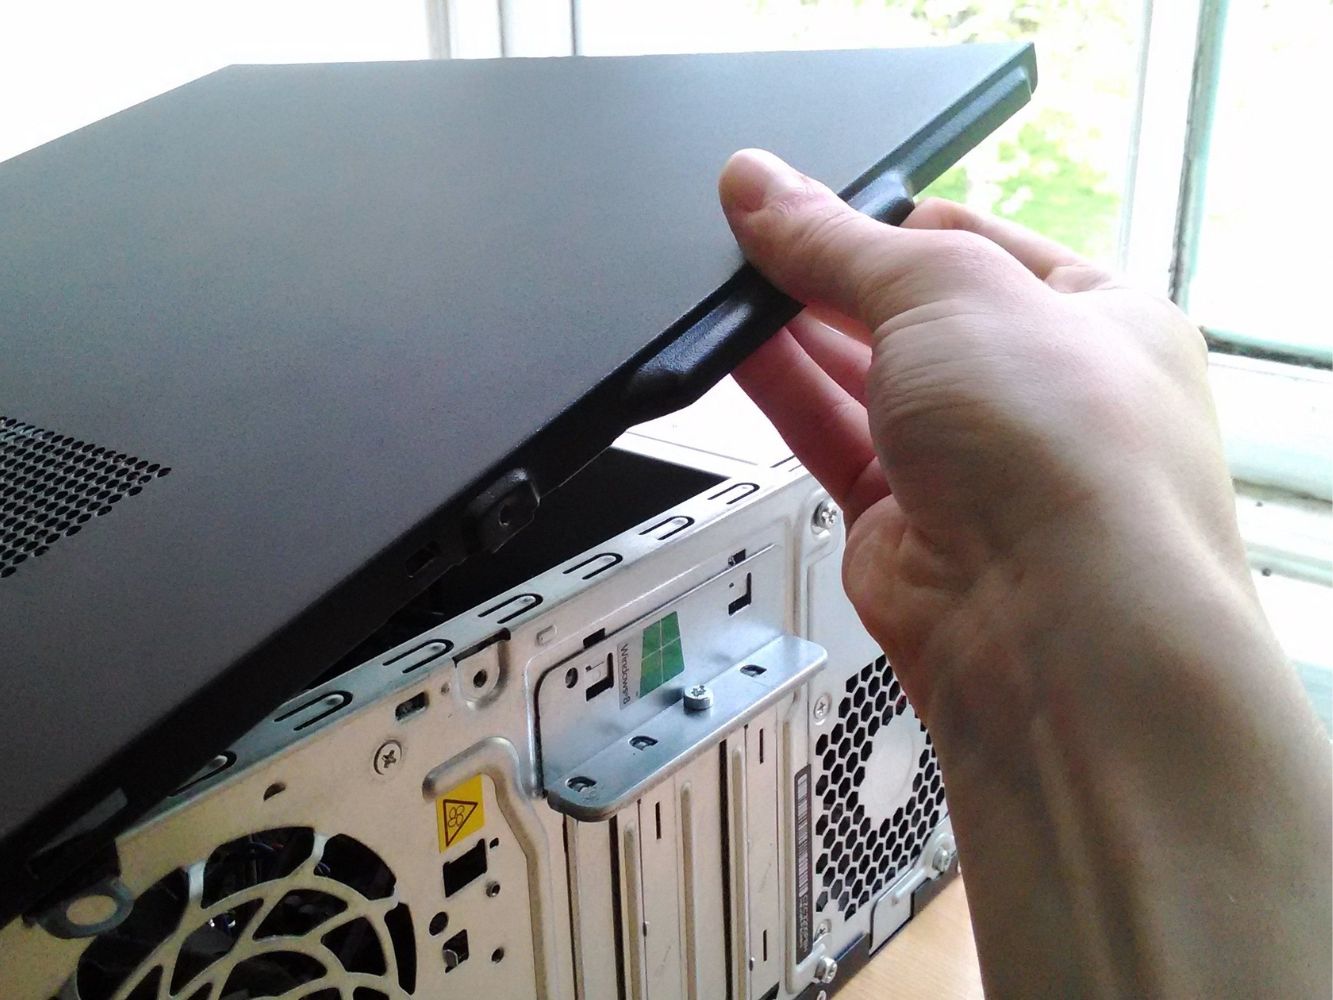
With the side panel opened, you now have easy access to the internal components of your PC.
Happy troubleshooting and upgrading!
For cases secured by thumb screws, we provided specific instructions to fire up the panel effortlessly.
Keeping track of screws and maintaining proper orientation will make reinstallation easier.
