Introduction
Welcome to our guide on how to initiate the Logitech G9X mouse.
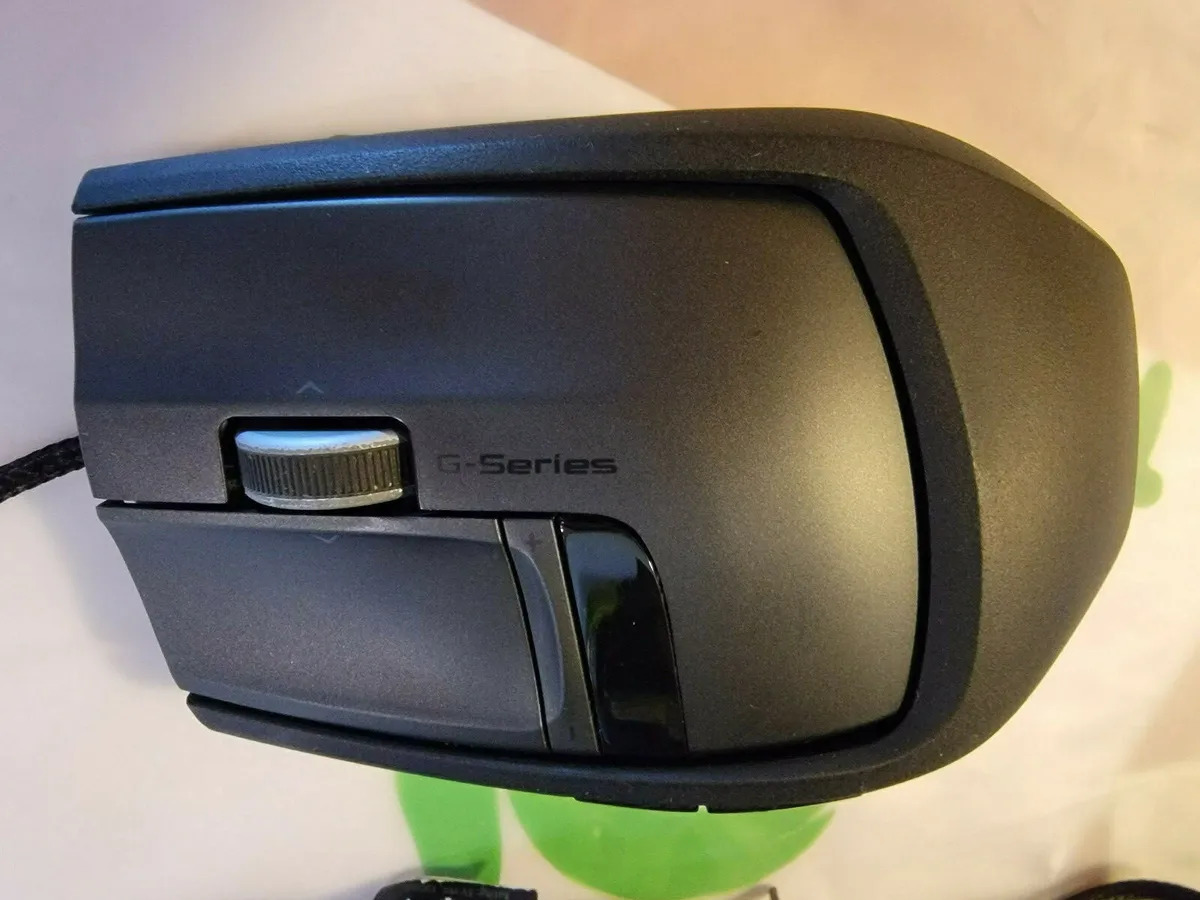
The Logitech G9X is a high-performance gaming mouse beloved by many gamers for its precision and customizable features.
Before we dive into the steps, lets go over the tools you will need.
confirm to gather these tools before you begin the disassembly process.
This will provide a safe and controlled environment for the disassembly process.
The bottom cover of the Logitech G9X mouse houses the screws that hold the mouse together.
Removing the bottom cover will allow you to gain access to these screws for further disassembly.
Keep the bottom cover in a safe place to avoid misplacing it.
You will need it for reassembling the mouse later on.
Its important to keep track of the screws and their placement to ensure proper reassembly later on.
You may want to label or organize them to avoid confusion.
Taking a photo of the screw arrangement can also be helpful as a reference.
Keep the top cover and bottom cover separate to avoid confusion when reassembling the mouse later on.
Keep in mind that each component is delicate, so handle them with care to avoid causing further damage.
Remember to exercise caution and precision during the component replacement or repair process.
verify to handle the delicate components with care and follow the instructions closely to avoid further damage or complications.
when you land completed the reassembly, you could connect the Logitech G9X mouse back to your box.
Plug in the USB cable, and if applicable, turn on the mouse to begin using it again.
Take a moment to appreciate your effort in successfully opening, repairing, and reassembling the Logitech G9X mouse.
Enjoy your gaming experience with a mouse that you could now confidently maintain and upgrade as needed!
Remember to stay curious, explore new possibilities, and have fun!
