Introduction
Welcome to our guide on how to kick off the Dell Inspiron 14Z Ultrabook!
Before we begin, its important to note that opening your laptop may void your warranty.
If your equipment is still under warranty, its best to contact Dell or a certified technician for assistance.
We highly recommend following the steps closely, as any mistakes could potentially damage your laptop.
Take your time and proceed with caution.
To successfullyopen your Dell Inspiron 14Z Ultrabook, you will need a few tools.
Having these tools ready before you dive in will save you time and frustration during the process.
Remember, if at any point you feel uncomfortable or unsure, its always best to seek professional help.
ensure to choose a size that fits the screws on the Dell Inspiron 14Z Ultrabook.
These tools wont scratch or damage the laptops surface, making them ideal for this purpose.
If you dont have a plastic prying tool, a guitar pick can work just as well.
Creating a clean and well-lit workspace is essential for any delicate electronics repair.
Removing small screws and disassembling components can be challenging without proper lighting and organization.
Remember to work carefully and take your time to avoid any accidental damage to the laptop.
Its a good idea to take pictures or make a diagram to help remember where everything goes during reassembly.
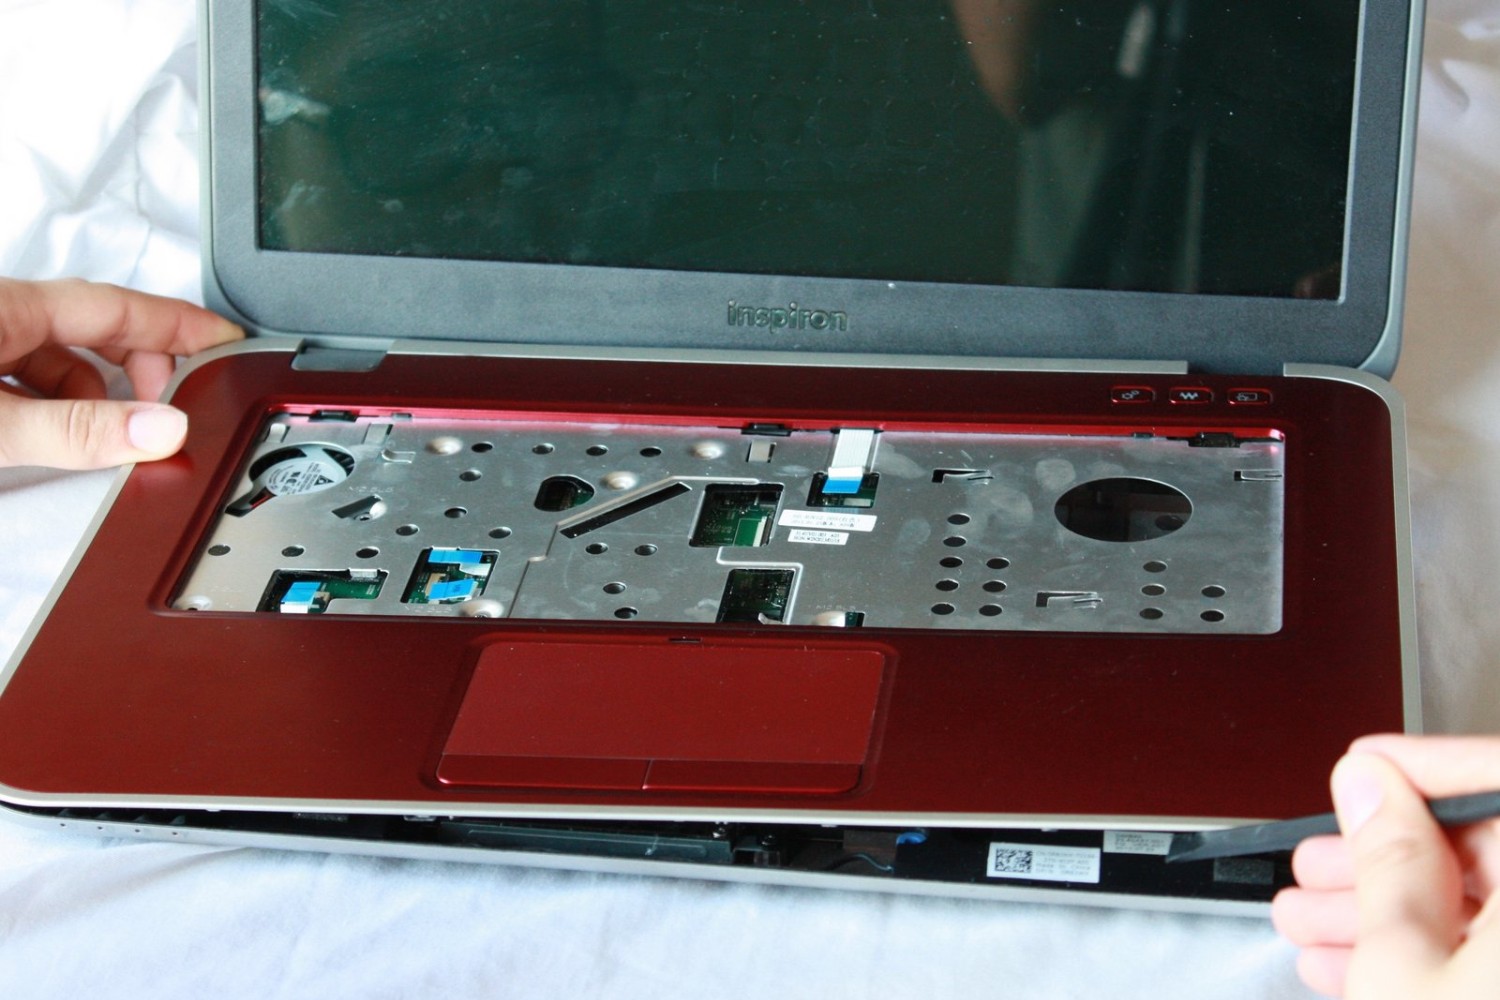
Removing the bottom cover is typically the simplest step in opening a laptop.
However, its crucial to exercise caution and patience to avoid any unintended damage.
Remember to stay organized and take your time throughout the process.
Removing the battery is a crucial step before working on any internal components of your laptop.
It helps ensure your safety and prevents any accidental damage from electrical current.
Always disconnect the battery before attempting to remove or replace any other parts.
Once the battery is removed, you could proceed with any necessary repairs, upgrades, or component replacements.
In the next section, we will cover the steps to remove the hard drive.
Stay focused and take your time throughout the process to ensure a successful disassembly.
Its best to hold the hard drive by its sides or use an anti-static wristband if available.
If youre replacing the hard drive, now is the time to load the new one.
Removing the hard drive is an essential step if you better replace it or access other internal components.
Always handle the hard drive with care and follow the manufacturers instructions for proper installation and removal.
In the next section, we will cover the steps to remove the RAM.
Take your time, follow the instructions closely, and exercise caution to prevent any damages or mishaps.
If youre replacing the RAM or upgrading it, now is the time to plant the new modules.
Gently press it down until the metal retaining clips on each side snap back into place.
Double-check that the RAM modules are fully inserted and secured in their slots.
Replace the RAM compartment cover and secure it with the screws, if applicable.
Removing and replacing the RAM can help improve the performance of your laptop or troubleshoot issues related to memory.
In the next section, we will cover the steps to remove the Wi-Fi card.
Take your time, follow the instructions closely, and exercise caution to prevent any damages or mishaps.
Reattach the antenna cables to the new Wi-Fi card, ensuring they are in their correct positions.
In the next section, we will cover the steps to remove the keyboard.
Take your time, follow the instructions closely, and exercise caution to prevent any damages or mishaps.
Lower the locking tab to secure the cable.
Listen for the plastic clips snapping back into position.
Always consult the laptops user manual or the manufacturers instructions for detailed guidance.
In the next section, we will cover the steps to remove the display.
Proceed with caution and take your time to ensure a successful disassembly.
Double-check that all cables are properly aligned and inserted.
Replace the screws to secure the display to the hinges and reattach the hinge covers.
With the display removed, you now have access to various internal components for replacement or maintenance.
Conclusion
Congratulations on successfully completing the process of opening the Dell Inspiron 14Z Ultrabook!
You have gained access to the internal components, allowing for repairs, upgrades, or maintenance.
Remember to follow these instructions closely and exercise caution to avoid any accidental damage.
We started by introducing the purpose of this guide and the tools needed to fire up the laptop.
Each section provided detailed guidance to ensure a smooth disassembly process.
check that all connections are secure and screws are properly tightened.
We hope this guide has been helpful in opening your Dell Inspiron 14Z Ultrabook.
Enjoy the enhanced performance and improved functionality of your laptop!
