1.Compatibility:look to see if your system supports SSD installation.
2.Windows 11:see to it you are runningWindows 11on your current system.
The required free space will depend on the size of your current data, applications, and Windows installation.
This step is essential to ensure the safety of your files and prevent any loss during the migration.
Take your time and verify that the backup process has successfully captured all the necessary files.
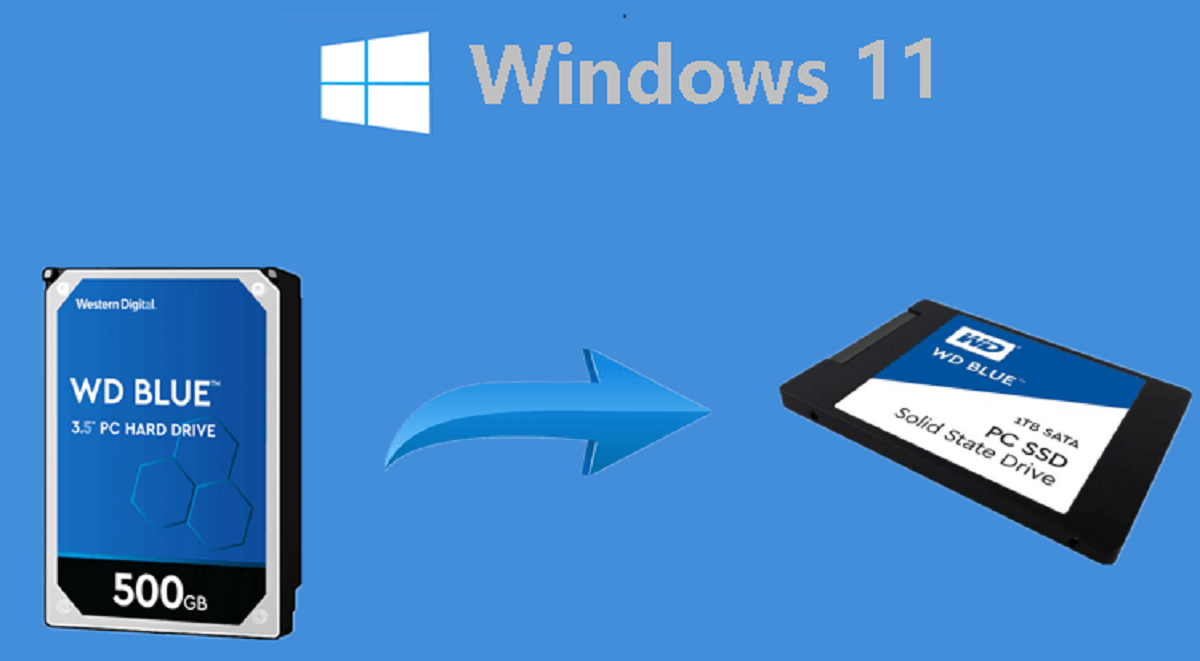
Backup your data is a crucial step in the process of moving Windows 11 to an SSD.
It safeguards your files and allows you to restore them in case anything goes wrong during the migration.
Now that you have successfully backed up your data, you could proceed to the next steps with confidence.
SSDs are available in various capacities, ranging from 128GB to several terabytes.
Common interfaces include SATA, PCIe, and NVMe.
Higher read and write speeds lead to faster data transfer and improved system boot times.
4.Reliability and Endurance:Look for SSDs from reputable manufacturers known for their reliability and endurance.
Read reviews and check for warranty information to ensure youre making a reliable investment.
5.Price:Finally, consider your budget and compare SSD options that offer the best value for your money.
Choosing the right SSD is a critical step in the process of moving Windows 11 to an SSD.
2.Power off your gear:Shut down your gear and unplug it from the power source.
This step is important to prevent any electrical mishaps during the installation process.
3.Locate the storage drive bays:Open your rig case and locate the storage drive bays.
Refer to your computers manual or manufacturers website for specific instructions.
6.Connect the cables:Connect the necessary cables to the SSD.
This usually includes a SATA data cable and a SATA power cable.
Ensure that the cables are securely attached to both the SSD and the motherboard or power supply.
7.terminate the computer case:Carefully close and secure the computer case.
Double-check that all connections are secure and the SSD is properly mounted.
By following these steps, you’re able to successfully physically plant the SSD in your system.
This will allow the operating system to recognize and get into the specific partitions on the SSD.
4.Verify SSD health:Check the health and condition of your SSD using tools like CrystalDiskInfo or Samsung Magician.
By following these steps, you’re free to adequately prepare your SSD for the migration process.
set up the software on your rig.
2.Launch Macrium Reflect:Open Macrium Reflect from your desktop or Start menu.
4.go for the source and destination:In the Macrium Reflect window, press the Clone this disk option.
6.Review the summary:Macrium Reflect will display a summary of the cloning operation.
Double-check that the source and destination disks are correct, and review any other options that may be available.
7.Start the clone process:Click Next and then Finish to start the cloning process.
Macrium Reflect will begin copying all the data and partitions from the source disk to the destination SSD.
Allow Macrium Reflect to complete the operation without interruptions.
This step ensures that thecomputer boots from the newly cloned SSD.
It is typically one of the function keys (e.g., F2, F10, or Delete).
Press the designated key repeatedly until the BIOS controls appear.
The exact location and terminology may vary depending on your computers motherboard manufacturer.
6.reboot your box:Finally, reboot your box to apply the new boot order options.
Upon restarting, your machine should now boot directly from the newly installed SSD, which contains Windows 11.
2.Enable TRIM:Trim is a feature that helps maintain the performance of SSDs over time.
Ensure that TRIM is enabled in your Windows 11 controls.
Keeping the firmware up to date can enhance performance and address any potential bugs or compatibility issues.
In Windows 11, the operating system should automatically disable scheduled defragmentation for SSDs.
However, double-check the configs to ensure it is disabled.
AHCI allows the operating system to communicate more efficiently with the SSD.
6.Optimize power options:Adjust the power options in Windows 11 to optimize SSD performance.
This helps maintain the performance of your drive by preventing it from becoming cluttered with temporary and unnecessary files.
These preparatory steps are crucial for a smooth migration process.
Once the installation is complete, we moved on to preparing the SSD for migration.
This involved formatting the SSD, partitioning if desired, verifying its health, and updating the firmware.
Using Macrium Reflect, we then explored the process of migrating Windows 11 to the SSD.
After successfully migrating, we discussed the importance of changing the boot order in the BIOS.
Finally, we concluded by emphasizing the need to verify and optimize SSD performance.
Enjoy the enhanced experience that your new SSD brings to your computing activities.
