Introduction
Welcome to this guide on how to move pictures to an SD card!
Whether youre using an Android or iOS rig, the process is relatively straightforward.
With the ever-increasing quality of smartphone cameras, its easy to amass a large collection of pictures over time.
Thats where an SD card comes in handy.
However, the general principles and concepts remain the same.
Now, lets dive in and learn how tomove your pictures to an SD card!
Depending on your gadget, the location of the SD card slot may vary.
Generally, it can be found either on the side or the back of your machine.
Start by locating the SD card slot and carefully insert the SD card into the corresponding slot.
This ensures a secure connection and prevents the card from accidentally coming loose.
Its essential to handle the card with care and avoid touching the metal contacts to prevent any damage.
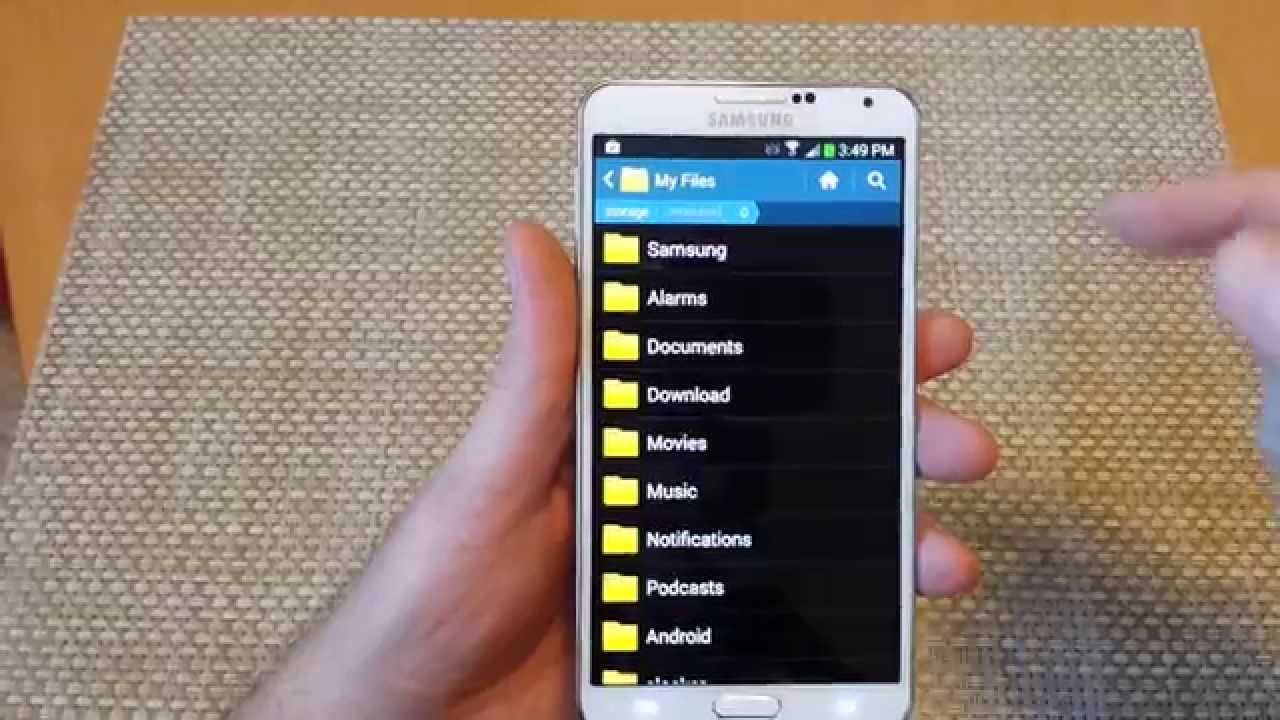
Look for this icon on your devices home screen or within the app drawer.
Once youve located the Gallery app, simply tap on the icon to open it.
You may choose to transfer individual photos, select multiple photos at once, or even move entire albums.
Start by browsing through your photo library within the Gallery app.
To select a single photo, tap on it once.
The photo may briefly highlight or be outlined to indicate that it has been selected.
Ensure that you have enough space to accommodate the selected pictures.
This icon is usually located either at the top or bottom of the Gallery app interface.
Once youve located the options menu icon, tap on it to kick off the menu.
Regardless of the icons appearance, tapping on it will reveal a dropdown menu or a list of options.
Look for options related to managing or transferring photos, such as Move or Move to SD Card.
Scroll through the options menu until you find the Move to SD card option.
It may be listed under a sub-menu or located directly within the main menu.
Once youve located the option, tap on it to select it.
After selecting the Move to SD card option, you may be prompted to confirm the action.
This confirmation step helps prevent accidental transfers and ensures that youre intentionally moving the photos to the SD card.
Read the confirmation message carefully and tap on the Confirm or Move button to proceed.
Be patient and avoid interrupting the process while its in progress.
Some devices may show a progress bar or provide an estimate of the time remaining for the transfer.
Additionally, you may receive notifications or prompts informing you about the ongoing transfer.
Once the transfer is complete, youll be ready to move on to the next step.
Note that moving the photos to the SD card does not delete them from your devices internal storage.
This allows you to have the pictures accessible from both locations.
The message will typically ask you to confirm whether you want to proceed with the move.
This additional step helps prevent accidental transfers and allows you to double-check your selection.
During this time, avoid interrupting the process or exiting the Gallery app.
You may also receive notifications or prompts indicating that the move is in progress.
Be patient and allow the Gallery app to finish the transfer.
During the transfer, its important to be patient and avoid interrupting the process.
You may see a progress bar or receive notifications indicating the status of the transfer.
Additionally, some devices may provide an estimate of the remaining time for the transfer to complete.
This will prevent any interruptions or unexpected shutdowns that could potentially disrupt the transfer process.
Its worth noting that some devices may allow you to continue using your equipment while the transfer is ongoing.
Its important to verify that the photos have indeed been transferred to the SD card.
They should now be accessible from the SD card, freeing up space in your devices internal storage.
With the transfer complete, youve successfully moved your selected photos to the SD card.
Conclusion
Congratulations on successfully moving your pictures to an SD card!
Be patient during the transfer process, allowing the Gallery app to complete the move without interruption.
Moving pictures to an SD card is an effective way to manage and organize your photo library.
It provides a reliable backup and prevents the risk of losing precious memories due to equipment malfunctions or accidents.
Thank you for following along with this guide.
