Introduction
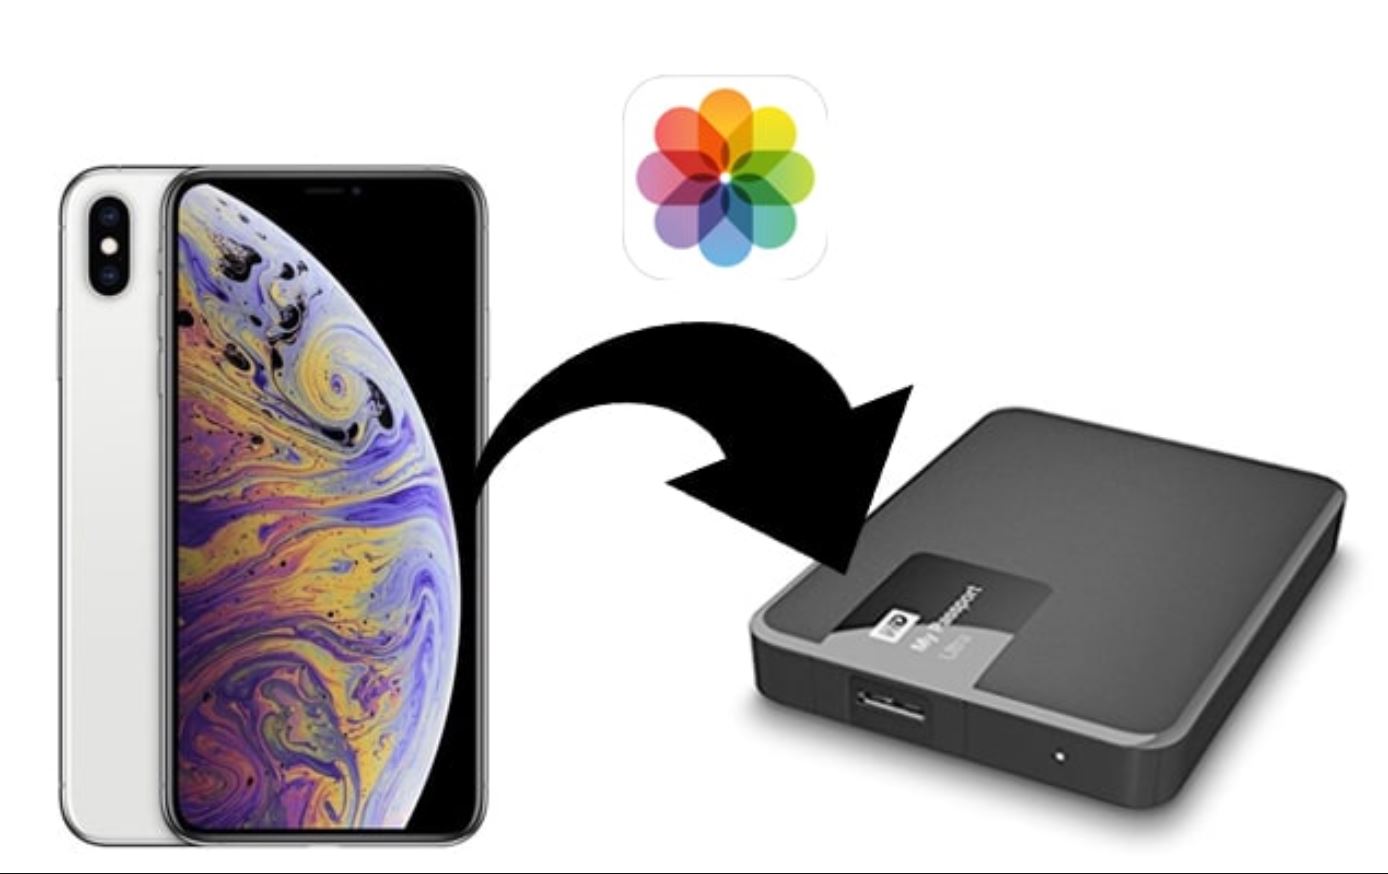
Welcome to our guide on how to move photos to an external hard drive.
Dont worry if you have never done this before our instructions are straightforward and easy to follow.
All you need is a computer, an external hard drive, and the photos you want to transfer.
Lets get started on preserving your treasured memories!
Choose an available USB port where it’s possible for you to plug in your external hard drive.
check that the connections are secure.
Some external hard drives draw power directly from the USB port, while others require an additional power source.
Refer to the documentation that came with your unit for further instructions.
From the Start menu, select File Explorer or simply tap on the folder icon in the taskbar.
On a Mac computer, Finder is typically found in the dock at the bottom of the screen.
Simply punch the Finder icon, which resembles a smiling face, to open it.
Look for the external hard drive, which should be listed under the Devices or External Devices section.
You may see it labeled with the manufacturers name or as a generic External Drive or USB Drive.
Click once on the external hard drives name to select it.
This will display the contents of the drive in the main window of File Explorer or Finder.
In the next step, we will discuss how to grab the photos you want to transfer.
Depending on how your photos are organized, there are a few different ways to select them.
This will select all the photos in between.
Simply enter the search criteria in the search bar located at the top-right corner of the utility.
Once the search results are displayed, you could choose the desired photos using the aforementioned methods.
Regardless of the method you choose, take your time to carefully choose the photos you want to transfer.
Double-check that you have included all the photos you wish to move to the external hard drive.
In File Explorer (Windows) or Finder (Mac), right-press the selected photos.
This will open a context menu where you’ve got the option to choose the Copy option.
Once inside the external hard drive, right-click anywhere within the window and select Paste from the context menu.
Doing so may interrupt the transfer and potentially lead to data loss or corruption.
Once the copying process is complete, the selected photos will be successfully transferred to the external hard drive.
You have successfully copied the photos to your external hard drive.
This step ensures that the photos are transferred and stored securely on the external storage equipment.
The photos will now begin to transfer from your setup to the external hard drive.
You may see a progress bar indicating the transfer status, allowing you to track the progress.
Its important to ensure that the photos are pasted into a desired folder on the external hard drive.
Once the folder is created, open it and paste the photos into it.
Allow the transfer to complete before proceeding to the next step.
You have now successfully pasted the photos onto the external hard drive.
This ensures that all the files are successfully transferred and prevents any data loss or corruption.
Its important to allow ample time for the transfer process to finish.
You may see a progress bar or a notification indicating the transfer status during the copying process.
This provides you with an estimate of the time remaining for the transfer to complete.
Avoid interrupting or stopping the transfer by not disconnecting or turning off your machine or the external hard drive.
Note that its normal for larger transfers to take more time.
This ensures that all data is written to the external hard drive and reduces the risk of data corruption.
Wait for a notification or confirmation message that its safe to remove the rig.
Once ejected, it’s possible for you to safely disconnect the external hard drive from your rig.
The safe ejection process ensures that all data is written and cached properly before disconnecting the gear.
You have successfully completed the process of transferring and safely ejecting your photos to an external hard drive.
Your photos are now securely backed up and easily accessible whenever you need them.
Enjoy the additional storage space on your machine and the peace of mind knowing that your memories are protected.
In this guide, we covered the step-by-step process for moving photos to an external hard drive.
Thank you for using our guide.
Enjoy the peace of mind and convenience that comes with securely storing your photos on a dedicated storage gadget.
