Introduction
Are you running out of storage space on your Mac?
after you grab the right equipment, youre ready to begin!
Start by locating an available USB or Thunderbolt port on your Mac.
when you land identified the appropriate port, plug in the USB or Thunderbolt cable into your Macs port.
Then, plug the other end of the cable into the corresponding port on your external hard drive.
It may take a few moments for the drive to appear, so be patient.
You may also need to test whether the drive requires specific drivers or software for Mac compatibility.
Refer to the manufacturers instructions for further assistance.
you could switch between these views using the buttons in the toolbar at the top of the Finder window.
Selecting the files will allow you to move them all together in one action.
To select individual files, punch the files icon once.
This will select all files in between as well.
To select an entire folder and its contents, simply choose the folder once.
All the files and subfolders within that folder will be selected automatically.
To initiate the copy process, right-pick the selected files or folders.
A context menu will appear, displaying various options.
From the context menu, choose the Copy option.
This will store the files or folders in the clipboard, ready to be pasted.
This will achieve the same result as right-clicking and choosing Copy.
Its important to note that the original files or folders will remain in their original location on your Mac.
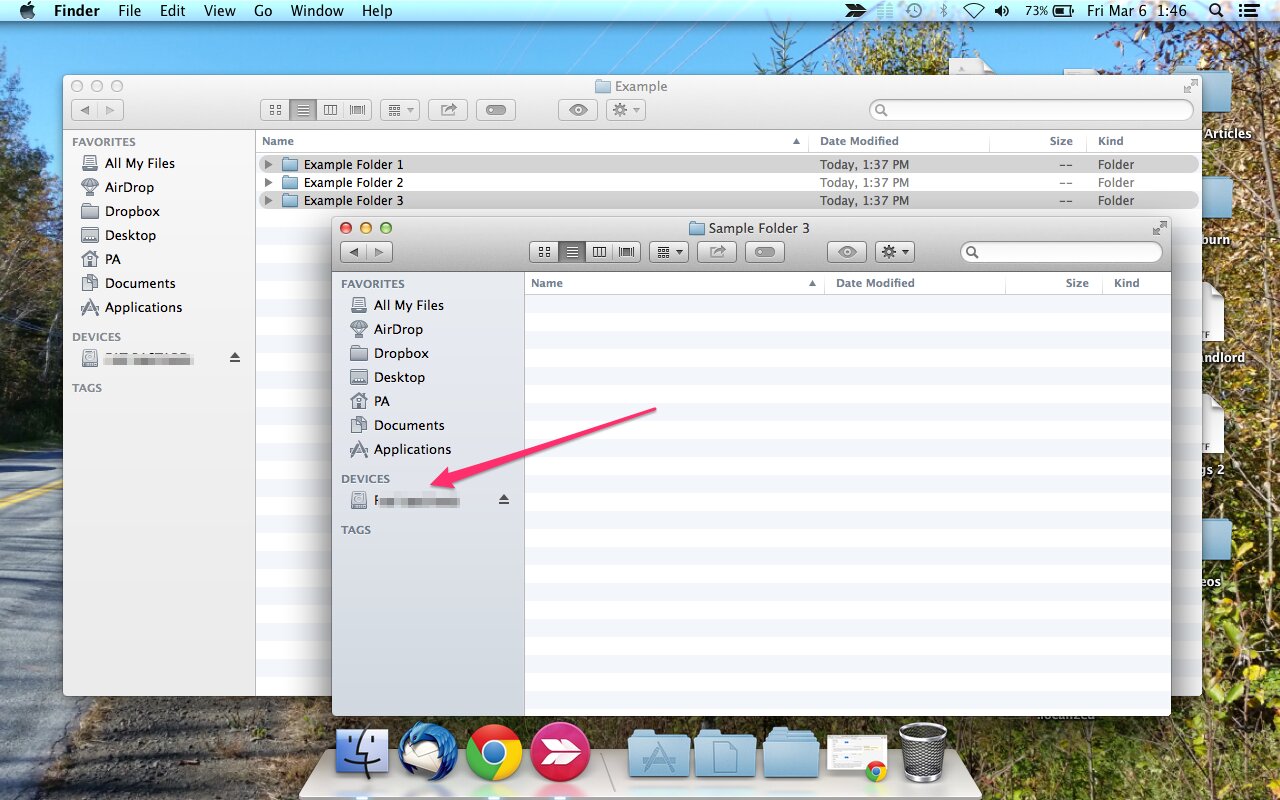
The volume icon usually represents the name or brand of your external hard drive.
Your selected location will determine where the files will be placed on the external hard drive.
This can be done by pasting the copied files onto the external hard drive.
To initiate the transfer, right-click inside the Finder window that displays the external hard drives contents.
A context menu will appear, displaying various options.
From the context menu, choose the Paste option.
This action will transfer the copied files from the clipboard to the selected destination on the external hard drive.
This will achieve the same result as right-clicking and choosing Paste.
The duration of the transfer will depend on the size and number of files being transferred.
Larger files or a large number of files may take more time to complete the transfer.
Its important to ensure that the file transfer is completed before disconnecting the external hard drive from your Mac.
Interrupting the transfer process prematurely may result in incomplete or corrupted files on the external hard drive.
The duration of the transfer will depend on the size and number of files being transferred.
This will give you an estimate of how much time is remaining for the transfer to complete.
This step minimizes the risk of data corruption and maintains the integrity of your files.
The volume icon typically represents the name or brand of your external hard drive.
If the volume icon is on your desktop, simply right-hit it and select Eject from the context menu.
Wait for the notification to appear before physically disconnecting the drive from your Mac.
Properly ejecting and storing the drive will ensure the longevity and reliability of your external storage solution.
You have successfully completed the process of moving files to an external hard drive on your Mac.
You now have extra storage space on your Mac and a secure backup of your important files.
Properly ejecting the drive ensures the integrity of your data and reduces the risk of data loss or corruption.
Take advantage of external storage solutions to optimize your computing experience and enjoy a clutter-free Mac environment.
