This will ensure that you achieve a secure and stable installation.
This step is essential to ensure that the screen will fit perfectly and provide an optimal viewing experience.
Start by identifying the ideal location for the screen.
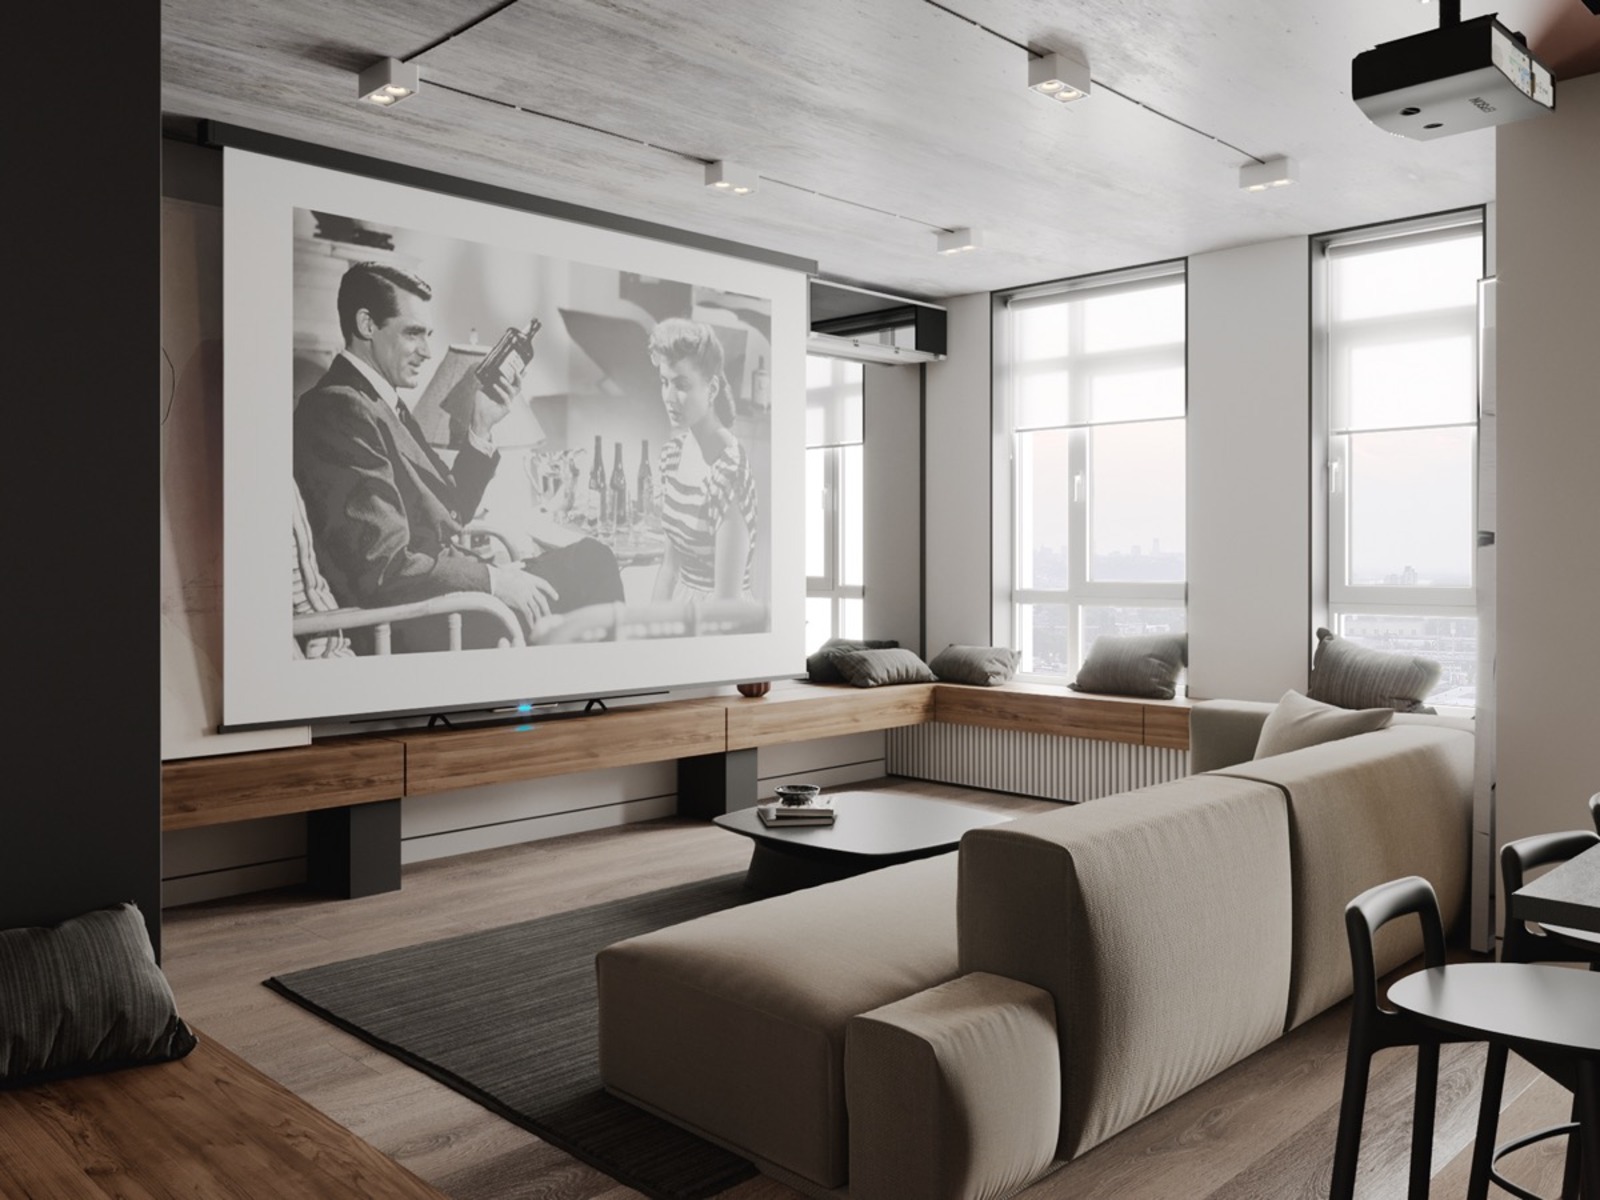
Consider the viewing angle, available space, and any obstructions that may affect the projection.
Ensure that the screen will be at an appropriate height for comfortable viewing.
Next, measure the width and height of the space where the screen will be installed.
Take accurate measurements, as this will determine the size of the screen you need.
Additionally, measure the distance between the drop ceiling and the floor.
Its also crucial to consider the weight of the projector screen.
Ensure that the drop ceiling can support the weight of the screen and the mounting brackets.
Consult the manufacturers specifications and guidelines for the maximum weight capacity of your particular drop ceiling system.
There are several factors to consider when selecting a projector screen for mounting on a drop ceiling.
Firstly, consider the pop in of material used for the screen.
The most common options are matte white, grey, or high-gain screens.
Grey screens are suitable for rooms with ambient light, as they enhance contrast and improve black levels.
High-gain screens are designed for environments with significant ambient light, providing increased brightness and image reflectivity.
Next, consider theaspect ratio of the projector screen.
The aspect ratio refers to the proportion between the screens width and height.
The two most common aspect ratios are 16:9 (widescreen) and 4:3 (standard).
Choose the aspect ratio that matches the content you will be displaying.
For home theaters and multimedia presentations, a 16:9 aspect ratio is typically preferred.
Another factor to consider is the screens size.
The size of the screen will depend on the available space, viewing distance, and personal preference.
Additionally, consider the screens mounting options.
Ensure that the projector screen you choose is compatible with a drop ceiling mounting configuration.
Look for screens that come with mounting brackets or have options for easy installation on a drop ceiling.
Lastly, consider the quality and reputation of the brand before making your final decision.
Research different brands and read reviews to ensure that you are purchasing a reliable and durable projector screen.
Having the right tools at hand will make the process smoother and more efficient.
Its also a good idea to have a clean and organized workspace to ensure a smooth installation process.
By assembling the necessary tools beforehand, youll be prepared to tackle the installation process with confidence and efficiency.
Clearing the area will provide you with ample space to work and ensure safety during the installation process.
The joists are crucial for providing the necessary support for mounting the projector screen.
Mark the location of the joists with a pencil or marker.
These access holes will allow you to easily attach the brackets to the ceiling joists.
This will provide extra strength and prevent the tiles from sagging under the weight of the projector screen.
Check the ceiling grid: Inspect the drop ceiling grid for any loose or damaged components.
By properly preparing the drop ceiling, you will create a solid foundation for mounting the projector screen.
This will help ensure a safe and secure installation that can withstand the weight and movement of the screen.
Step 5: Determine the mounting location
1.
Consider the room layout: Assess the rooms layout and determine the ideal placement for the screen.
Take into account ambient light: Consider the amount of natural or artificial light in the room.
Adjust the mounting location to minimize any potential light interference.
This creates a visually cohesive and balanced setup.
Avoid obstructions: Ensure that the mounting location is free from any obstructions that may interfere with the projection.
This includes light fixtures, ventilation ducts, and other ceiling-mounted fixtures.
ensure there is sufficient space for the screen to be installed without any hindrances.
This will ensure a comfortable and immersive viewing experience for all viewers.
Step 6: implement the mounting brackets
1.
Ensure that the brackets are centered and balanced.
Take care to align the markings with the holes in the brackets.
Pilot holes help guide the screws and prevent the ceiling tiles from cracking or splitting.
Double-check the alignment: Ensure that the brackets are properly aligned and level.
Use a level tool to verify that the brackets are straight both vertically and horizontally.
Maintain consistent spacing and alignment between the brackets to ensure uniform support for the screen.
This will ensure a secure and stable installation for an optimal viewing experience.
Step 7: Attach the screen to the brackets
1.
Position the screen: Carefully position the projector screen below the installed brackets.
Align the screens mounting holes with the brackets to ensure a proper fit.
verify the screens mounting holes line up with the brackets and that it rests securely on top of them.
Insert the screws through the screens mounting holes and into the corresponding holes on the brackets.
Use a screwdriver or drill to tighten the screws, ensuring a firm and secure attachment.
Verify stability: Gently shake the screen to ensure it is securely attached to the brackets.
Check for any wobbling or movement, as this may indicate that the screen is not properly fastened.
If necessary, recheck the alignment of the screen and adjust the attachment screws accordingly.
Raise and lower the screen to confirm that it functions as intended.
This will allow you to enjoy a high-quality viewing experience without any concerns about the screens stability.
Step 8: Adjust the screens height and tilt if necessary
1.
Determine the desired screen height: Consider the seating arrangement and the viewing comfort of the audience.
This may require adjusting the brackets position on the drop ceiling.
Use any levers, handles, or mechanisms provided to make the necessary adjustments.
Double-check that the adjustments are secure and the screen remains level.
Check the screens tilt: Assess the angle at which the screen is positioned.
If necessary, adjust the tilt to ensure the projected image is aligned with the viewers line of sight.
Test the viewing experience: Step back and view the projected image from different angles and distances.
Assess whether the screens height and tilt adjustments provide a comfortable and clear viewing experience for all viewers.
Make any additional adjustments as needed to enhance the visibility and ensure an immersive experience.
Ensure that the screens height and tilt adjustments do not hinder or interfere with the audio quality.
Regularly check and fine-tune the adjustments as needed to maintain optimal viewing conditions.
Step 9: Test the projection
- double-check all cables are securely connected.
Turn on the projector: Power on the projector and wait for it to warm up and stabilize.
Check that the image appears clear and in focus on the screen.
Make any necessary adjustments until the image meets your preferences.
Take note of any distortions, color inaccuracies, or other display problems that may require further adjustments.
Check the screens stability: Monitor the screens stability during the projection.
Ensure that it remains securely attached to the mounting brackets and does not wobble or shift unexpectedly.
If any issues arise, recheck the attachments and make necessary adjustments.
Repeat the test until you achieve the desired projection quality and stability.
We started by measuring the area and selecting the right projector screen that suits your needs.
Then, we assembled the necessary tools and prepared the drop ceiling for installation.
Next, we determined the ideal mounting location and installed the mounting brackets securely.
With the screen attached to the brackets, we adjusted the height and tilt to optimize the viewing experience.
Remember, safety should always be a priority when working with tools and equipment.
Take precautions and follow proper installation techniques to avoid accidents or damage to the drop ceiling or projector screen.
Create lasting memories and captivating experiences with your professionally installed projector screen on a drop ceiling.
