A well-ventilated PC case is crucial for maintaining the optimal operating temperature of your components.
So, lets get started andmake space in your PC case to put more fans!
The first step is to carefully inspect your PC case and determine the available space for extra fans.
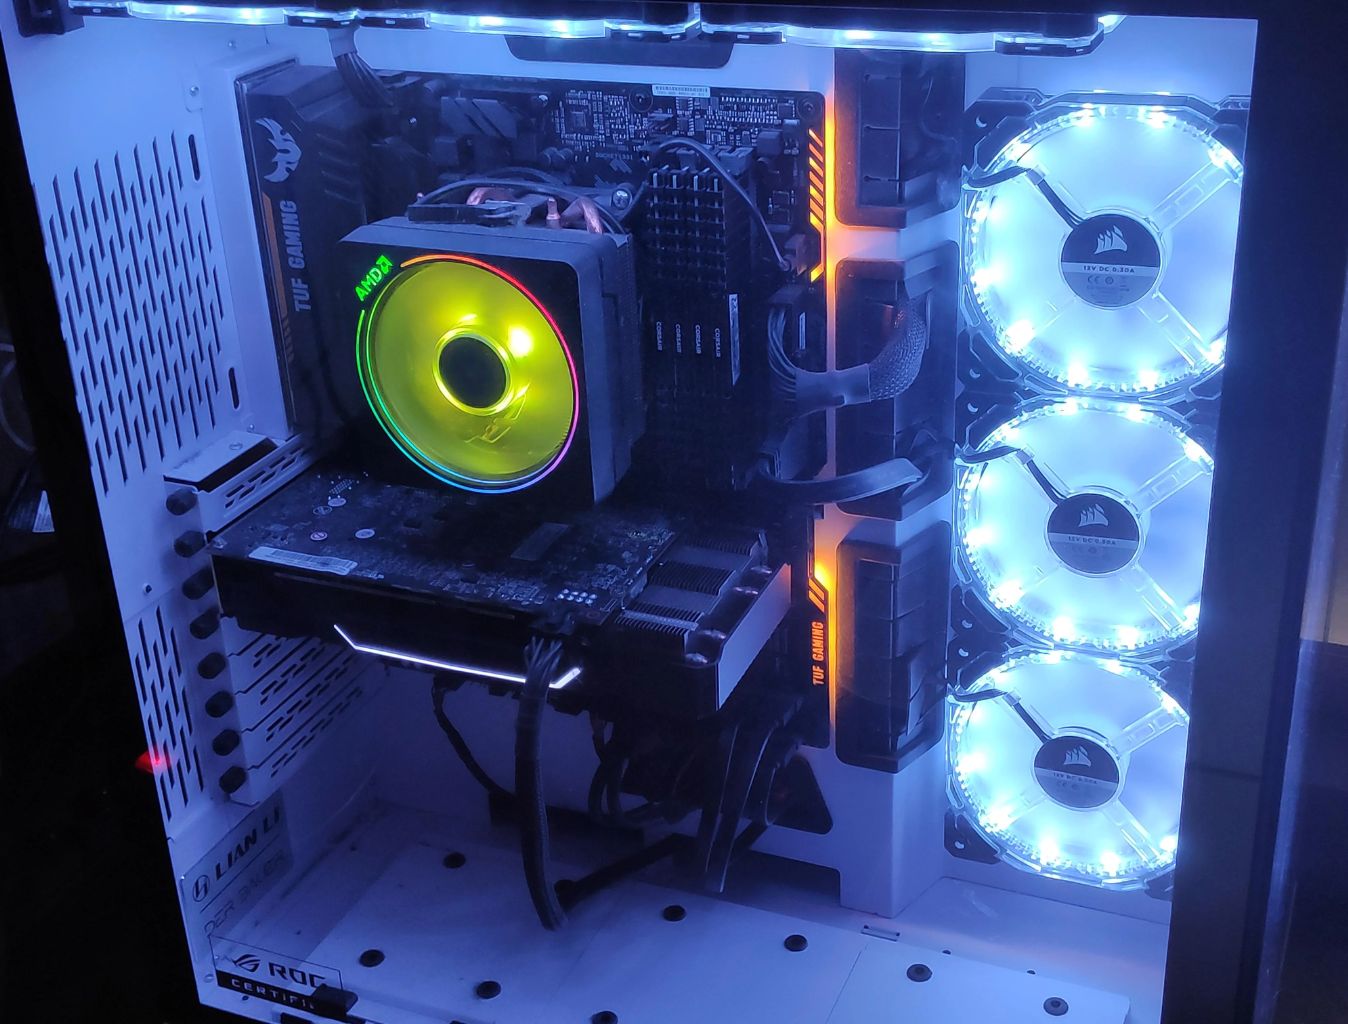
Look for mounting points or slots specifically designed to accommodate fans.
These mounting points are typically located on the front, top, rear, or sides of the case.
Next, consider the size of the fans you want to install.
Common fan sizes include 120mm, 140mm, and 200mm.
Measure the available space in your case to ensure compatibility with the chosen fan sizes.
Additionally, take note of any obstructions that may hinder the installation of additional fans.
These obstructions could be other components, drive cages, or even cable management systems.
Evaluate whether these obstructions can be adjusted or removed to create room for the new fans.
Its also important to consider the power supply unit (PSU) and its location in your PC case.
Some PC cases have a bottom-mounted PSU, while others have a top-mounted PSU.
This positioning can affect the placement of additional fans, especially on the rear or top of the case.
Lastly, assess the current airflow in your PC case.
Observe how the air flows through the case and identify any areas that may require additional cooling.
These areas may require extra attention when installing the new fans.
In the next section, well discuss how to remove unnecessary components to create space for the additional fans.
By decluttering your case, youll have more room to load the new fans and improve airflow.
Start by identifying components that you no longer need or use.
This could include unused drive bays, optical drives, or expansion cards that are taking up space.
Consider whether these components can be removed without impacting the functionality of your system.
Once youve identified the components you want to remove, shut down your setup and disconnect the power supply.
Open your PC case and locate the screws or fasteners holding these components in place.
When removing unnecessary components, its important to exercise caution and handle delicate parts with care.
Be gentle when detaching connectors and cables to avoid damaging them or the components theyre connected to.
This will not only free up space but also improve airflow by reducing cable clutter within the case.
Remember to keep any removed components and screws in a safe place.
You may want to reinstall them later if needed or store them as spare parts.
Visualize where the new fans will be placed and how they will contribute to better airflow throughout the system.
If necessary, adjust the position of the CPU cooler to avoid any interference with the new fans.
GPU Placement: Check the positioning of your graphics card.
Ensure that it is properly aligned in the PCIe slot and that it has sufficient space for airflow.
If needed, consider adjusting the placement or opting for a vertical GPU mount to free up additional space.
This will help improve the airflow within the case and allow for better cooling.
Cable Management: Proper cable management is crucial for maintaining an organized and clutter-free PC case.
Use cable ties or Velcro straps to neatly route and secure cables.
This will not only improve airflow but also make it easier to load the new fans without any obstructions.
Place the fans strategically to ensure a balanced intake and exhaust airflow throughout the case.
Take your time to carefully rearrange the components, ensuring that they are properly secured and aligned.
Check for any potential obstructions or clearance issues that may arise with the installation of the new fans.
By rearranging your components and optimizing space, youll be one step closer to achieving this goal.
In the next section, well discuss how to mount the additional fans in your PC case.
Properly mounting the fans will ensure optimal airflow and efficient cooling throughout your system.
These can be found on the front, top, rear, or sides of the case.
Ensure that the mounting points are compatible with the size of the fans you plan to install.
Prepare the Fans: Before mounting the fans, attach any necessary mounting brackets or screws to the fans.
These accessories are usually included with the fan purchase.
- drop in the Fans: Carefully position the fans on the designated mounting points.
Use the provided screws or fasteners to secure them in place.
Ensure that the fans are securely attached without any wobbling or looseness.
Ensure that there is enough space to avoid any interference or obstruction to airflow.
By properly mounting the additional fans, youll enhance the overall cooling capabilities of your PC case.
Here are some tips for effectively managing your cables:
1.
Plan Ahead: before you jump in connecting cables, take some time to plan the routing and placement.
Consider the shortest and most direct paths for each cable to minimize clutter and maximize airflow.
Planning ahead will save you time and frustration during the cable management process.
Use Cable Ties or Velcro Straps: Secure your cables using cable ties or Velcro straps.
This will prevent them from tangling and help maintain a neat and organized appearance.
Look for these features and utilize them to keep your cables out of sight and properly organized.
Route Cables Behind the Motherboard Tray: Whenever possible, route cables behind the motherboard tray.
Most PC cases have ample space behind the tray for cable management.
Avoid Excessive Cable Length: Keeping your cables as short as possible helps reduce cable clutter.
Most power supply units come with modular cables, allowing you to connect only the cables you need.
These extensions can provide the extra length you need while maintaining cable management and aesthetics.
Regularly Maintain and Reorganize: Over time, cables may become disorganized or tangled.
Schedule regular maintenance sessions to reevaluate and reorganize your cables.
This will help prevent dust buildup and ensure that your cable management remains effective and efficient.
Next, well discuss how to test your cooling solution to ensure optimal performance and make any necessary adjustments.
Testing Your Cooling Solution
1.
Take note of the temperatures before and after installing the additional fans.
Additionally, pay attention to the noise levels generated by the fans.
These hot spots may indicate inadequate airflow or poor cooling performance in certain areas.
Consider adjusting the fan positions or adding additional fans to address these hot spots.
Ideally, you should observe a decrease in temperatures, indicating improved cooling performance.
Make Necessary Adjustments: Based on the test results, make any necessary adjustments to optimize your cooling solution.
Start by assessing your PC case to determine available space and potential obstacles.
Remove any unnecessary components to free up room for the new fans.
Rearrange the remaining components to optimize space and airflow within the case.
Mount the additional fans in strategic locations to enhance cooling performance.
Proper cable management is crucial to maintain a tidy and efficient system.
Neatly organize and route cables to minimize clutter and facilitate airflow.
Now, go ahead and improve the cooling capabilities of your PC by making space for more fans!
