Introduction
Welcome to our DIY guide on how to make a projector with a magnifying glass!
Are you looking to turn your ordinary movie nights into a cinematic experience right at home?
Before we dive into the steps, lets take a look at the materials youll need for this project.
Most of these items can be found around the house or easily purchased at a local craft store.
after you grab everything ready, youre all set to move on to the next step gathering the components.
Remember to double-check that you have everything you need before proceeding further.
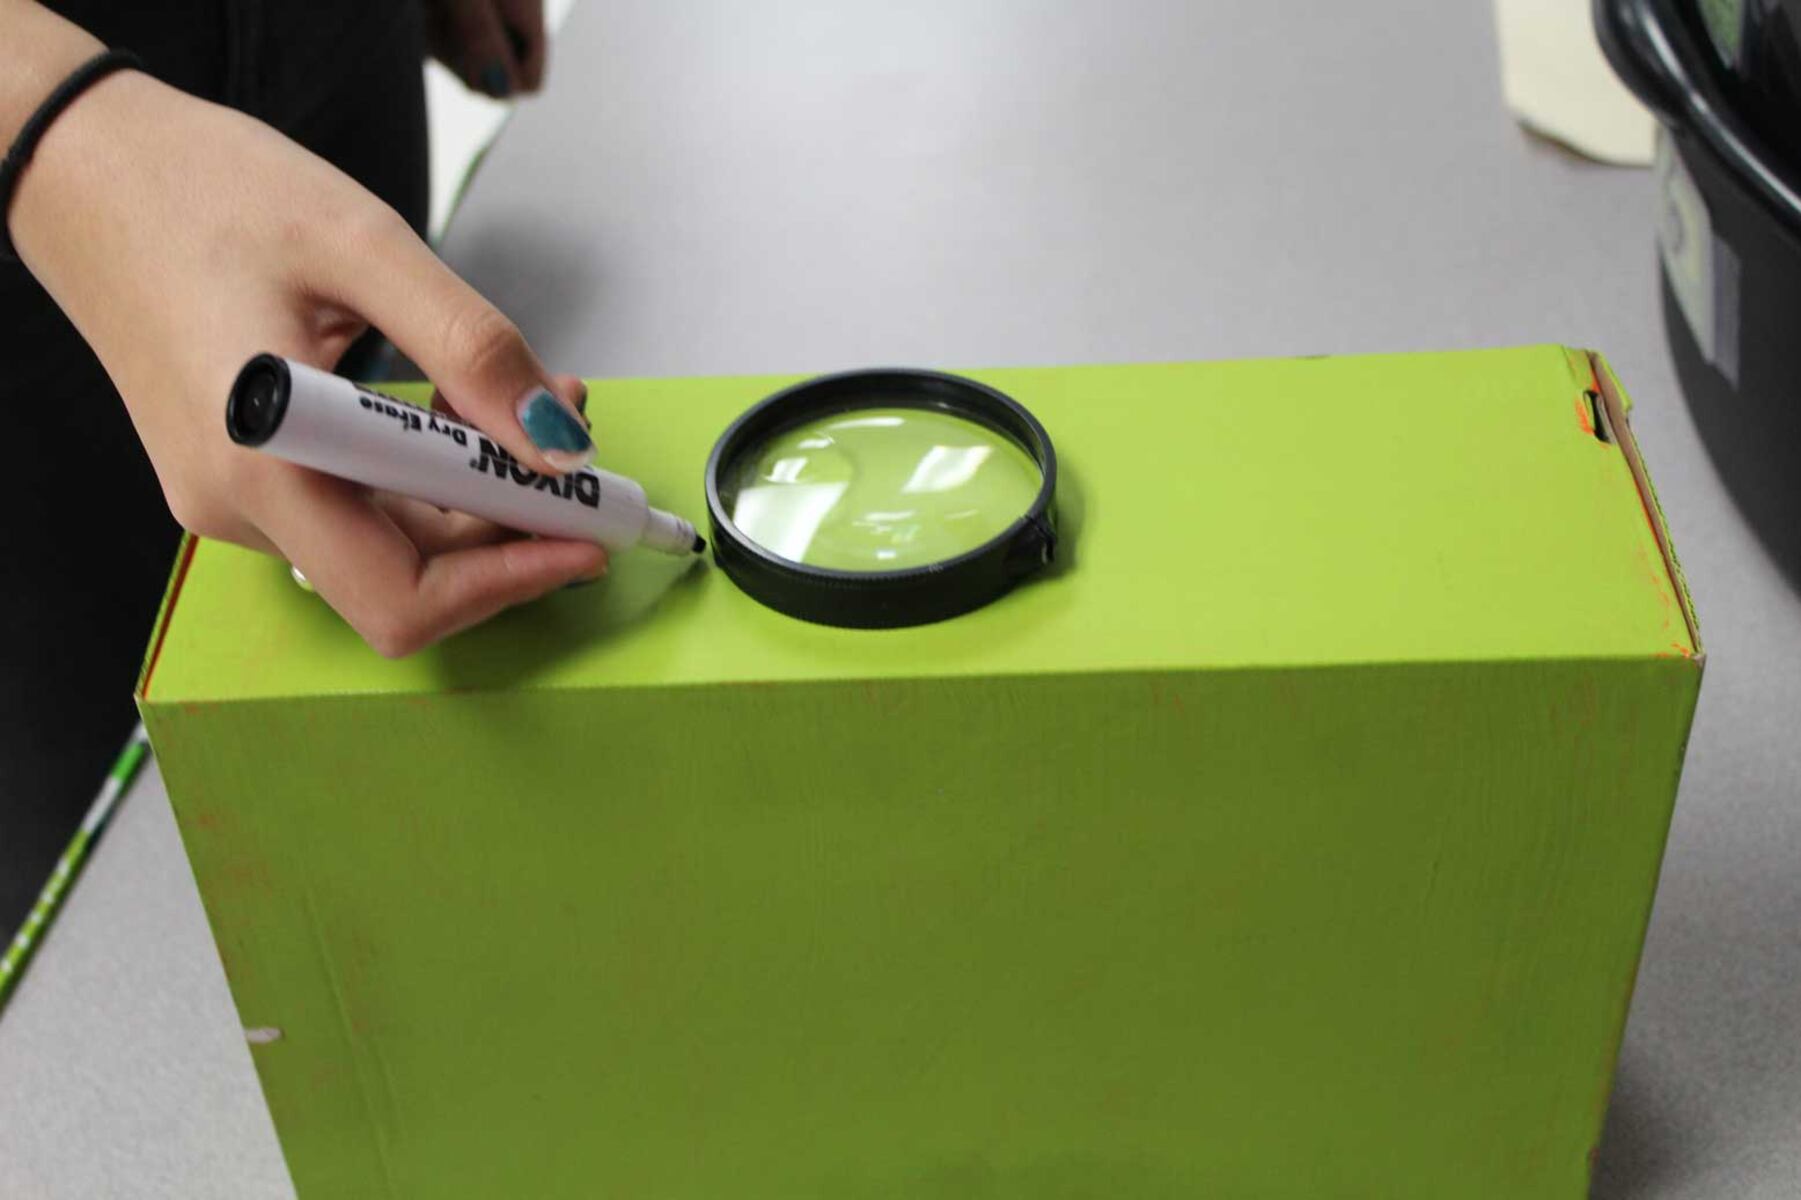
In the next step, we will guide you on attaching the magnifying glass to the frame.
In the next step, we will guide you on preparing the screen for projection.
In the next step, we will guide you on positioning the screen for optimal viewing.
In the next step, we will guide you on adjusting the focus of your DIY projector.
Every projector setup may require different adjustments, so dont hesitate to experiment and make fine-tuning adjustments as needed.
By following these steps, you have successfully adjusted the focus of your DIY projector.
Now, its time to test your projector and enjoy the fruits of your labor in the next step.
Experiment with different tweaks and distances to find the optimal setup for your specific projector.
Enjoy your homemade cinematic experience!
Conclusion
Congratulations!
You have successfully created your own projector using a magnifying glass and a few simple materials.
Each step contributes to the overall success and performance of your DIY projector.
Have fun and happy projecting!
