Introduction
Welcome to our comprehensive guide on how to make a laser engraver using an Arduino.
By following our step-by-step instructions, you will learn how to build your own laser engraver from scratch.
Building a laser engraver can be a fun and rewarding project.
So, lets gather our materials and get started on this exciting DIY journey!
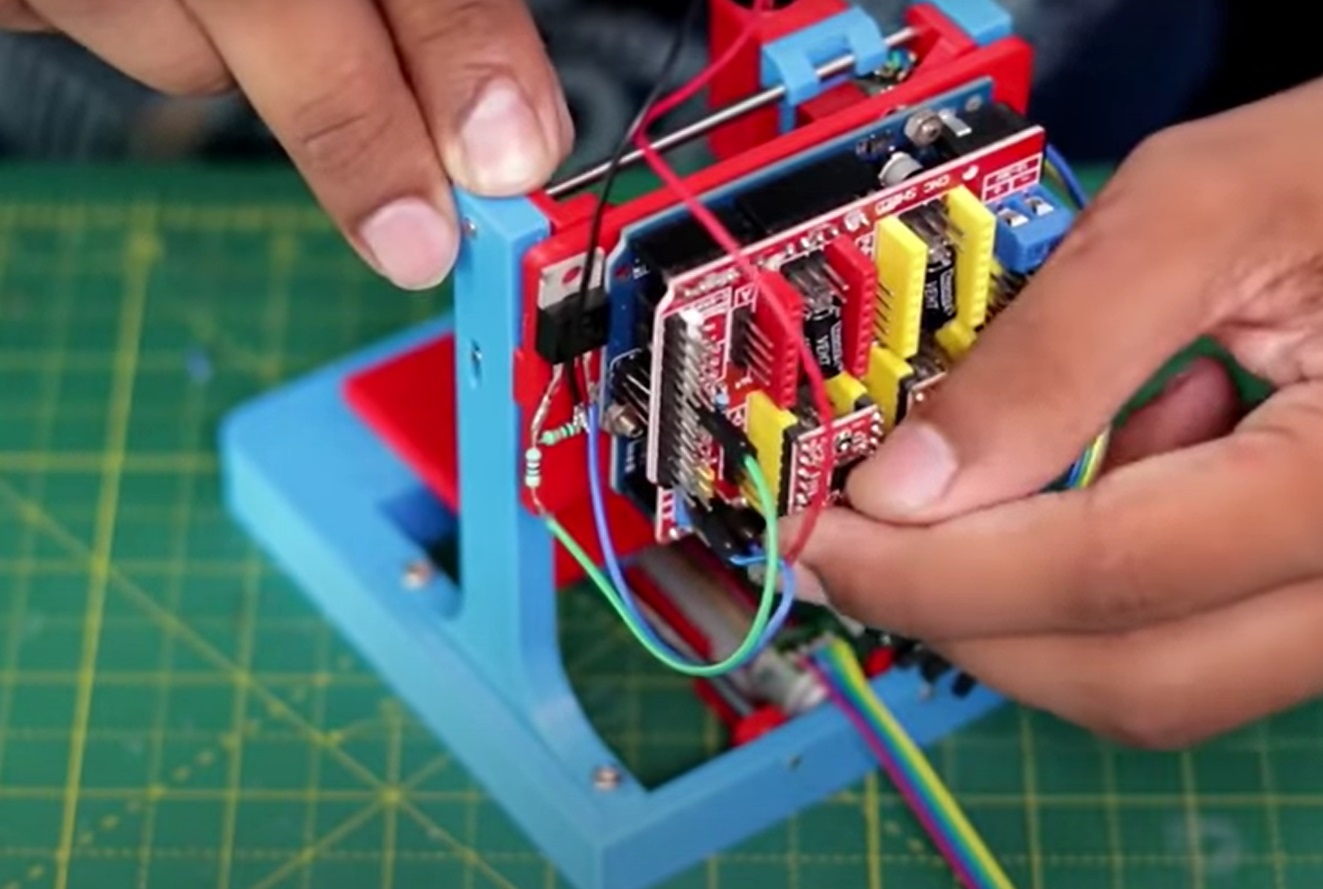
Depending on your specific design and requirements, you may also need additional components or accessories.
This will help you troubleshoot any issues that may arise and ensure the smooth operation of your laser engraver.
Refer to any additional resources or guides specific to your laser engraver model for more detailed information.
Any movement or misalignment can result in inconsistent engraving or even damage to the components.
Take your time to carefully align and secure the laser module to achieve optimal results.
Experiment with different parameters and configs to achieve desired engraving results.
Be patient and methodical in identifying and addressing any issues that arise.
Consult relevant documentation or seek assistance from the Arduino community or online forums if needed.
Conclusion
Congratulations on successfully building your own laser engraver using an Arduino!
We followed up by guiding you through a step-by-step process.
These considerations are essential for achieving accurate engraving results and avoiding any potential risks.
Remember that the journey doesnt stop here.
There are always opportunities to enhance your laser engraving skills and explore more advanced techniques.
Learning from others experiences and sharing your own can help you overcome challenges and refine your engraving techniques.
Lastly, always prioritize safety while operating your laser engraver.
We hope that this guide has empowered you to take your creativity to new heights with yourDIY laser engraver.
Have fun unleashing your artistic potential and enjoy the endless possibilities of laser engraving!
