Why is a bigger keyboard necessary for the iPad?
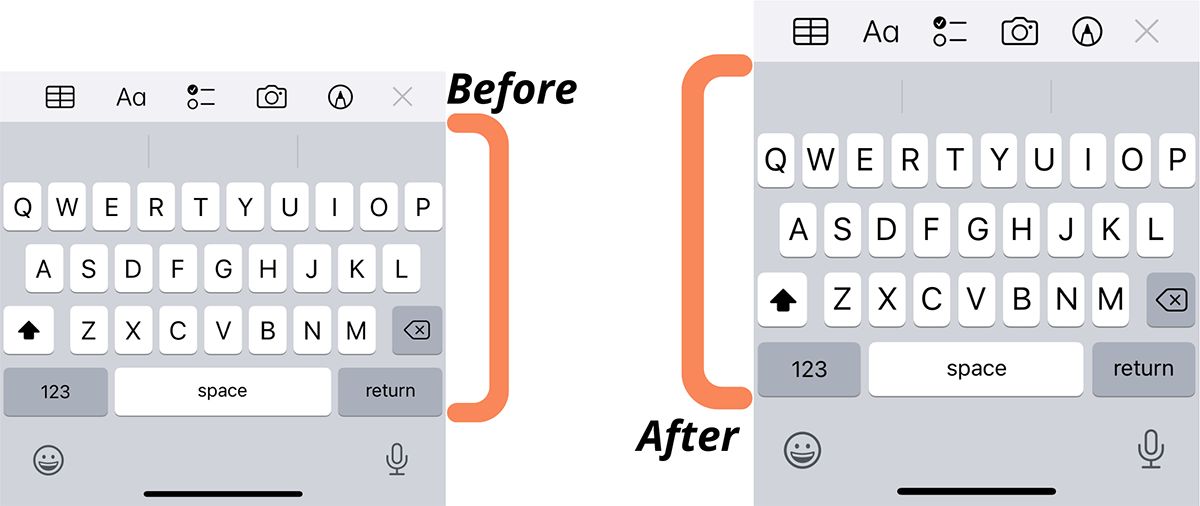
The size and layout of a keyboard play a crucial role in our typing experience.
It is represented by a gear icon.
This will open a new screen with various general parameters options.
This will take you to the keyboard options page.
Tap on it to enter the keyboard size options.
Slide the slider towards the right to increase the keyboard size.
As you slide, the preview of the keyboard will update to reflect the changes.
Find the size that feels most comfortable for you.
You have successfully enabled the larger keyboard on your iPad.
The first step in enabling the split keyboard feature on your iPad is to pull up the options app.
To begin, locate the controls app on your iPads home screen.
Look for the icon that resembles a gear or cogwheel.
Tap on it to fire up the prefs menu.
On newer versions of iOS, the parameters app can be found on the home screen.
The app icon should appear in the search results.
Tap on it to kick off the configs menu.
These tweaks cover a wide range of functionalities and preferences on your iPad.
Take a moment to familiarize yourself with the layout of the options menu.
Looking at the main options menu, scroll down until you see the option labeled General.
Tap on the General option to enter the general controls menu.
Take a moment to familiarize yourself with the layout of the General prefs menu.
you’re able to scroll up and down to explore the different options available.
This is where you’re free to make various adjustments to the keyboard options on your equipment.
Within the General parameters, scroll down until you see the option labeled Keyboard.
Tap on it to enter the keyboard options.
These options may include auto-correction, spell check, shortcuts, hardware keyboard options, and more.
Take a moment to explore the different keyboard controls available.
This is where you’re free to customize the keyboard to suit your preferences and needs.
In the next step, we will proceed to activate the split keyboard feature on your iPad.
This will enable you to enjoy a more spacious typing experience on your equipment.
Look for the option that allows you to adjust the size or layout of the keyboard.
Tap on the appropriate option to activate the larger keyboard feature.
This will bring up a preview of the keyboard, showcasing the new size or layout.
Take a moment to familiarize yourself with the new keyboard size.
Remember that enabling the larger keyboard feature may require your iPad to allocate more screen space for the keyboard.
As a result, the content on your screen may slightly adjust to accommodate the larger keyboard size.
Here, you will find an option that allows you to customize the size of the keyboard.
Look for the slider or resizing option within the keyboard controls.
Slide the size adjustment to the left or right to decrease or increase the keyboard size, respectively.
As you make adjustments, the preview of the keyboard will update to reflect the changes youre making.
Continue adjusting the size until you find a comfortable and optimal keyboard size for your needs.
Take into consideration factors such as your finger or thumb size, visibility, and overall comfort while typing.
However, this adjustment allows for improved accuracy and ease of typing.
once you nail achieved your desired keyboard size, exit the keyboard options menu.
The adjusted keyboard size will now be applied whenever you use the keyboard on your iPad.
You have successfully activated and adjusted the larger keyboard feature on your iPad.
Enjoy typing with increased comfort and ease.
The split keyboard divides the keyboard into two halves, allowing for more comfortable thumb typing and increased flexibility.
This could be a messaging app, note-taking app, or even the Mail app.
A menu will appear with various options.
From the menu, select Split.
The keyboard will instantly split into two halves, making it easier to jot down with your thumbs.
With the split keyboard active, locate the small button that appears at the center of the split.
Tap and hold this button, then drag it towards the left or right to resize the split keyboard.
Find the size that feels most comfortable for you.
Experiment with different sizes until you find the optimal split keyboard size that suits your needs and typing style.
Choose the method that works best for you and enhance your productivity with ease.
The first step in enabling the split keyboard on your iPad is to get into the keyboard options.
With the keyboard displayed on the screen, take a look at the bottom right corner of the keyboard.
Youll notice a key that looks like a keyboard with a small line in the middle.
This key serves as the gateway to the keyboard options.
To reach the keyboard options, tap and hold the key in the bottom right corner.
After a moment, a menu will appear above the key with various options to choose from.
From the keyboard options menu, look for the option labeled Split.
To switch on the split keyboard, simply tap on the Split option.
Take a moment to familiarize yourself with the split keyboard layout.
Youll notice a small gap between the two halves, allowing for easy thumb access to the keys.
With the split keyboard displayed on the screen, take a look at the center of the split.
Youll notice a small button or handle that appears between the two halves of the keyboard.
To adjust the size of the split keyboard, tap and hold this button.
As you drag the handle, youll notice the split keyboard resizing in real-time.
Remember that you’ve got the option to always readjust the split keyboard size whenever youd like.
Simply tap and hold the handle again and drag it to your desired size.
Enjoy the flexibility and convenience of the split keyboard layout!
This is especially beneficial for users with larger hands or visual impairments.
Remember, personalization is key to ensuring a comfortable and enjoyable typing experience.
