Introduction
Welcome to the wonderful world of homemade ice cream!
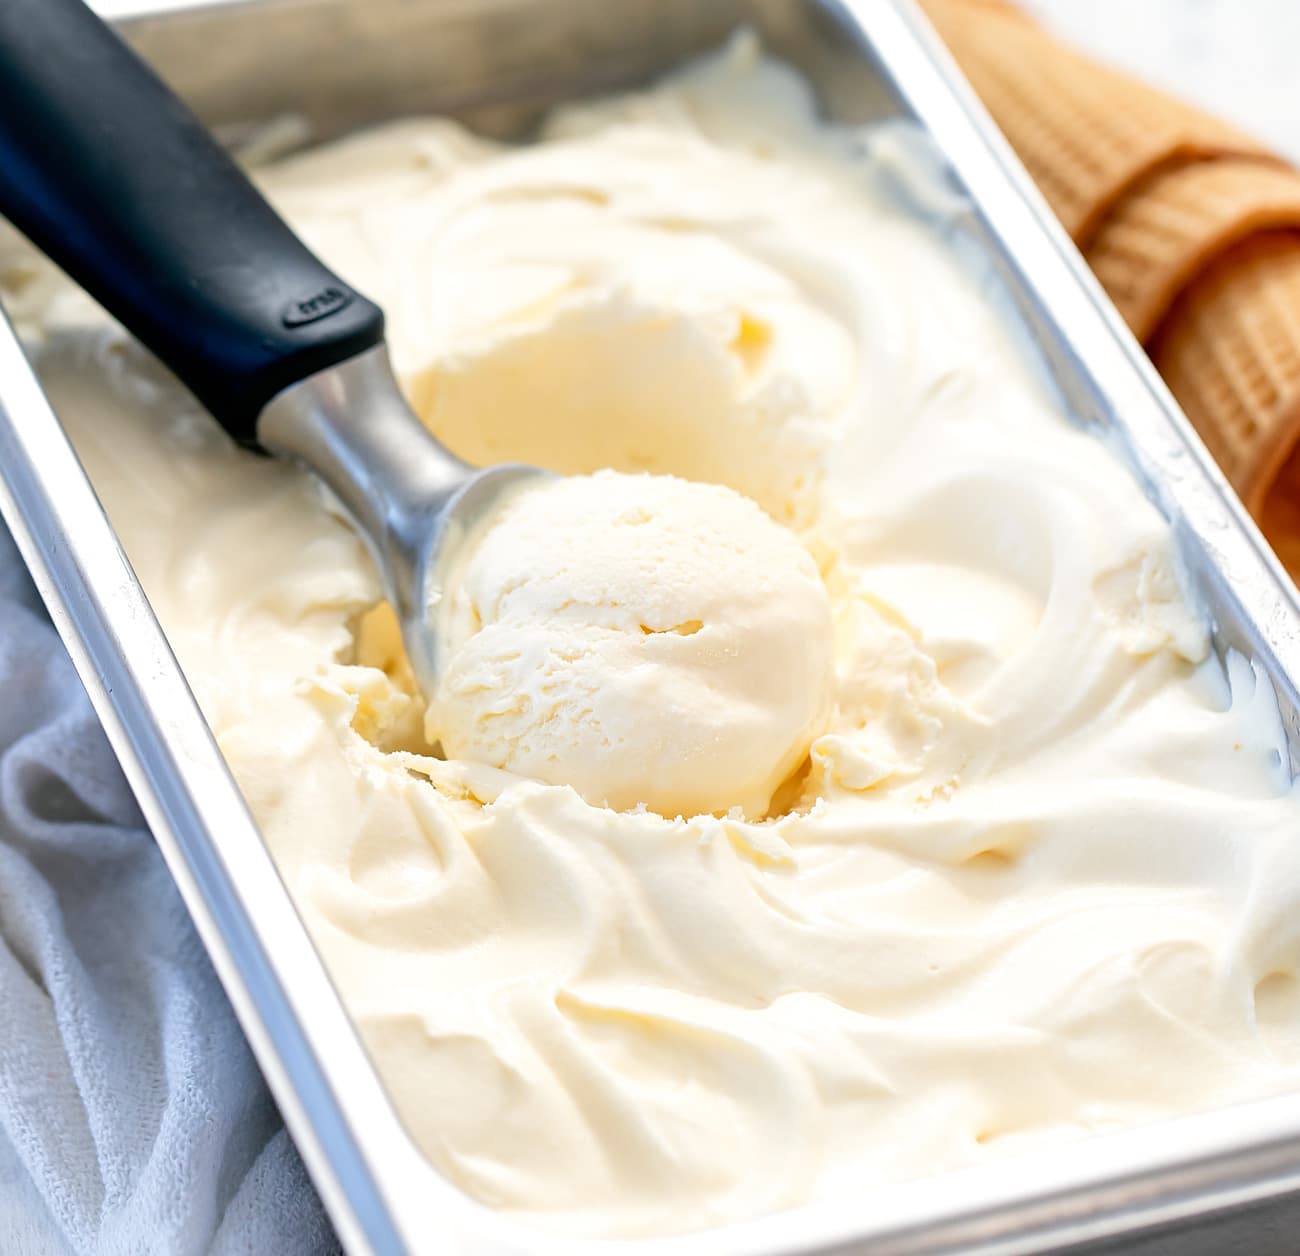
Who doesnt love the creamy, sweet indulgence of a perfectly crafted scoop of ice cream?
The beauty of making ice cream without an ice cream maker is that you dont need any fancy equipment.
Instead, you might use everyday kitchen tools to achieve the same creamy consistency and luscious flavors.
In this article, we will explore different methods for making ice cream without an ice cream maker.
But before we dive into the methods, lets discuss the essential ingredients needed for homemade ice cream.
Youll need cream (either heavy or whipping), milk, sugar, and flavorings of your choice.
So, lets roll up our sleeves and start making some delicious homemade ice cream!
Fresh and flavorful ingredients will elevate your ice cream and make it truly memorable.
Here are some factors to keep in mind when selecting a recipe:
1.
Flavor:Consider the flavor youre craving.
Look for recipes that highlight the flavors youre most excited about.
Level of Complexity:Evaluate your skill level and the time youre willing to invest.
Some recipes require a custard base, which involves cooking the mixture over the stove and tempering eggs.
This method offers a rich and creamy result but may be more time-consuming.
Equipment Needed:Take into account the equipment you have available.
These recipes often utilize alternative methods and tools, such as a Ziplock bag or a stand mixer.
There are wonderful dairy-free and vegan ice cream recipes that use alternatives like coconut milk or cashew cream.
This can give you insights into the taste, texture, and success rate of the recipe.
Look for recipes with consistently positive feedback.
Personalization:Remember that recipes are just a starting point.
Feel free to add your own twist by incorporating mix-ins or adjusting the sweetness level to your taste.
The joy of homemade ice cream is the ability to personalize it according to your preferences.
Once youve chosen a recipe that checks all your boxes, gather the ingredients and equipment needed.
Read through the recipe thoroughly before starting to ensure you understand each step and have all the necessary tools.
With the right recipe in hand, youre ready to embark on a delicious ice cream-making adventure.
Heres a step-by-step guide on how to prepare the base:
1.
Gather the Ingredients:Double-check that you have all the ingredients listed in your chosen recipe.
Having everything prepared in advance will make the process smoother.
This mixture will give your ice cream its creamy consistency.
Add the Sugar:Gradually whisk in the sugar until it dissolves completely.
This will sweeten the base of your ice cream and help prevent ice crystals from forming.
Let the Mixture Cool:Its essential to let the base mixture cool completely before continuing.
Cooling the mixture allows the flavors to develop and gives the ice cream a better texture.
Cold equipment helps the ice cream freeze faster and results in a smoother texture.
Each method will have its own unique instructions, so follow the specific steps outlined in your chosen recipe.
Remember to have fun with the process and dont be afraid to experiment with different flavors and mix-ins.
So, get ready to enjoy the fruits of your labor and indulge in a delectable homemade treat!
This method works best for recipes that dont require adding too many mix-ins.
The mixer incorporates air into the mixture, creating a light and fluffy ice cream base.
Its important to monitor the whisking process and check the texture regularly to achieve your preferred consistency.
Feel free to experiment with different flavors and add-ins to make your custom creations.
From traditional favorites like cookies and cream to unique combinations like lavender and honey, the possibilities are endless.
This method allows for a smooth and creamy texture by utilizing the blending power of the appliance.
Its important to monitor the blending process to prevent the mixture from becoming too liquefied or overmixed.
You want to achieve a soft-serve consistency that will freeze into a solid ice cream in the freezer.
Feel free to get creative with flavors and mix-ins to personalize your ice cream.
Experiment with different recipes, techniques, and flavor combinations to find your favorite homemade ice cream recipe.
Chilled ingredients help the ice cream freeze faster, resulting in a smoother texture.
Use real vanilla extract, premium cocoa powder, and fresh fruits for the best results.
Monitor the temperature:When heating the cream and milk mixture, be careful not to let it boil.
Heating it gently until it steams will be sufficient to dissolve the sugar and infuse any added flavorings.
Cold equipment speeds up the freezing process and helps achieve a creamier consistency.
It allows for a larger surface area, resulting in faster freezing and a smoother texture.
Avoid over-churning:When using alternative methods to an ice cream maker, avoid over-churning or excessive mixing.
Over-churning can incorporate too much air and lead to a fluffier consistency rather than the desired creamy texture.
This will soften it slightly and make it easier to scoop and enjoy.
Experiment and have fun:Dont be afraid to experiment with flavors, mix-ins, and techniques.
From classic combinations to unique and adventurous creations, the options are virtually limitless.
Here are some suggestions for flavoring and mix-ins to elevate your homemade ice cream:
1.
Classic Flavors:Vanilla, chocolate, and strawberry are timeless classics that never disappoint.
Fruity Delights:Incorporate the vibrant flavors of fruits into your ice cream.
Puree fruits like mangoes, berries, or peaches and stir them into the base during the churning process.
Chunky pieces of fresh fruit can also be added as mix-ins.
For an extra indulgence, consider adding crushed cookies or chocolate-covered espresso beans as mix-ins.
Nutty Delights:Toasted and chopped nuts provide a satisfying crunch and a burst of flavor.
Consider mixing in favorites like almonds, pecans, walnuts, or pistachios.
For a delightful combination, pair nuts with chocolate or caramel flavors.
The cookie crumbs will add a delightful texture and bursts of flavor throughout.
Use a spoon or spatula to gently fold in the swirls, creating a visually stunning and flavor-packed treat.
Spices and Herbs:Experiment with unique and unexpected flavors by incorporating spices and herbs.
The candy pieces will provide delightful bursts of flavor and texture.
Remember, the key to successful flavoring and mix-ins is balance.
Start with small quantities, taste as you go, and adjust accordingly.
Let your taste buds be your guide as you create your own signature flavors and combinations.
Here are some tips for storing and serving your homemade ice cream:
1.
This will prevent ice crystals from forming and keep the ice cream fresh.
This extra step will help maintain the quality and flavor of the ice cream.
Avoid storing it in the freezer door, as it experiences more temperature fluctuations.
This will ensure that your ice cream stays frozen solid and maintains its creamy texture.
The time required for softening will depend on the initial firmness and temperature of the ice cream.
This will help the ice cream release easily from the scoop and preserve its shape.
For best results, dip the scoop in warm water between each scoop of ice cream.
This helps you keep track of the freshness and avoids confusion with multiple containers.
When you finish the ice cream, wash and reuse the container for future batches.
So, indulge in the creamy deliciousness and savor the satisfaction of enjoying your very own frozen creation!
Conclusion
Congratulations!
You have now mastered the art of making homemade ice cream without the need for an ice cream maker.
And dont forget to have fun with presentation.
Add a variety of toppings to elevate the presentation and flavor profile.
So, what are you waiting for?
